


Fret Polishing Kit article
Fret Polishing Kit for Beginners: A Complete Guide
Keep your guitar looking and sounding brilliant with simple fret maintenance. A polishing kit is affordable and straightforward—here's everything a beginner needs to know.
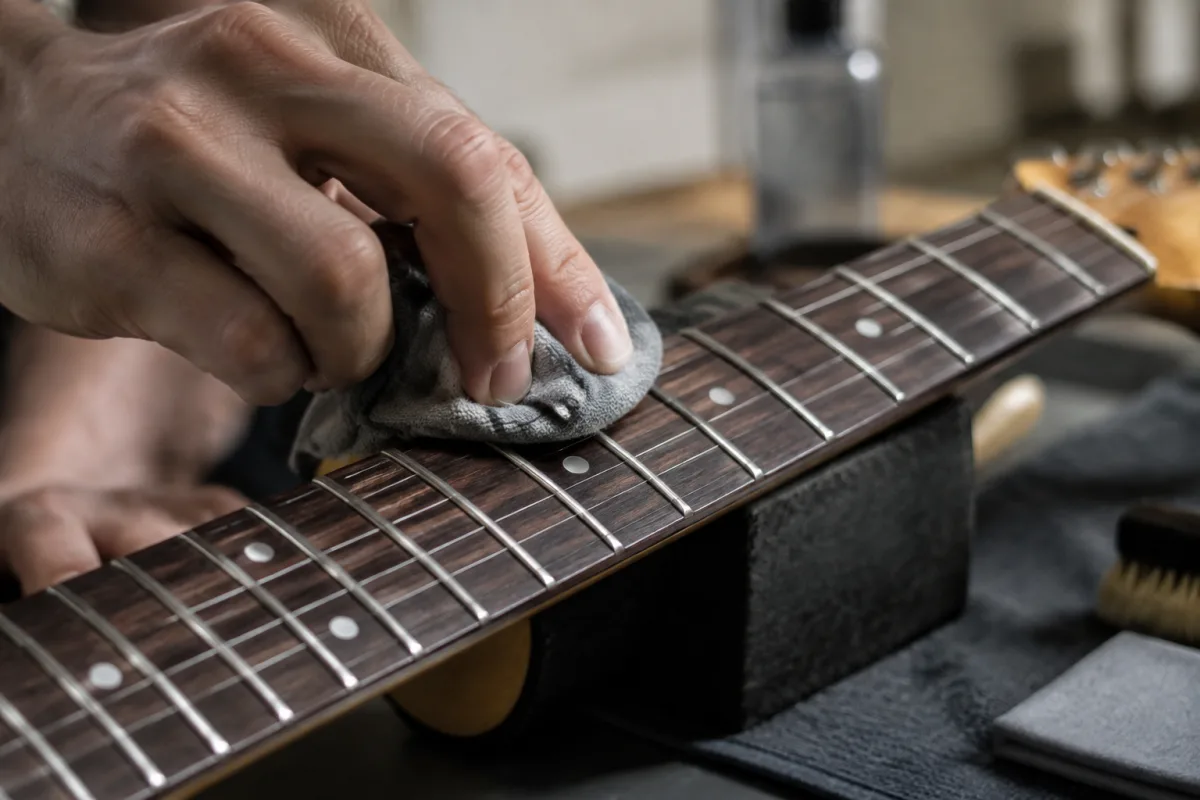
Your guitar frets are gradually dull. Not immediately, not dangerously, but over months and years of playing, oxidation and wear take their toll. If you love your instrument and want to keep it playing beautifully, proper maintenance is a genuinely worthwhile investment. The good news: it's affordable, simple to do, and instantly makes your guitar look and feel new again. You don't need specialist skills—just patience and the right tools.
Why Frets Need Maintenance
Frets are typically nickel-silver alloy, and they oxidise naturally. Sweat, humidity, and normal playing wear them down. Over time, they develop a dull, slightly pitted appearance. This affects tone—clean metal rings brighter—and playability slightly improves with maintenance. More importantly, keeping your instrument maintained shows respect for it and keeps it valuable if you ever sell it.
Fortunately, they respond beautifully to polishing. What looks terrible can look like new with an hour's work. You don't need expensive shop work; a basic maintenance kit handles it yourself at home. It's one of the most satisfying maintenance tasks you can do—investment returns are immediate.
Understanding These Kits
A typical kit includes various sandpaper grits (starting coarse, finishing fine), polishing compounds, applicators, and masking tape. The process starts by taping off the fretboard (protecting the wood), then sanding progressively through finer grits, and finishing with compound to restore shine. It sounds elaborate but it's really just methodical sanding.
Different kits vary in quality. Budget versions work fine. Premium options include nicer sandpapers and compounds, but for a first-timer, any reputable one gives good results. Most cost £20-50, a trivial investment compared to professional work.
When Should You Do This Maintenance
You don't need to polish constantly. Every 2-3 years, if you play regularly, is reasonable. If you're a light player, maybe every 5 years. The point: don't overthink frequency. When your frets look dull and you feel like refreshing your guitar, that's a perfect time.
Avoid doing this on very new guitars. Let them age naturally first. Similarly, if your frets have actual damage—deep pitting or worn divots—professional fret dressing is better than DIY work. These maintenance kits work on cosmetic dulling, not structural problems.
Your First Experience
Start by reading your kit's instructions thoroughly. Most include good documentation. Set aside 1-2 hours. You'll need patience more than skill. Tape off the fretboard meticulously—this is the part that takes time. Once protected, sanding is straightforward: start with coarse sandpaper, progress through medium and fine grits, finish with compound.
Work on one section at a time. Don't rush. These kits are forgiving; you really can't harm anything. If you miss a spot, you've just got more sanding to do. No judgment. Aim for consistency rather than perfection on your first attempt.
Common Beginner Mistakes
Mistake one: poor masking. Protecting the fretboard is crucial. If you skip this or do it sloppily, you'll sand the wood and create problems. Take time masking. It's boring but genuinely the most important step. A fret polishing kit assumes you've masked properly—do it right.
Mistake two: rushing the grit progression. Don't skip grits. Start coarse, progress methodically. Each grit level smooths the scratches from the previous one. Jumping steps leaves scratches that polishing compound can't fix. Patient progression is everything.
Mistake three: applying too much pressure. Let the sandpaper do the work. Heavy-handed sanding creates inconsistent results and wears sandpaper faster. Gentle, even pressure through a fret polishing kit gives better results than aggressive scrubbing.
After Polishing
Once you've finished, carefully remove the tape and admire your work. Clean the fretboard gently. Your frets should gleam. The transformation is genuinely satisfying. Your guitar will feel fresher, look brighter, and respond noticeably better to your hands. It's one of the best maintenance investments for any guitarist.
Now you know the basics. Store your fret polishing kit somewhere dry. You'll use it again in a year or two. For more detailed information about maintenance techniques and specifications, see our complete guide to fret polishing kits.
Building Maintenance Skills
Your first fret polishing experience teaches you to maintain your instrument. This confidence extends to other maintenance tasks—cleaning, adjusting action, replacing strings with care. A fret polishing kit is genuinely gateway maintenance. Once you've done it, you realise upkeep isn't scary or complicated—it's just methodical, careful work.
Professional repair costs money. Learning to maintain your own gear keeps instruments valuable, improves your relationship with them, and gives genuine satisfaction. A fret polishing kit is your first step into instrument care. Don't overthink it. Grab one, follow the instructions, and enjoy the transformation.
The Bottom Line
A fret polishing kit is affordable, straightforward to use, and delivers dramatic results. Your first attempt might not be perfect, but you'll be thrilled with the improvement. Respect your instrument by maintaining it. A fret polishing kit makes that respect tangible and your guitar rewards you with beauty and tone.


Comments