


Streaming Mixer article
Streaming Mixer for Beginners: A Complete Guide
Getting started with a streaming mixer might feel daunting at first, but you don't need to understand every feature to start streaming with professional-sounding audio.
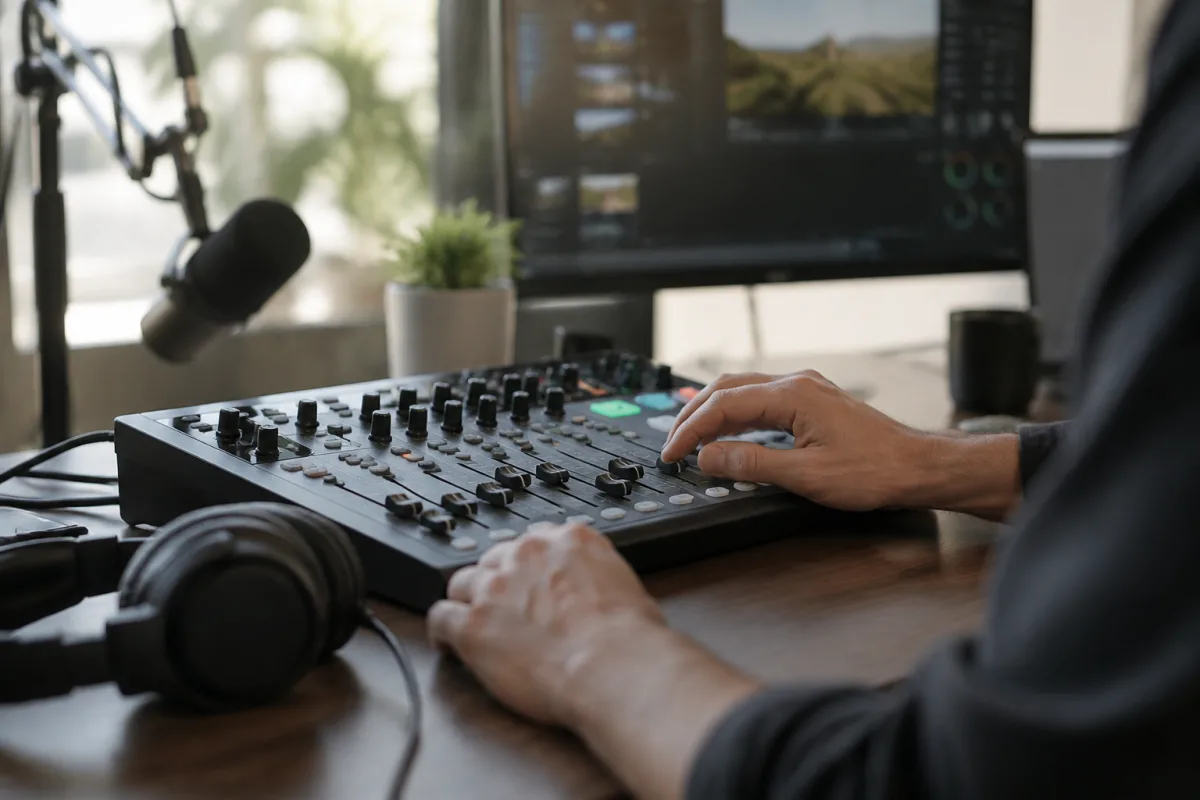
Getting started with a streaming mixer might feel daunting at first. You're staring at all these buttons and sliders, wondering where to even begin. But here's the good news: streaming mixers are designed to be more intuitive than they look, and you don't need to understand every single feature to start streaming with professional-sounding audio. This guide walks you through the essentials—no overwhelming jargon, just practical first steps to get you comfortable with your new streaming mixer.
Don't Panic About All Those Buttons
When you first open the box on your streaming mixer, you'll likely feel a moment of "what on earth am I looking at?" That's completely normal. Most of the controls you see on a streaming mixer fall into just a few categories: inputs (where sound comes in), outputs (where it goes out), and effects/processing (the fancy stuff that makes it sound good). You genuinely don't need to touch most of it to get started.
The trick with a streaming mixer is this: start by getting audio in and audio out. Once you've done that, everything else is refinement. Think of your streaming mixer like a car—you can drive one without understanding how the transmission works. Similarly, you can produce great-sounding streams without mastering every feature of your streaming mixer.
Setting Up Your First Streaming Mixer: The Essentials
Begin by identifying your inputs. Most compact streaming mixers have 2–4 input channels, each with its own level control (the vertical slider). Connect your audio sources—a microphone here, a USB input there, maybe your headphone output from your gaming console. Each input on your streaming mixer needs just one connection to start.
Next, connect your streaming mixer to your computer via USB (most modern streaming mixers do this). Your computer will recognise the streaming mixer as an audio interface. In your streaming software (OBS, Streamlabs, etc.), select the streaming mixer as your audio input. Now speak into your microphone and watch the level meter on the streaming mixer move. If it does, you're already winning—audio is flowing.
Don't overthink levels yet. A good starting point on any streaming mixer is to bring each input fader up to about three-quarters volume, then check your streaming software's meters. You want green, not red. If you see red (clipping), pull the input fader down on the streaming mixer until the peaks are safely in the yellow or green zone.
Understanding the Master Fader (Your Stream's Final Volume)
The master fader on your streaming mixer is the one control that genuinely matters right now. This slider sets the overall volume level that goes to your stream. Position your streaming mixer's master fader at around the midpoint to begin—not fully up, not at zero. Listen to your stream and adjust from there. Your viewers should hear you clearly without any distortion or harsh peaks.
This single fader on your streaming mixer is your safety net. If something sounds too loud, bring the master fader down. If it's too quiet, bring it up. You don't need to fiddle with gain knobs or phantom power switches until you're ready to level up.
Organising Your Streaming Mixer's Input Channels
Most people ask: what goes where on a streaming mixer? Here's a simple layout that works:
- Channel 1: Your microphone (the most important input on your streaming mixer—this is your voice)
- Channel 2: Game audio or your console's headphone output (if you're gaming)
- Channel 3: Background music or a second audio source (optional, depending on your streaming mixer model)
- Channel 4: Guest audio if you're interviewing someone (via Zoom or similar—some streaming mixers include this)
Label each channel on your streaming mixer with tape if it helps. Seriously—stick a small label under each fader. When you're deep in a stream and need to grab someone's volume quickly, being able to see "Mic" or "Game" at a glance is invaluable. Your streaming mixer becomes infinitely more intuitive when you own the layout.
Your First Live Check: Don't Skip This
Before you go live, run a test stream on your streaming mixer setup. Stream for 5–10 minutes to a private channel or have a friend join. Listen back to the recording. Does your voice sound clear? Can people hear game audio without it drowning you out? Is everything balanced?
This test is where your streaming mixer proves its worth. You'll hear exactly what your audience hears. Adjust levels on the streaming mixer based on what you hear in the playback. Bring your microphone up if people say you're quiet. Reduce the game audio on the streaming mixer if it's too loud. Make small moves—nudge the faders, not big swings.
Common First-Timer Mistakes With a Streaming Mixer
The most common error is setting levels too high on your streaming mixer right away. Silence is your enemy—noise isn't. Start conservative and boost gradually. Better to ask your chat to speak up than to start with distorted, clipped audio that makes everyone's ears hurt.
The second mistake? Ignoring your headphones. Most streaming mixers have a headphone output. Plug in headphones and listen to what's actually happening. Your streaming mixer might show green lights, but your headphones tell the real story. Use them.
Third: assuming every switch and button matters immediately. Phantom power, EQ, compression—these are tools for later. Your streaming mixer is perfectly capable of sounding good without touching them. Master the basics first, then explore.
When You're Ready: The Next Step
Once you're comfortable with your streaming mixer's basic layout and levels feel natural, you can explore a bit further. Many streaming mixers have built-in effects like reverb or compression. A touch of reverb can warm up your voice on a streaming mixer. A tiny bit of compression smooths out volume spikes. Experiment gently—your streaming mixer's presets are a safe place to start.
For deeper learning, check out your streaming mixer's manual and the manufacturer's tutorial videos. They're surprisingly helpful and often show you tricks you didn't know your streaming mixer could do. The complete streaming mixer guide also covers more advanced features if you want to dive deeper later.
You've Got This
A streaming mixer is genuinely beginner-friendly once you stop assuming it's more complicated than it is. Connect your audio sources, set your levels, test before going live, and adjust based on what you hear. That's it. Everything else is refinement that you can learn over time as you grow more comfortable. Your first stream might feel awkward, but your hundredth stream using the same streaming mixer will feel second nature. Give yourself permission to learn slowly, and your streaming mixer will become an indispensable tool that you barely think about—which is exactly when you know you're using it right.


Comments