


SSL Mixing Desk article
Ssl Mixing Desk for Beginners: A Complete Guide
An SSL mixing desk looks intimidating but works on simple principles. This beginner's guide covers the basics, your first hour, and common mistakes to avoid.
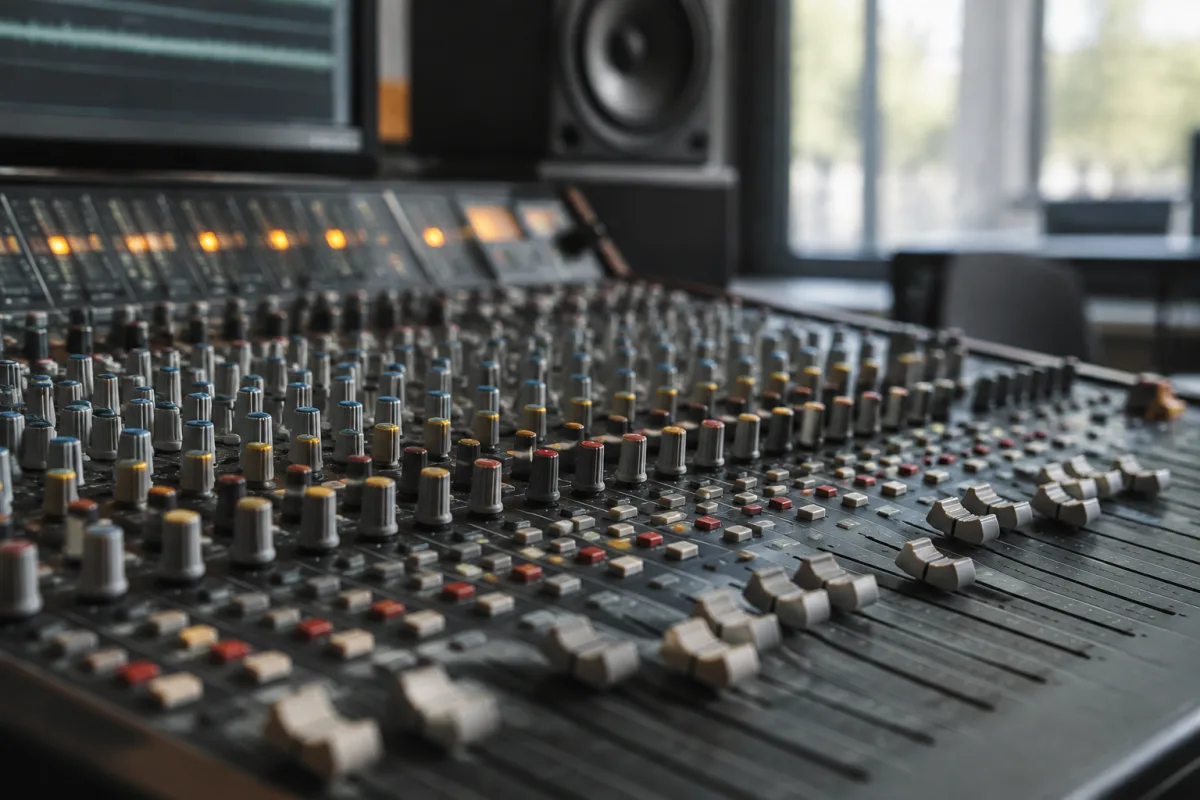
An SSL mixing desk is one of the most iconic consoles in professional audio, found in studios and live sound venues worldwide. If you're starting out in live sound or studio work and you encounter an SSL, it can look intimidating—there are hundreds of buttons, faders, and lights. This beginner's guide demystifies the SSL mixing desk, walks you through what you actually need to know, and shows you how to get comfortable using one.
What an SSL Mixing Desk Actually Is
An SSL is a large mixing console with multiple input channels, each with its own controls (faders, EQ, effects). You route audio sources (microphones, instruments, backing tracks) into different channels, adjust levels and tone using the controls, and send the mixed result to your main output (speakers, headphones, or a recording device).
SSL desks are known for reliability, pristine sound quality, and a straightforward signal flow. They're not the most complex desks on the market, but they're also not simple. Learning one is a genuine skill that takes practice.
When You'll Encounter an SSL
As a beginner, you might encounter an SSL mixing desk in these scenarios:
- Live Sound Work: Many venues and touring sound engineers rely on SSL desks. They show up at gigs, festivals, and corporate events.
- Recording Studios: SSL desks are industry standard in recording studios. If you're engineering a session, you'll likely be behind one.
- School or University: Music programmes and broadcast facilities often use SSLs for teaching and production work.
The key point: SSLs are professional equipment, used by people who've trained on them. Don't panic if you're asked to work with one. With a few hours of practice, you'll be competent enough to mix a session or run live sound.
Layout: The Bits You Actually Need to Know
A typical SSL mixing desk has:
- Input Channels (faders): Vertical sliders that control each audio source's level. There are usually 32 to 64 channels on a large SSL.
- Channel Strip: For each channel, there's a series of controls stacked vertically. From top to bottom, you'll typically find: input selector, gain knob, EQ, dynamics (compression), and effects send buttons.
- Master Fader: The main volume control for your entire mix. Usually on the right side.
- Monitor Section (if live sound): Controls for the performers' headphones/monitors. This is critical in live settings but absent in pure studio desks.
- Effects Rack: Built-in reverb, delay, and other effects. Each channel can be sent to these effects using send buttons.
That covers 95% of what you'll actually use. Everything else is refinement and advanced options you'll learn as you go.
Your First Hour on an SSL
When you sit down at an SSL for the first time, follow this approach:
Step 1: Understand the Signal Flow
Audio comes in through input channels at the top, gets mixed using faders, and comes out through the master output. Trace the signal with your finger: mic → input channel → fader → master output → speakers. Most problems beginners face are because they've broken this basic flow.
Step 2: Set All Faders to Unity (0 dB)
Before you plug anything in, pull all channel faders to the middle position. This is "unity gain"—audio passes through unchanged. This gives you a clean starting point. Anything above hurts ears; anything below is quiet.
Step 3: Connect Your First Source
Plug a microphone or other audio source into one input. Turn the gain knob (usually on the input channel strip) slowly until you see a level on the channel meter (a series of lights or a digital display). Aim for the green zone, avoiding the red (clipping/distortion). This is your first real adjustment.
Step 4: Raise the Channel Fader Slowly
Once the gain is set, drag the fader for that channel upward slowly. You should hear the audio getting louder in the main output. This is mixing in its simplest form: controlling which sources are loud or quiet.
Step 5: Try the EQ (Not Yet)
Once you're comfortable with level, find the three-band EQ (usually labelled LF/MID/HF for low/mid/high frequency). These are typically knobs. Turning them clockwise boosts that frequency range; counter-clockwise cuts it. Start by listening without EQ, then gently boost the mid knob and hear how it sounds. This is EQ in action. Don't worry about perfection—you're learning.
Common Beginner Mistakes
- Cranking the input gain too high: This causes clipping (distortion). Aim for the gain meter to sit in the green zone, occasionally touching yellow. Red is bad.
- Assuming the master fader controls the input level: It doesn't. The input gain does. The master fader controls the main output level. Two different things.
- Forgetting that faders are muted when pulled all the way down: If a channel goes silent, the first check is: is the fader all the way down? Yes. So pull it up.
- Trying to use every effect immediately: Built-in reverb and delay sound cool, but they're not critical. Master basic level and EQ first. Effects come later.
- Not checking whether a channel is muted: Most SSL channels have a mute button (often red or clearly marked). If a source isn't coming through, check whether the channel is muted. Seriously, that's #1.
- Leaving all the lights and displays on: SSLs have status lights for everything (power, signal, alerts). Learn which ones matter (usually: power is on, signal lights show audio present). Ignore the rest while learning.
EQ and Dynamics: The Next Level
Once you're comfortable with basic mixing, explore EQ and dynamics:
EQ (Equalizer)
Each channel has a parametric EQ (usually three bands: low, mid, high). Use it to shape tone:
- Reduce low frequencies on vocals: Cuts muddiness.
- Boost mid frequencies on instruments: Makes them "pop" in a mix.
- Reduce high frequencies on harsh sources: Tames brightness.
Start with gentle adjustments (small turns). You can always make bigger changes later.
Dynamics (Compression)
Compression controls the dynamic range (the difference between quiet and loud). For beginners: turn on the compressor, leave settings at their defaults, and listen. Many vocals and drums already sound better with compression on. As you learn, you'll adjust ratio and threshold—but defaults usually work.
Practical First Session
Your first real mixing session should be simple:
- Set all faders to unity.
- Connect four to six audio sources (e.g., kick drum, bass, vocals, two instruments).
- Set the gain for each so the meters sit in green.
- Raise the faders so you hear all sources balanced.
- Use basic level adjustments to make vocals slightly louder than instruments (common mix strategy).
- Resist touching EQ or effects. Just mix with levels today.
That's a legitimate mix. You've used an SSL successfully. Everything else is refinement.
Resources and Next Steps
SSL desks come in several models (original SL 4000, SL 9000, SSL 9K2, newer UltraAnalog models). Each has variations, but the principles are identical. Once you understand one, you can operate any of them.
For a deeper dive into advanced SSL features, channel strip settings, and studio-specific workflows, see our complete guide to SSL mixing desk. For now, book time on an SSL if you can, bring a friend or mentor to answer questions, and spend two to three hours just pushing faders and learning what each control does.
Conclusion
An SSL mixing desk looks daunting, but it's fundamentally straightforward. Audio flows in, you adjust levels with faders, you shape tone with EQ, and the result comes out the master. You don't need to master every button on day one. Learn the basics, spend time experimenting, and you'll be comfortable mixing on an SSL within a week or two. It's a genuine skill, and once you have it, you can work in any professional studio or live venue.


Comments