


Rcf Powered Monitors article
Rcf Powered Monitors for Beginners: A Complete Guide
Stepping into live sound with RCF powered monitors doesn't have to be intimidating. This beginner's guide covers practical first steps, gain structure, positioning, and common mistakes to dodge.
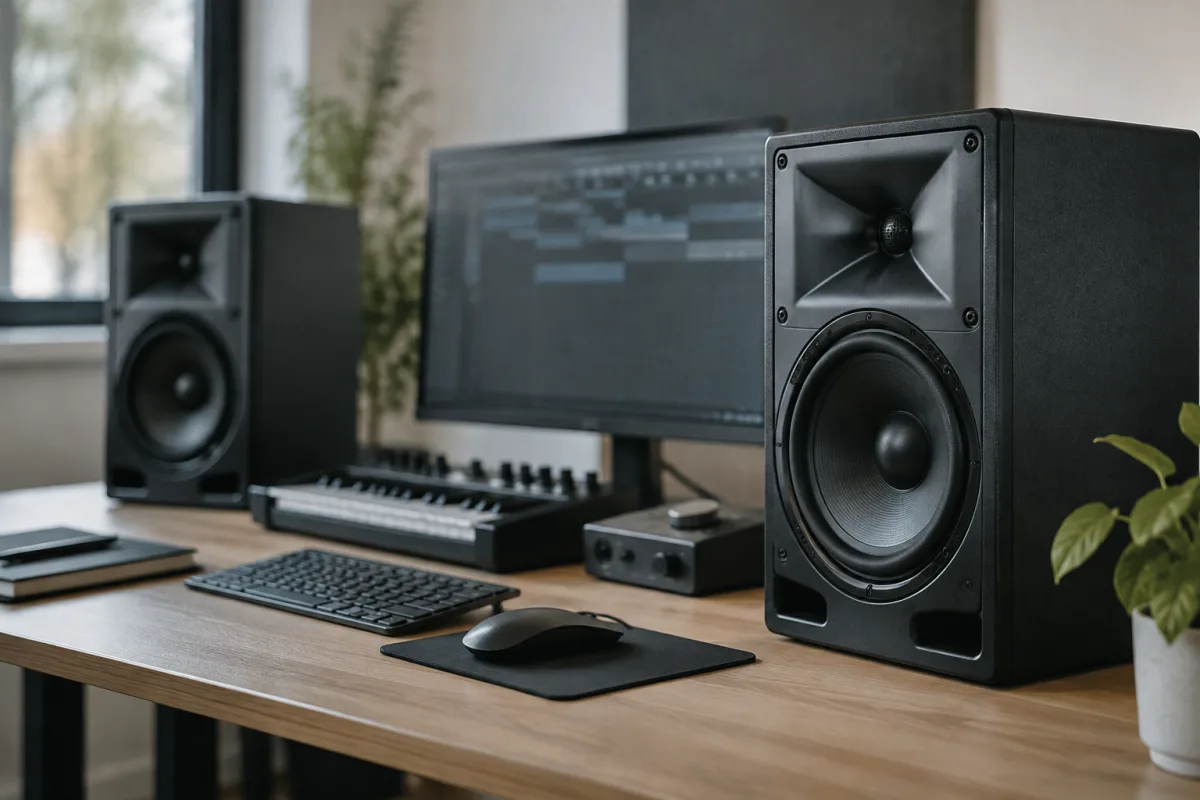
Stepping into live sound for the first time can feel daunting, especially when you're faced with rows of gear at a music shop or browsing specifications online. If you're considering RCF powered monitors, you've made a smart choice—these units are built with reliability and ease of use in mind, making them brilliant for beginners. But how do you actually get started, and what are the common pitfalls to avoid? This guide walks you through the essentials of RCF powered monitors, focusing on practical advice to build your confidence before you buy.
Why RCF Powered Monitors Are Perfect for First-Timers
When you first encounter RCF powered monitors, you might wonder why so many venues and smaller live acts rely on them. The reason is simple: they work reliably, day after day, with minimal fuss. RCF builds their powered monitors to be robust and user-friendly, which means they tolerate the small mistakes beginners make—like forgetting to turn something off gradually or pushing a bit too hard into the loudspeaker. That tolerance is worth its weight in gold when you're learning the ropes.
RCF powered monitors also ship with straightforward controls and connections, so you're not deciphering a control panel that belongs in a recording studio. This directness is liberating when you're starting out; you can focus on how sound works rather than fighting with needlessly complicated gear.
The First Step: Understanding What You Actually Need
Before you touch a single RCF powered monitor, answer this question honestly: how many stage performers will you be mixing for? Your answer determines everything that follows. A solo vocalist needs something different from a five-piece band. RCF powered monitors come in compact, mid-range, and larger footprints, and choosing the right size saves you money and keeps your setup manageable.
Here's a practical starting point for beginners:
- Solo act or small ensemble (1–2 performers): A single 12-inch RCF powered monitor is more than adequate. It's portable, easy to angle, and gives you room to grow without overwhelming yourself.
- Small band (3–5 performers): You'll likely want two 12-inch or one larger 15-inch RCF powered monitor per performer or pair of performers, depending on stage size. Start with one unit and add another if needed.
- Larger setups: If you're already running a bigger live sound rig, you know what you're after. For beginners, stick to this bracket only if you're in a proper touring band.
The key word here is start. Many first-timers buy more RCF powered monitor units than they actually use, then regret the extra expense and setup time. Be honest about your actual needs.
Wiring and Connections: Simpler Than You Think
This is where nerves often kick in for beginners. Wiring RCF powered monitors looks complicated when you see the back panel with all those inputs and outputs. In reality, it's straightforward once you learn the pattern.
For a basic beginner setup, you need:
- A microphone (or instrument) cable running from your mixer, interface, or audio source into the XLR input on the RCF powered monitor.
- Power from a mains outlet to the mains input on the rear of the monitor.
- Optionally, a cable to another RCF powered monitor if you're daisy-chaining units together (some models support this to simplify your cable runs).
That's it. Beginners often expect something far more baroque. The clean wiring philosophy of RCF powered monitors is one reason they're so beginner-friendly.
One crucial beginner mistake: assuming all XLR cables are the same. They're not—you need an audio cable, not a lighting or DMX cable that happens to use the same connector. Ask your supplier to confirm, or buy directly from an audio retailer to be safe.
Gain Structure: Get This Right and Everything Else Works
Gain structure is perhaps the single most important concept for beginners using RCF powered monitors, yet many guides skip over it entirely. Think of gain as the "size" of the signal you're feeding into the monitor. If it's too small, you have to crank the volume dangerously high to hear anything. If it's too large, you're introducing distortion and risk damaging the speaker.
Here's the practical beginner approach:
- Turn the volume/output knob on your RCF powered monitor down to minimum before you plug anything in or switch it on.
- Switch on the monitor (wait for lights to stabilize).
- Speak or play into your microphone or instrument at normal performance level.
- Slowly bring up the volume on the monitor until it's comfortable to hear—not blaring, just clear and present.
- That's your setting. Resist the urge to "fix" it by cranking the volume higher. If it's not loud enough, the issue is usually upstream (your microphone gain or mixer level), not the monitor volume itself.
This single adjustment prevents roughly half the problems beginners encounter with RCF powered monitors. Seriously.
Common Beginner Mistakes to Dodge
Learning from others' stumbles saves time and frustration. Here are the mistakes that trip up newcomers with RCF powered monitors:
- Feedback loops: If your microphone gets too close to the monitor speaker, you'll hear a howling sound. Move the mic away or adjust the angle of the monitor. It's not a failure; it's just live sound 101.
- Forgetting the mains lead: You'd be surprised how often beginners set up a beautiful RCF powered monitor rig only to realize nothing's powered. Double-check mains connections before go time.
- Pushing the monitor too hard: RCF powered monitors are tough, but they're not indestructible. If you're hearing distortion, you've cranked too far. Pull back and adjust your source level instead.
- Ignoring the manual: Each RCF powered monitor model has a quick-start section in its manual. Read it. It's written for you, not a pro, and it answers 90 percent of first-time questions.
- Positioning monitors flat on the floor: Angle your RCF powered monitor slightly upward or toward the performer's ear level. A monitor pointing at the floor is a monitor nobody can hear properly.
Positioning Your RCF Powered Monitor for Success
Where you place your RCF powered monitor makes an enormous difference to how well it works. As a beginner, follow this rule: the monitor should point at the performer's ear, not their knees or the floor behind them. If it's a stage with multiple performers, angle it toward the mix of people who need to hear it most.
For a single performer, a 45-degree angle works wonders. It gets the sound up and forward without creating a feedback problem or sounding unnatural to an audience in front of the stage.
If you're outdoors or in a large space, you might need the monitor a bit louder than you'd expect indoors. Don't automatically assume your RCF powered monitor isn't loud enough—it's probably just positioned poorly first.
Expanding Your Setup Later
Starting with one RCF powered monitor is genuinely the right call for beginners. Once you're comfortable, you'll know whether you need a second unit, a different size, or a completely different approach to your monitor mix. At that point, adding to your RCF powered monitor collection is straightforward because you'll understand how they work and what you need.
If you want to dive deeper into the full range and capabilities of these monitors, the complete guide to RCF powered monitors covers specifications, model comparisons, and advanced setups.
Conclusion: You're Ready
RCF powered monitors have earned their reputation because they reward beginners. Set realistic expectations, nail your gain structure, position your monitor thoughtfully, and dodge the common early mistakes, and you'll be running smooth monitor mixes from day one. The anxiety many feel before their first time with live sound gear dissolves quickly once they realise how forgiving and logical these tools are. You're about to join thousands of performers and engineers who trust RCF powered monitors to deliver when it matters. Start simple, stay confident, and enjoy the process of learning how to shape sound for a live audience.


Comments