


Mic and Amplifier article
Mic And Amplifier for Beginners: A Complete Guide
A practical, encouraging guide for complete beginners choosing their first microphone and amplifier setup, with straightforward recommendations and budget guidance.
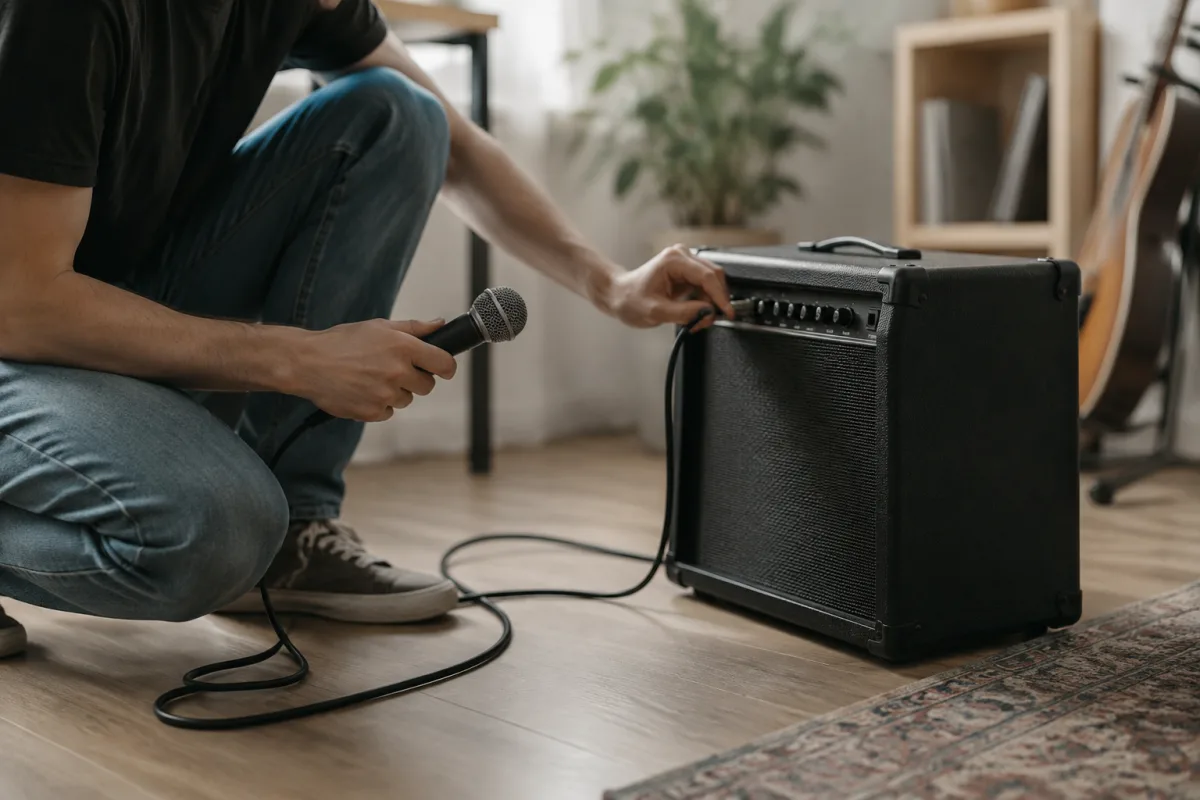
The prospect of choosing your first microphone and amplifier can feel overwhelming—there's so much jargon and so many options. But here's the truth: getting started doesn't require understanding every technical detail or investing thousands of pounds. This guide strips away the complexity and shows you the straightforward path to acquiring a mic and amplifier that will serve you brilliantly as you're learning, whether you're singing, playing an instrument, or recording.
What You Actually Need to Know First
Before diving into specific products, understand what a microphone and amplifier actually do. A microphone captures sound vibrations and converts them into an electrical signal. An amplifier takes that signal and makes it louder. Together, they form the foundation for performing, practicing, or recording. That's genuinely all you need to grasp initially. Everything else is refinement.
The encouraging news: decent beginner equipment costs far less than most people expect. You can assemble a functional mic and amp setup for under £200. You don't need to spend big money to start. Nor do you need to fully understand impedance, frequency response, or phantom power to make a purchase that works. Your first setup's job is simple: help you practice, perform, or record without frustration.
The Easiest Starting Point: Bundle Packages
If the prospect of choosing individual components feels intimidating, consider bundle packages from established brands. These typically include a microphone, stand, cable, and sometimes a basic audio interface. Bundles eliminate decision fatigue and guarantee that components will work together properly. Brands like Audio-Technica, Shure, and Rode offer beginner bundles designed specifically for people just starting out.
The advantage of bundling: everything arrives, you plug it in following simple instructions, and you're working within minutes. The disadvantage: you might eventually want to upgrade individual components, but that's a future problem. For right now, bundling gets you going quickly.
Choosing a Beginner Microphone
Beginner microphones come in a few basic types. Understanding the differences takes five minutes:
Dynamic Microphones are the workhorses. They're relatively durable, reasonably affordable, forgiving if you make mistakes, and they sound good for vocals and most acoustic instruments. Shure SM58 and Audio-Technica AT2020 are industry standards that have been used by professionals for decades. If you're uncertain and want one recommendation: start with a dynamic microphone. You won't regret it.
Condenser Microphones are more sensitive and deliver a brighter, more detailed sound. They require either a power source (phantom power) or batteries. Condensers excel at capturing acoustic guitar, piano, and vocal nuance. They're less forgiving if you have an untrained technique—every breath, every mouth click, every mistake becomes audible. For complete beginners, condensers sometimes discourage rather than encourage learning. Consider them after you've developed consistent technique.
Ribbon Microphones are vintage-sounding, delicate, and expensive. Skip these until you've gained experience and understand why you want one specifically.
For your first microphone: choose a dynamic model. That recommendation will serve 90% of beginners well.
Selecting Your First Amplifier
Amplifier choice depends mainly on your use case:
For Home Practice: A compact amplifier in the 15-30 watt range is ideal. Fender, Orange, and Marshall make beloved entry-level options. Your neighbours will appreciate you not needing 100 watts. These amplifiers are affordable, portable enough to move between rooms, and produce genuine tonal character even at low volumes.
For Busking or Acoustic Amplification: A small portable amplifier specifically designed for acoustic instruments works brilliantly. These typically have 30-60 watts and often include a microphone input alongside instrument inputs. Brands like Roland and Bose make units that sound great and remain genuinely portable.
For Small Venue Performance: A 50-100 watt amplifier gives you headroom for small club gigs. You still won't need the monstrous amplifiers that touring bands use. This range represents the practical sweet spot for working musicians starting out.
The fundamental insight: you need far less power than you think you need. A 30-watt amplifier played at sensible volume sounds louder than you'd ever want in most practicing situations. Start modest. You can always upgrade later.
Understanding the Connection Chain (Simpler Than It Sounds)
Here's the actual flow: microphone connects to amplifier input (via the cable), and the amplifier sends amplified sound through a speaker. Many beginner amplifiers have everything built into one unit—speaker, amplifier, and controls are all in the same box. You literally just plug in the microphone, switch it on, and talk or sing into it. Modern technology handles all the complexity invisibly.
Some setups use an audio interface as a middleman, which allows recording and adds flexibility. For pure practice and performance, the direct mic-to-amp connection works perfectly fine and requires no understanding of computer audio.
Common First-Timer Mistakes to Sidestep
Learning from others' experiences accelerates your progress:
- Buying Too Much Power: A beginner often assumes bigger numbers mean better. A 100-watt amplifier for bedroom practice is overkill, creates neighbour problems, and costs more than you need to spend. Start with 15-30 watts; you can upgrade if you genuinely need more later.
- Assuming Expensive Equals Better: Professional microphones and amplifiers cost four times what beginner gear costs. That investment makes sense for professionals working daily in demanding situations. For someone learning, the relationship between price and quality plateaus quickly. A £150 microphone sounds dramatically better than a £30 one, but a £500 microphone doesn't sound five times better. Diminishing returns set in fast.
- Forgetting About Cables and Stands: Budget matters here. Budget cables introduce noise and can fail. A decent microphone stand prevents hand fatigue and lets you focus on technique. Plan to spend £30-50 on stands and cables. Skimping here creates frustration that makes learning harder.
- Neglecting to Test Before Purchasing: If you can visit a shop or have a friend with similar equipment, test before committing. Pay attention to how the microphone feels in your hand, whether the amplifier's tone appeals to you, and whether the size and weight work for your situation. Reviews help, but your own instinct matters.
- Buying Based on Visual Appeal Alone: That shiny amp with the vintage look might be beautiful and terrible-sounding. Function comes first; aesthetics are the bonus.
The Budget Path: Where to Spend, Where to Save
Allocate your budget intentionally. Spend more on the microphone—it's the sound source, and upgrading later costs money. Condenser versus dynamic matters, but quality within your chosen type matters most. On amplifiers, you can save money on entry-level models without sacrificing much. Channels, effects, and size are luxuries; clean amplification at reasonable volume is all you need.
Skip expensive cables initially; get working ones. Skip rare tonewoods and vintage aesthetics; they don't help you learn. Invest in a microphone that sounds good and an amplifier that doesn't buzz, hum, or distort at sensible volumes. That discipline in spending means you have money left for lessons or quality sound treatment for your practice space.
Expanding from Your Beginner Setup
After three to six months of consistent use, you'll understand exactly what you like and what you'd improve. That's when research for upgrades pays off. For now, focus on finding something that works and then actually using it. A decent beginner mic and amp that you use daily beats expensive professional gear sitting unused in a cupboard.
For comprehensive context on microphones, amplifiers, and their technical specifications, explore our complete guide to mic and amplifier, which provides deeper information on the full landscape beyond what's essential for getting started.
Getting started with a microphone and amplifier is genuinely straightforward once you stop worrying about getting everything perfect. Choose a dynamic microphone, select an amplifier in the 15-50 watt range depending on your needs, plug them in, and start using them. The perfect setup is the one you actually use. Welcome to sound amplification—you've just joined millions of people around the world doing exactly what you're doing now.


Comments