


Mic and Amplifier Buying guide
Mic And Amplifier: A Complete Buyer's Guide
Your guide to buying a microphone and amplifier that work together. Understand impedance, gain structure, preamp types, and how to avoid common compatibility mistakes.
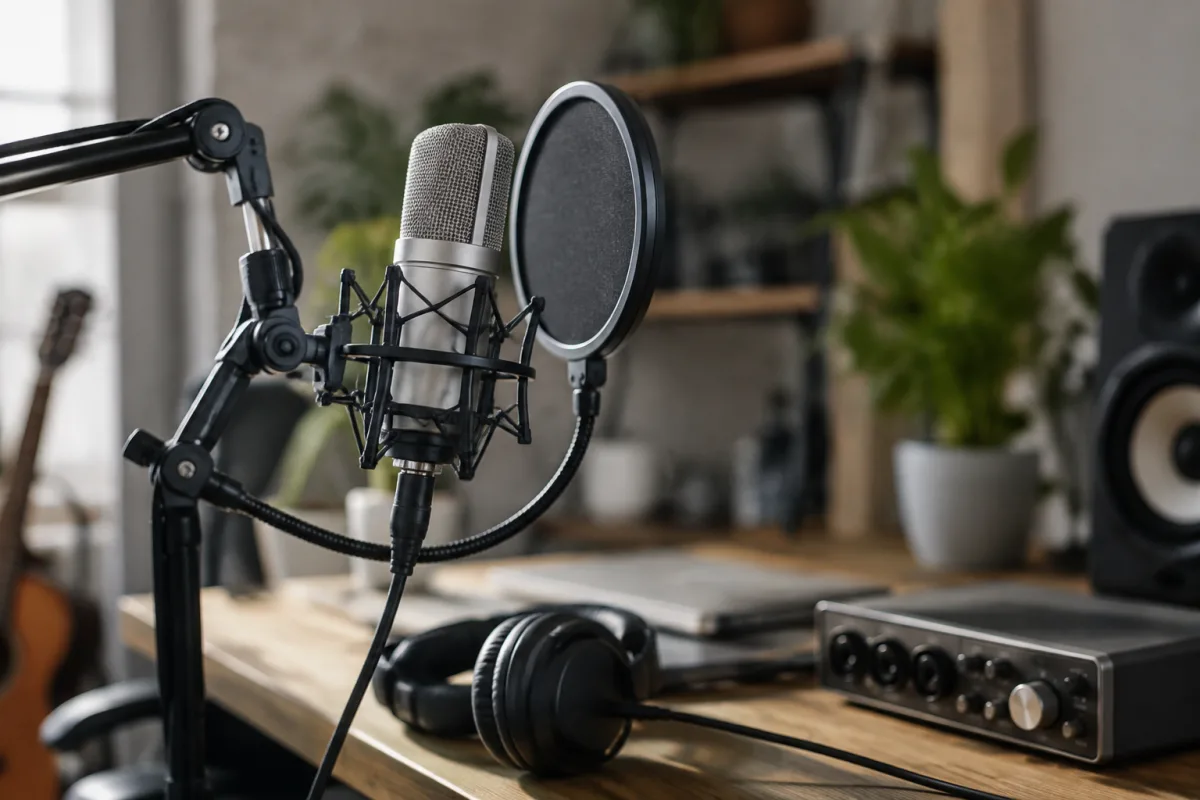
Buying a microphone and amplifier together, or understanding how they work as a pair, is crucial to getting sound right. Whether you're setting up a home recording studio, amplifying vocals for a small gig, or recording acoustic instruments, knowing how to match a microphone to the right amplifier means the difference between professional results and frustrating, muddy audio. This guide focuses on what to check, the compatibility factors that matter, and avoiding the pitfalls that catch beginners.
Understanding the Microphone-Amplifier Signal Chain
A microphone captures sound and converts it into a tiny electrical signal. That signal needs to be amplified—made stronger—before it can be recorded or sent to a speaker. An amplifier is the device that does this. The journey from microphone to amplified output involves impedance matching, signal levels, and frequency response. Understanding these basics saves you from buying incompatible gear or paying for features you'll never use.
The signal from a microphone is weak—typically measured in millivolts. Most microphones output a "line level" signal that's too weak for direct playback; it needs preamplification (preamp). Some amplifiers have built-in preamps; others require a separate preamp or audio interface. When you're buying, first ask: does the amplifier have a preamp input for a microphone, or do I need to buy a separate preamp? The answer affects both cost and the number of devices you'll need.
Impedance: The Critical Compatibility Factor
Impedance is the electrical resistance in a circuit, measured in ohms. Microphones are typically low-impedance (60–600 ohms, often called "low-Z"), whilst most amplifier inputs expect a specific impedance range. Matching impedance ensures signal transfer without loss or distortion.
When buying, check two things: (1) your microphone's impedance specification (found in its manual), and (2) your amplifier's input impedance. A professional dynamic microphone is usually 50–200 ohms; condenser mics can vary. Most audio interfaces and mixing desks accept low-impedance microphones directly. Passive amplifiers (which rely on the microphone's output to drive them) need careful impedance matching—high input impedance on the amp is better. If you see specs like "input impedance 10 kΩ" or higher, you're in good shape for most microphones.
Pro tip: if your microphone and amplifier impedance don't match perfectly, a balanced XLR cable (the standard three-pin connector for professional mics) handles impedance mismatch better than unbalanced cables. Always use balanced cables when connecting professional microphones to amplifiers or preamps.
Gain Structure and Signal Levels
Gain is how much the amplifier boosts the microphone signal. When you buy an amplifier for a microphone, check its gain range—typically measured in decibels (dB). A good microphone-amplifier pair should allow you to dial in a level that's neither too hot (distorted) nor too quiet (noisy).
Here's what to look for: an amplifier with at least 40–60 dB of gain is standard for microphone preamplification. Some budget amplifiers have lower gain and won't amplify a quiet microphone enough; some high-end units have switchable gain pads to handle loud sources without clipping. When shopping, ask if you can test the amplifier with your microphone. Plug in, speak at normal volume, and see if the output level is usable without pushing the gain to maximum (a sign the amplifier isn't well-matched) or staying too quiet even with high gain (a sign it lacks enough amplification).
Choosing Between Different Amplifier Types
Audio interface + preamp (the most flexible, £200–1,500): An audio interface is a box that connects to your computer and includes microphone preamps. This is the standard for home recording and streaming. Advantages: multiple inputs, USB output to computer, built-in sound card, cost-effective. Disadvantages: requires a computer, adds latency (slight delay). Examples: Focusrite Scarlett, Universal Audio Apollo, RME Babyface. Start here if you're recording to a computer.
Standalone preamp (the professional choice, £300–3,000+): A dedicated preamp with no computer requirement. Advantages: top-tier sound quality, no computer needed, can feed directly to a mixing desk, low latency. Disadvantages: more expensive, requires additional equipment (mixer, recorder) to capture audio. Examples: Neve 1073, Universal Audio 6176, Warm Audio WA-76. This is common in professional studios.
Portable PA amplifier (for live sound, £150–800): A battery-powered or mains-powered amplifier designed for small gigs and outdoor events. Advantages: portable, self-contained, simple to use, integrated speaker. Disadvantages: lower sound quality than studio preamps, less control, not ideal for critical recording. Examples: Behringer PPA500, Bose S1 Pro. Good for busking or small rehearsals.
Valve (tube) amplifier (for coloured, warm tone, £500–5,000+): Uses vacuum tubes instead of transistors. Advantages: imparts a warm, musical quality to the signal, beloved in studios. Disadvantages: more expensive, requires maintenance, produces heat, slower to warm up. Examples: Thermionic Culture Phoenix, Pendulum Audio Mastering Preamp. Specialist choice; research before buying.
Frequency Response and EQ Considerations
Different microphones have different frequency responses—some are bright (emphasising high frequencies), some are warm and dark (emphasising lows), some are neutral. When pairing a microphone with an amplifier, you want an amplifier with a flat, neutral frequency response that doesn't add colouration—unless you specifically want that colouration.
Check the amplifier's specs for "frequency response" (usually listed as something like 20 Hz – 20 kHz, ±2 dB). A range that covers 20 Hz to 20 kHz is full-spectrum. If the amplifier has built-in EQ (bass/middle/treble knobs), you can correct a mic's character after amplification. Standalone preamps rarely have EQ; audio interfaces sometimes do.
Noise Floor and Specifications
The noise floor is the amount of electrical noise the amplifier introduces. A good preamp adds minimal noise; a poor one hisses audibly even with no microphone connected. When shopping, check the spec sheet for "equivalent noise level" or "self-noise"—lower is better. Aim for under 15 dB for serious recording, though many consumer units are in the 20–30 dB range and still sound fine.
In a shop or during a test, plug in the microphone, set the gain to a normal working level, and listen. Even with no sound source, you should hear minimal hum or hiss. A constant hum suggests poor grounding or a noisy power supply; a loud hiss suggests high gain and high noise floor.
Connectivity: XLR, USB, Analogue, Digital
When buying an amplifier for a microphone, check the input and output connectors:
- XLR (three-pin connector): The professional standard for microphone input and balanced audio. Virtually all professional microphones use XLR. Make sure your amplifier has XLR inputs.
- USB: Convenient for computer recording; many audio interfaces include USB output. Check if the amplifier outputs USB or if you need a separate audio interface.
- RCA or 3.5mm jack: Cheaper, unbalanced connectors. Less ideal for professional use because they're more prone to noise and interference over longer cable runs. Acceptable for home use over short distances.
- Digital (S/PDIF, ADAT): For advanced mixing consoles and recording rigs. Usually found on professional preamps and high-end audio interfaces.
Cross-linking for Complete Understanding
Once you've bought your microphone and amplifier, understanding how to optimise them as a system is the next step. Our complete guide to mic and amplifier systems dives into signal flow, impedance matching in depth, grounding techniques, and how to troubleshoot noise and distortion.
Common Mistakes When Buying
Mistake 1: Ignoring impedance matching. Buying an expensive microphone with a cheap amplifier that doesn't match its impedance results in weak, noisy signal. Always check specs.
Mistake 2: Assuming any USB audio interface will work with any microphone. Most will, but some cheap interfaces have poor preamps. Test if possible, or read reviews from real users before buying.
Mistake 3: Buying a portable PA system for recording. They're designed for live sound, not clean recording. If you're recording, buy an audio interface or standalone preamp.
Mistake 4: Forgetting cables and adapters. You'll need XLR cables, possibly an XLR-to-USB adapter, and possibly a ground loop isolator. Budget £20–40 extra for cables.
Mistake 5: Not testing the gain range. Buy (or test in-shop) the microphone and amplifier together if possible. Plugging in and doing a quick test reveals immediately if they're well-matched.
Price Tiers and What to Expect
Budget (£100–300): Entry-level audio interface with a basic preamp. Works, but noise floor is higher and EQ options are limited. Fine for podcasting, bedroom recording, or voice-over work. Examples: Behringer U-Phoria, Focusrite Scarlett Solo.
Mid-range (£300–1,000): Professional audio interface or standalone preamp with good preamp quality, multiple inputs, and better gain control. Suitable for serious home recording, small studios, and streaming. Examples: Focusrite Scarlett 2i2, Universal Audio Arrow, RME Babyface Pro.
Professional (£1,000+): Standalone preamps, high-end audio interfaces, or speciality valve preamps. Low noise, excellent frequency response, and durability for decades of professional studio use. Examples: Neve 1073, Thermionic Culture Phoenix.
The Bottom Line
Buying a microphone and amplifier is about understanding the signal chain: your microphone's impedance and output level must match your amplifier's input spec. Audio interfaces work well for computer recording; standalone preamps excel in professional studios. Test the pair together if possible—that five minutes of testing saves you from a costly incompatibility. Choose an amplifier with enough gain for your microphone, a low noise floor, and the right connectors for your setup. With those basics sorted, you'll get clean, professional sound from day one.


Comments