


Fender Pro Junior Amplifier article
Fender Pro Junior Amplifier for Beginners: A Complete Guide
New to tube amps? The Fender Pro Junior is the perfect starting point. This guide covers first steps, essential controls and beginner mistakes to sidestep.
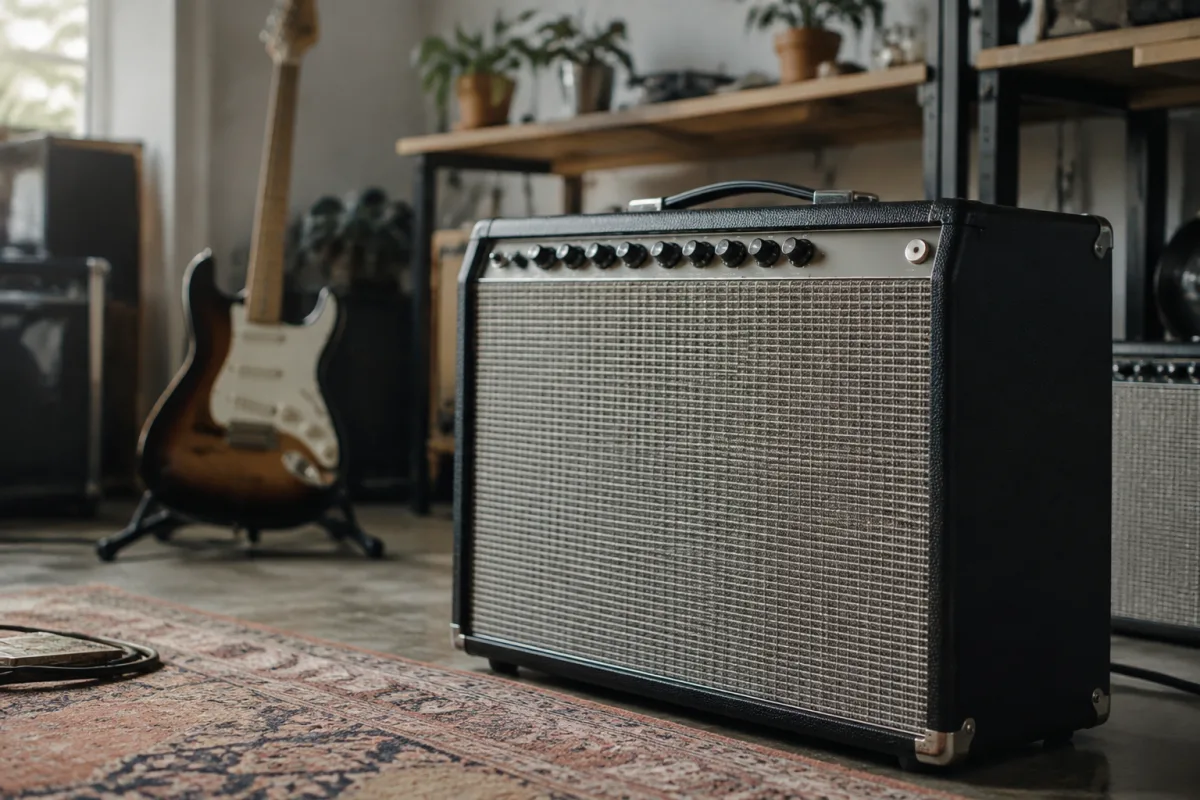
The Fender Pro Junior amplifier is an excellent choice if you are a nervous beginner wondering whether a tube amp is right for you. Tube amplifiers feel mysterious to players coming from solid-state practice amps or digital modelling units—they run hot, they need careful handling and they sound unfamiliar at first. But the Fender Pro Junior is genuinely beginner-friendly compared to other tube amps. It runs at a modest 15 watts, it is small enough for a bedroom without overwhelming neighbours, and it captures the classic Fender tone that countless classic recordings depend on. This guide is for the player taking their first steps into tube amplification, unsure about maintenance, confused about settings and worried they might break something expensive.
Why Start with a Fender Pro Junior?
The Fender Pro Junior sits at a sweet spot for beginners. Its 15-watt tube output is loud enough for band practice, small gigs and serious bedroom playing, but quiet enough that you can crank it without waking the household or annoying neighbours. It has straightforward controls that behave in predictable ways, so learning amp tone shaping is intuitive. And the tube tone—warm, responsive, naturally compressing when you play hard—reveals itself gradually as you explore the amp's range. No digital modelling or solid-state amp can replicate this learning experience.
Most importantly, a used Pro Junior costs £200–350, making it affordable enough that a beginner can commit without financial regret if they later decide tube amps are not for them. Many players who start with a Pro Junior end up keeping it for life.
First Steps: The Essentials
Powering On Safely
Before you even touch the power switch, make sure the amp is grounded to a three-pin power outlet (the UK standard). Never use an extension lead or adapter that bypasses grounding. Tube amps are high-voltage devices, and proper grounding is not optional.
Next, turn the volume control all the way down. Then plug your guitar cable into the input jack (marked "Guitar" or with a guitar symbol). Switch the power on and wait ten seconds for the tubes to warm up—you will hear a slight hum, which is normal. Then slowly turn up the volume whilst playing a note. You will hear sound emerging. This is step one. Do not panic or adjust anything else yet.
Learning the Controls
The Fender Pro Junior has a simple control layout: input volume, master volume, treble, middle and bass tone controls, a reverb control and a presence control. Here is what each does, in beginner-friendly terms:
Input Volume: This is how hot (loud) you are hitting the amp. Halfway is a good starting point. Higher input volume pushes the tubes into natural overdrive, creating that classic warm tone. Lower input keeps the amp clean and clear.
Master Volume: This is the overall amp volume. Start at about 2 o'clock and adjust to your listening level. You can play quietly with the master low and the input hot, or play loud with both high. Finding the balance is part of the fun.
Tone Controls: Treble boosts or cuts high frequencies (brightness). Middle shapes the midrange (presence and warmth). Bass controls bottom-end response (weight and depth). For your first few sessions, set all three to 12 o'clock (noon) and listen to how the amp sounds. Then experiment by turning one control up or down by small increments.
Reverb: The Pro Junior has onboard spring reverb, a spatial effect that adds echo and space to your tone. Start with it at about 2–3 on the dial. Higher settings create dramatic, "cathedral" reverb; lower settings add subtle space. This control is forgiving and fun to explore.
Presence: This is a high-frequency boost that adds bite and focus to your tone. For a beginner, leave it at 12 o'clock. Once you are comfortable with the amp, try boosting presence for sharper attack or lowering it for a rounder tone.
Your First Practice Session
Plug in, turn the input volume to halfway and the master to 1 o'clock. Play your guitar and notice how the amp responds. Play a chord, then a single note. Play softly, then hard. Feel how the amp compresses and responds dynamically to your playing. Now gradually turn up the input volume and notice the tone warming and becoming more saturated. This responsiveness—the way a tube amp reacts to your playing—is the magic that keeps players coming back for decades.
Beginner Mistakes to Sidestep
Mistake One: Cranking the Master Volume Immediately
The urge to hear the amp "wail" is strong. Resist it. The Pro Junior sounds increasingly better at higher volumes (tubes need headroom to shine), but neighbours and housemates do not appreciate it. Start at 1 o'clock and work your way up gradually. You will hear wonderful tone at modest volumes if you explore the input volume instead.
Mistake Two: Never Plugging a Guitar In Before Powering On
Always plug your guitar in with the power off or the volume turned all the way down. Plugging a hot guitar cable into the amp creates a loud pop that can damage the speaker and your ears. Unplug the guitar with the amp off too. This simple habit prevents expensive repair bills.
Mistake Three: Running the Amp Without a Load
Tube amps need a speaker load connected. Never power on the Pro Junior without the speaker cabinet plugged in via the speaker output jack. Running a tube amp without a speaker load burns out the output transformer in seconds. This is expensive to repair. Keep the speaker connected, always.
Mistake Four: Touching the Tubes or Chassis When Hot
After playing, the amp and especially the tubes run extremely hot. Wait at least 15 minutes after powering off before touching anything inside. Burnt fingers are painful, and damaged tubes are expensive to replace. If you need to check something, let it cool fully.
Mistake Five: Ignoring Tube Replacement
Tubes wear out over time. A Fender Pro Junior typically runs two 12AX7 preamp tubes and two EL84 power tubes. After 2–3 years of regular use, tubes may sound dull or weak. Replacement tubes cost £30–60 per matched pair. Learning to spot worn tubes (reduced volume, thin tone, less responsiveness to playing) helps you replace them before tone suffers.
Mistake Six: Panicking When the Amp Hums or Slightly Buzzes
A low hum from a tube amp is normal—it is the 50Hz mains hum inherent to tube electronics. A slight buzz is also normal. If the noise is loud or painfully loud, switch the amp off and investigate. But subtle background noise is not a sign of failure; it is a sign of a working tube amp.
Moving Beyond Basics
Once you are comfortable with the Fender Pro Junior's core controls, explore further. Try a guitar effect pedal plugged into the amp's input for overdrive or fuzz layering. Experiment with swapping out the tubes for different brands, which subtly change tone (a deep topic for later). Consider a wireless system to move freely on stage. But all of this is optional. Many pro players use a stock Pro Junior stock forever and never feel limited.
Cross-Link
For a comprehensive overview of the Fender Pro Junior amplifier, its history and all available models and features, see the complete guide to Fender Pro Junior amplifiers.
The Bottom Line for Tube Amp Beginners
A Fender Pro Junior is a welcoming entry into tube amplification. Power on with the volume down, set the input to halfway and the master to 1 o'clock, and play. The warm, responsive tone emerges immediately. Explore the tone controls gradually and develop a feel for how the amp responds to your playing. Respect the high voltage, never run it without a speaker load, and keep tube replacement in mind as a future cost. Within a few sessions, you will understand why tube amps have captivated players for seven decades. A Pro Junior may very well be the last amp you ever need.



Comments