


Amp Mixer article
Amp Mixer for Beginners: A Complete Guide
An amp mixer doesn't need to intimidate you. Learn how to balance levels, apply basic EQ, and set up your first mixer confidently with this beginner-focused guide.
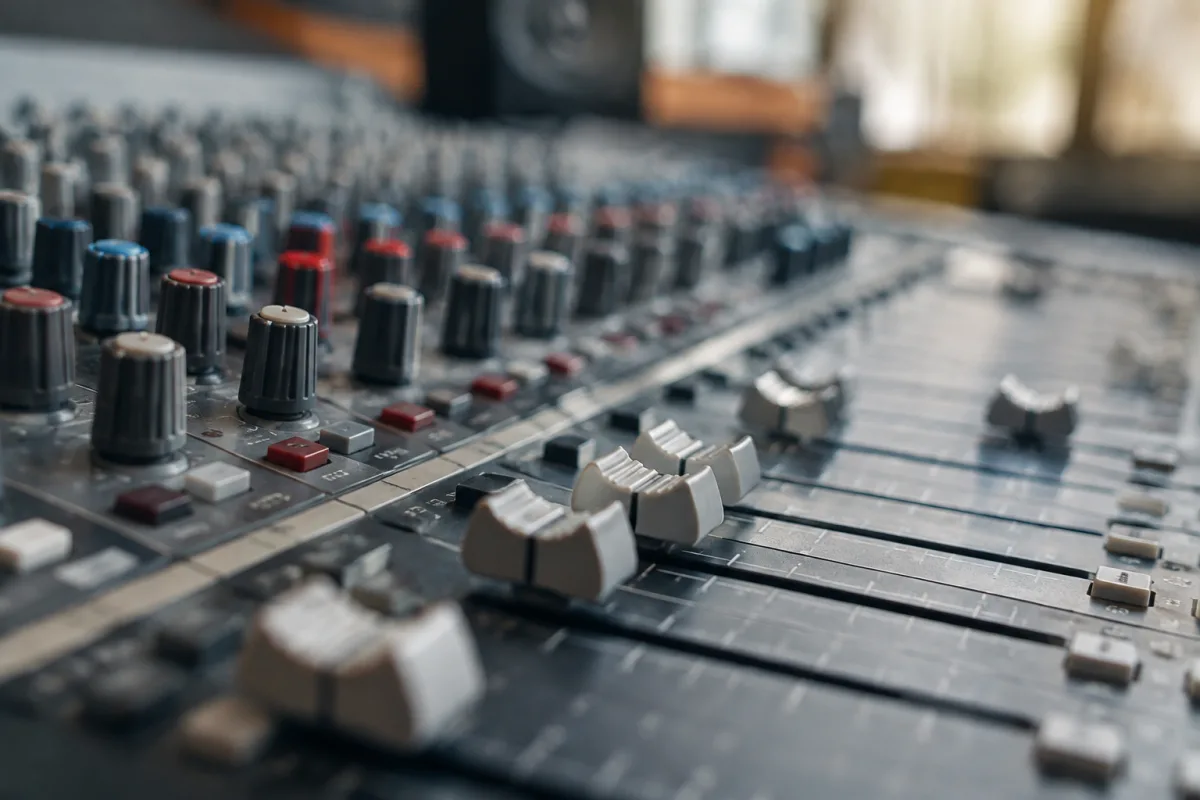
Understanding Mixers: Your First Steps to Blending Instruments
An amp mixer might seem intimidating if you're new to audio gear—dials and channels and mysterious controls. In reality, a mixer is simply a tool for combining multiple instruments or audio sources into one output. Whether you're a bassist running effects into an amp mixer, a keyboardist layering sounds, or a band blending live instruments, understanding the basics takes away the mystery and opens up creative possibilities.
This beginner's guide to amp mixers walks you through the core concepts, what the controls do, and how to set one up confidently.
What Is an Amp Mixer and Why Might You Need One?
An amp mixer lets you take multiple audio signals (instruments, effects units, backing tracks) and combine them into a single output that feeds your amplifier or sound system. It's not a standalone amp; it's a control hub that manages levels, tone, and routing.
Common uses:
- Multi-instrument performers: A bassist with effects pedals, keyboard, and sample loops can blend all into one amp.
- Full bands: Each band member runs into a mixer, which outputs to a main amplifier system or PA.
- Live streaming or recording: Multiple audio sources (instruments, vocals, backing tracks) combine into a single output to your audio interface.
- Effects processing: Complex pedalboards can use a mixer to sum multiple effect outputs before sending to an amp.
Small beginners don't always need a mixer, but once you have two or more audio sources, one becomes invaluable.
How Does a Basic Amp Mixer Work?
Every amp mixer has three essential parts: inputs, controls, and output.
Inputs: Where you plug in your instruments and effects. Each input channel has its own control section. Typical connectors are 1/4-inch (guitar/instrument standard) or XLR (professional balanced audio). Some compact mixers use both; others specialise in one type.
Controls per channel: Usually include a fader or knob (level control), EQ (tone shaping), and pan (left–right placement). Advanced mixers add effects sends, muting, and routing options.
Output: The master output combines all channels and sends the mixed signal to your amp or speakers. A master fader controls the overall output level.
In practice, you plug in your instruments, adjust each channel's level to match, apply EQ if needed, and listen to the combined mix. It's that simple at the beginner level.
Channel Levels and Avoiding Distortion
The most common beginner mistake is running channel levels too hot (too loud), which causes distortion and dynamic problems.
Here's the safe approach: plug in your first instrument and turn its channel fader all the way down (silent). Then slowly turn it up until the level is comfortable. Now plug in your second source and do the same. Adjust them so both sound balanced.
Most amp mixers show a meter or LED lights to indicate signal level. Aim for signals in the green zone; red means clipping (distortion). If an instrument clips, lower that channel's fader or use the channel's input gain/trim control to reduce the incoming signal strength.
The master fader should usually sit around the midpoint (12 o'clock). If you're constantly running the master fader at maximum, your channels are too quiet and your amp is straining. Conversely, if the master sits low, your channels are too hot. Proper gain staging—setting levels correctly throughout the chain—prevents noise and distortion.
Equalisation and Tone Shaping
Many amp mixers include basic three-band EQ on each channel: low (bass), mid (midrange), and high (treble) frequency controls. These let you shape each instrument's tone before combining.
- Low (bass): Adjust the deep, boomy frequencies. Cut bass if an instrument sounds muddy; boost if it sounds thin.
- Mid (midrange): Affects the instrument's presence and clarity. Boost mids if something sounds buried; cut if it's honky or harsh.
- High (treble): Brightness and shimmer. Boost for clarity; cut if something sounds harsh or icy.
A beginner's rule of thumb: start with all EQ at the centre (flat) and adjust only if an instrument sounds wrong. Small adjustments (a quarter turn on a knob) often suffice. Extreme EQ cuts or boosts can sound unnatural.
Panning and Stereo Placement
A pan (panorama) control lets you place an instrument in the stereo field—left speaker, right speaker, or centre. On headphones, panning is obvious; in a venue with two speakers, it spreads instruments across the stereo image for a wider, more spacious mix.
For a beginner, leave everything panned centre (straight down the middle) until you're comfortable. Once you master basic levels and EQ, experiment with panning to add width and separation.
Understanding Connectors and Cable Types
An amp mixer handles different audio standards, so knowing the connectors matters:
- 1/4-inch (TS or TRS): Standard for instruments, guitar pedals, and amp outputs. Unbalanced (TS, two terminals) or balanced (TRS, three terminals).
- XLR (3-pin): Professional audio standard, balanced. Common on microphones and professional gear.
- RCA: Unbalanced, lower-impedance. Found on keyboards, audio interfaces, and home electronics.
- 3.5 mm (aux jack): Small connector on portable devices. Convenient but not ideal for live use.
Check what connectors your mixer offers before buying. If you're connecting instruments (1/4-inch) but the mixer only has XLR, you'll need adapters, which adds complexity and potential noise.
Powered vs. Unpowered Mixers
An amp mixer can be unpowered (passive/mixer only) or powered (with built-in amplifier).
Unpowered mixer: Just a mixing hub. You run the output to a separate amplifier. Lighter, cheaper, flexible.
Powered mixer: Built-in amplifier drives speakers directly. No separate amp needed. More convenient but heavier and less flexible if you want to upgrade components.
For a beginner, a powered mixer is tempting because it's all-in-one. However, most serious musicians prefer unpowered mixers so they can choose their amplifier separately. Either works; the choice depends on your setup.
Setting Up Your First Amp Mixer
Step 1: Gather Your Gear
Collect your amp mixer, instruments, cables, and amplifier (or speakers if it's powered). Check that you have the right connectors.
Step 2: Connect Inputs
Plug your first instrument into Channel 1 input. Plug your second source into Channel 2, and so on. Use the correct cable type (1/4-inch TRS for balanced signals, XLR for professional gear).
Step 3: Connect Output
Run the mixer's master output to your amplifier (unbalanced 1/4-inch or balanced XLR, depending on both devices' connectors).
Step 4: Power On and Test
Turn on the mixer and your amp. Start with all channel faders down and the master fader at midpoint. Slowly turn up Channel 1's fader and check that the amp produces sound. Repeat for each channel.
Step 5: Balance Levels
Adjust each channel so all instruments sound balanced. Use the channel fader if the signal is clean; use the input gain/trim if the signal is clipping or too quiet.
Step 6: Add EQ If Needed
Once levels are balanced, apply subtle EQ to each channel if any instrument sounds muddy, thin, or harsh. Small adjustments go a long way.
Common Beginner Mistakes
Channels too hot, master too quiet: This forces your amplifier to strain and introduces noise. Set channels to proper levels so the master sits comfortably in its mid-range.
Extreme EQ settings: Beginners often cut or boost EQ aggressively, which sounds unnatural. Start flat and make tiny adjustments.
Wrong cable types: Using unbalanced cables for long runs introduces noise. Use balanced cables (TRS or XLR) for anything longer than 5 metres.
Ignoring the meter or ears: Watch the mixer's level meter and trust your ears. If it looks too hot (red), it probably is.
Plugging everything into one input: If you run multiple instruments into a single channel, you can't control their individual levels. Use separate channels so you can adjust each independently.
Your Next Steps
A beginner amp mixer setup is simpler than you think: plug in your sources, set levels, and listen. Once you've mastered the basics, explore EQ, panning, and routing. Gradually, the mixer becomes intuitive, and you'll understand how professional musicians blend multiple instruments into cohesive mixes.
For more information on mixer types, advanced routing, and how amp mixers fit into complex rigs, read our comprehensive guide to amp mixers.
FAQ
Q: Do I need a mixer if I have one instrument and one amp?
A: No. A mixer is only necessary when you have multiple audio sources to blend. A single instrument plugged directly into an amp works fine.
Q: Can I use any cables with my mixer?
A: Not ideally. Use balanced cables (TRS 1/4-inch or XLR) for long runs to avoid noise. Unbalanced cables work for short distances, but balanced is better for live use.
Q: What's the difference between a mixer and an audio interface?
A: A mixer blends multiple signals and outputs a mixed result. An audio interface converts analogue audio to digital (for recording or streaming). Some devices do both, but they serve different purposes.
Q: Why does my amp mixer buzz or hum?
A: Usually a grounding issue (cable shield not connected properly) or a signal level too hot. Check your cables and reduce channel levels. If hum persists, consult the mixer's manual.
Q: Should I buy a powered mixer or an unpowered one?
A: Powered is more convenient for self-contained setups. Unpowered offers more flexibility and lighter weight. Consider whether you want all-in-one convenience or flexibility.
Q: Can I connect headphones to my mixer to monitor the mix?
A: Most mixers have a headphone output. Plug in headphones to the headphone jack (usually 3.5 mm) to listen to your mix privately whilst the main output goes to your amp.



Comments