


Spring Reverb Pedal article
Spring Reverb Pedal for Beginners: A Complete Guide
Adding your first spring reverb pedal doesn't need to be confusing. This beginner guide covers setup, controls, practice techniques, and common mistakes to help you build confidence.
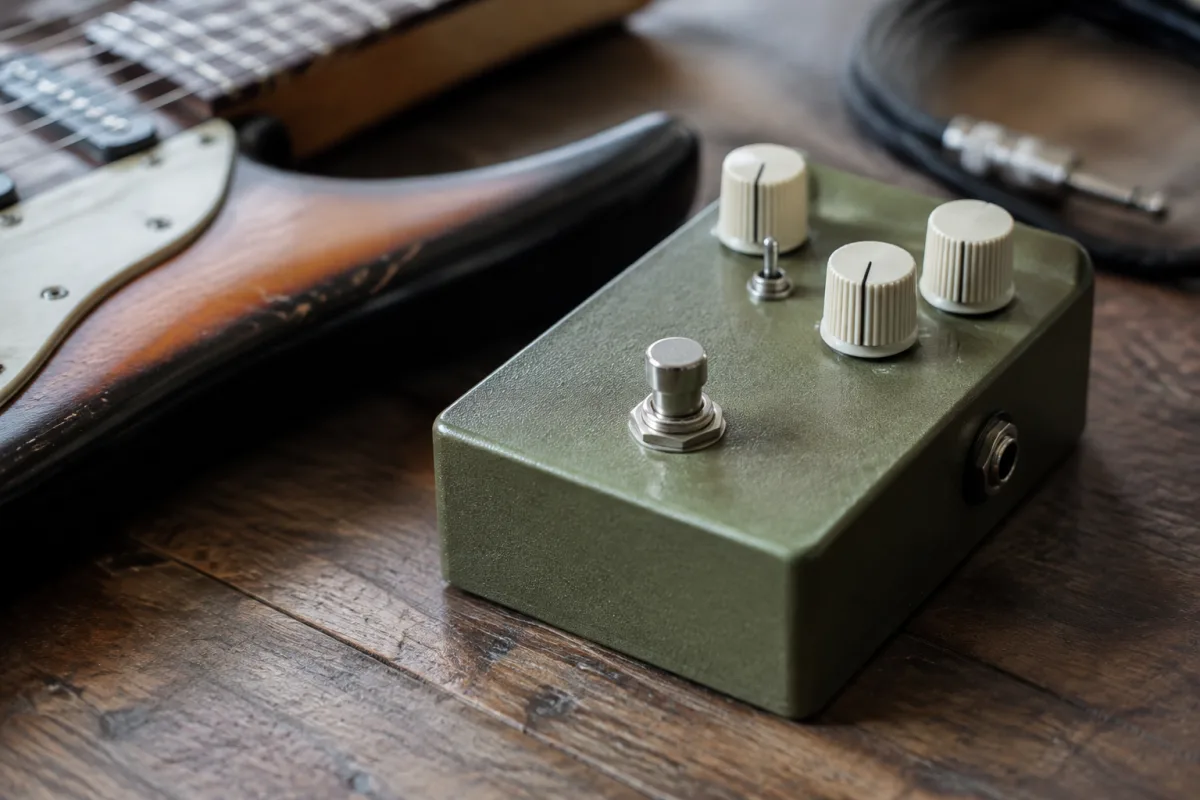
Adding your first effect pedal can feel overwhelming, but a spring reverb pedal is genuinely one of the gentlest ways to start. Unlike distortion or delay pedals that dramatically alter your tone, reverb simply adds space and dimension to what you already sound like. This guide walks nervous beginners through getting comfortable with spring reverb, from unboxing to your first performances.
What You Need to Know Before Plugging In
First reassurance: spring reverb won't break your guitar or amplifier, and it won't permanently change your tone. You can always turn it off. The pedal sits between your guitar and amp, adding a natural "room" sound to your notes. Spring reverb mimics the sound of acoustic space—the same effect you'd get by playing in a cathedral versus a bedroom. Beginners often worry they'll damage their gear by connecting a pedal incorrectly, but it's genuinely simple: guitar cable into the pedal's input, pedal's output to your amp's input. The only other connection needed is power (usually a battery or small power supply). That's it. No confusing menus, no software to learn.
Setting Up Your First Reverb Pedal: Step by Step
Unpack the pedal carefully and inspect it. Most spring reverb pedals arrive with either a 9V battery installed or instructions to insert one. Check whether your pedal uses a standard 9V battery or a specific power supply; the manual will clarify. Insert the battery (or plug in the power supply) and you're ready. Connect your guitar to the pedal's input jack using a standard guitar cable. Connect a second guitar cable from the pedal's output to your amp's input. That's genuinely all the wiring required. Now, plug your amp in and switch it on. Turn the amp's volume to a comfortable level. Assuming you see a small indicator light on the pedal (many have LED lights showing whether they're active), you're ready to play. Most pedals arrive with the effect switched off, so play a few notes to confirm everything sounds normal before engaging the reverb.
Understanding the Controls: Keeping It Simple
Spring reverb pedals typically have two or three knobs: level (or mix), decay, and sometimes tone. The level control determines how much reverb mixes with your dry signal. Start with the level knob at around 20-30% and gradually increase it as you play. This prevents the shock of hearing your tone completely drowned in effect. The decay knob controls how long the reverb "tail" lasts after you stop playing a note. For beginners, start with decay around the middle position. Too fast and the reverb disappears instantly, sounding unnatural. Too slow and notes blur together, making it hard to hear what you're actually playing. The tone knob (if present) adjusts the brightness or darkness of the reverb; again, middle position is a safe starting point. Here's the key beginner insight: you don't need to understand these controls perfectly. Most players experiment for five minutes and land on settings that feel right. There's no wrong answer, only your preference.
Your First Practice Session: Building Confidence
Start by playing simple melodies or chords you already know well with the reverb off. Listen carefully to your clean tone. Now slowly increase the level knob whilst playing the same melody. Hear how the notes get a subtle spacious quality? That's reverb working. It doesn't change the notes themselves, just adds character. Spend 10 minutes with light reverb (20-30% level) to get comfortable with how it sounds. Then increase decay slightly. Notice how the reverb tail lingers longer? Some beginners find this dreamy and inspiring; others find it distracting. There's no correct feeling here. If you dislike it, dial it back. If you love it, embrace it. Common beginner mistakes include setting reverb far too high on the first try (everything becomes washed out and unclear) and leaving decay so high that notes become indistinct. Neither is permanent—just turn the knobs down. Play for 20 minutes at modest settings before tweaking anything dramatically.
Common Beginner Mistakes to Avoid
The most frequent error is turning up the reverb level all the way immediately, then concluding it sounds terrible. Start low, increase gradually, and you'll find a sweet spot where reverb enhances rather than overwhelms your playing. Another common mistake: leaving the pedal on constantly during practice. Reverb is beautiful, but your ears and hands benefit from hearing your clean tone regularly. Switch the pedal on and off periodically to remind yourself what your raw sound is like. Some beginners disconnect the pedal because their clean tone sounds thin by comparison; this is actually proof that subtle reverb is working—add slightly less, not none. Don't assume you need an expensive pedal to learn. Budget spring reverb pedals sound genuinely good; as you progress, you'll develop preferences about tone that might lead to upgrading, but entry-level pedals are perfect for your first weeks. Finally, don't worry about using reverb "correctly." There's no wrong setting. Professional players sometimes use heavy, obvious reverb and sometimes barely any. Your instinct is the right guide.
Experimenting Safely: Building Your Sound
Once you're comfortable with basic level and decay settings, start experimenting. Play fast passages and notice how decay affects clarity. Play slow, single notes and hear how reverb creates shimmer. Try genre-appropriate settings: country and blues often use subtle reverb, whilst indie and ambient music sometimes use dramatic amounts. None of these are requirements, just observations about what sounds good in different contexts. Play with other musicians (in person or backing tracks) and listen to how reverb from your pedal sits alongside their sounds. Does it feel spacious or muddy? Adjust accordingly. Record yourself playing the same passage with reverb on and off; listening back reveals whether the effect is serving your playing or distracting from it. Beginners often surprise themselves at how much they enjoy their tone once they stop overthinking controls and simply play.
Battery or Power Supply? Making the Right Choice
Most spring reverb pedals run on a single 9V battery, which typically lasts 40-100 hours depending on usage. For bedroom practice, batteries work fine—you're only using the pedal for an hour or two at a time. However, if you practice daily or plan to use reverb in band settings, investing in a small 9V power supply (£10-25) saves money long-term and eliminates the risk of your battery dying mid-rehearsal. Power supplies also often have multiple outputs, letting you power several pedals simultaneously if you eventually add more effects. Beginners should start with whatever came in the box (usually a battery), then upgrade to a power supply once reverb becomes a regular part of your playing.
Connecting Your Pedal in a Larger Setup
If you have multiple pedals or a more complex signal chain, spring reverb traditionally goes last—after distortion, delay, or other modulation effects. However, for beginners with just one pedal, placement doesn't matter. Simply connect guitar to pedal to amp and you're done. If you later add a second pedal, connect them in series (output of one into input of the next) and the order generally follows this pattern: distortion/overdrive first, then modulation or delay, then reverb last. But here's a beginner-friendly secret: you can't break anything by trying different orders. Experiment, listen, and use whichever arrangement sounds best to you.
Troubleshooting: When Something Feels Wrong
If your reverb pedal makes no sound, first check that you're using the correct input and output jacks (some pedals have multiple I/O options). Verify the battery has power by looking for an LED indicator light. If the pedal is completely silent, the battery might be dead—try a fresh one. If sound comes through but the reverb doesn't engage, check that the footswitch (the button you press) actually turns the pedal on; some require a specific press (tap versus hold). If reverb engages but sounds muffled or weird, you might have the tone knob set too dark; turn it up. If the reverb tail cuts off suddenly, decay is probably set too low; increase it gradually. None of these issues are failures on your part. Pedals are simple devices—usually just battery, wiring, and knobs. If something feels wrong, it's likely a quick fix.
Growing Beyond Your First Reverb Pedal
After a few weeks or months of regular practice, you'll develop preferences. Maybe you prefer warm, dark reverb, in which case you'll notice when the tone knob controls this characteristic. Maybe you like fast decay because your playing style favors clarity. These observations are the beginning of developing your unique sound. As you advance, you might explore fancier reverbs (digital reverbs offer more options), different types (hall reverb, plate reverb, room reverb simulate different acoustic spaces), or combining reverb with other effects. But all of that comes later. Right now, your job is simply to play music and enjoy how reverb adds texture to your tone. For deeper exploration of reverb types and advanced techniques, consult our complete guide to spring reverb pedals. Most importantly, remember that this pedal serves your playing. If it inspires you, keep experimenting. If it feels confusing, turn it off and revisit it later. Confidence comes with time.


Comments