


Pedalboard Bass article
Pedalboard Bass for Beginners: A Complete Guide
A bass pedalboard organises your effects and makes your setup portable and professional. This beginner's guide removes the confusion and helps you build your first effects rig with confidence.
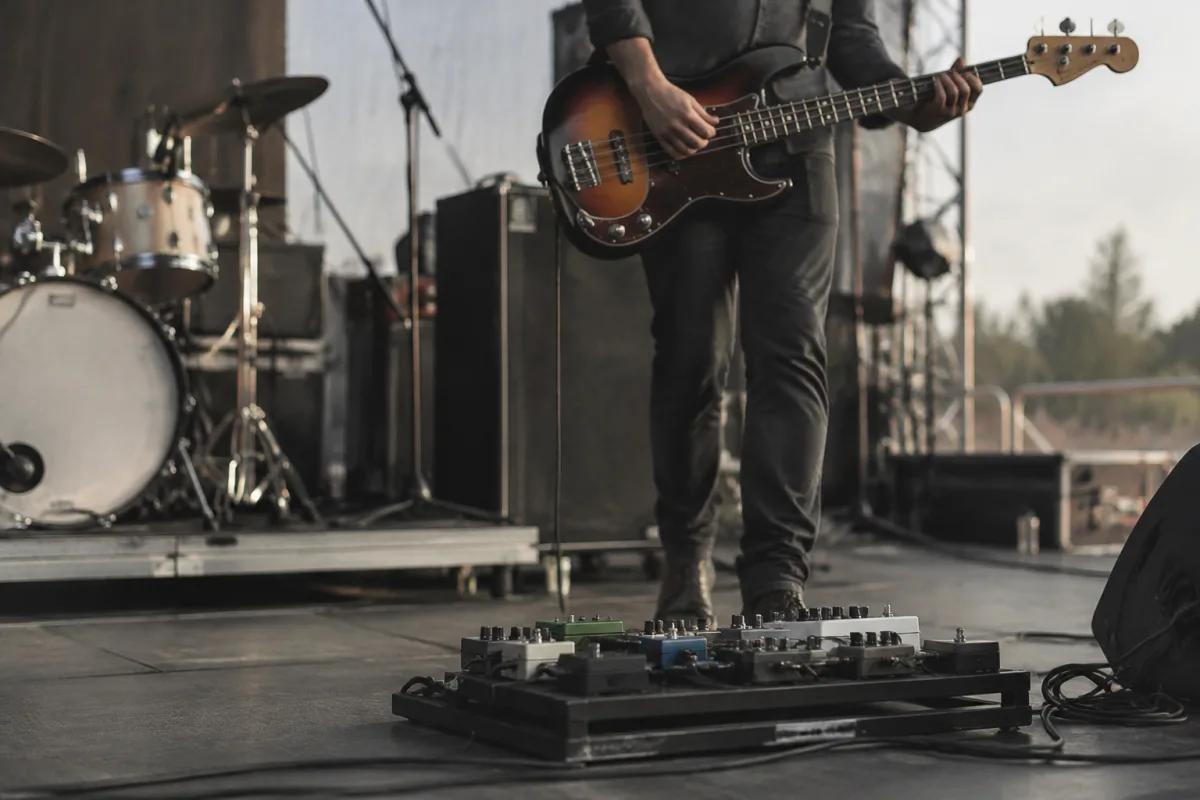
As a beginning bassist, you might feel confused by the world of effects pedals and pedalboards. The concept seems complex—which pedals do you need, how do they work together, and how do you even transport them to gigs? The reassuring truth is that starting with a bass pedalboard is far simpler than most beginners imagine. You don't need to own every pedal on the market or understand advanced signal routing. This beginner's guide breaks down bass pedalboards into straightforward concepts, helping you build your first effects setup with confidence.
What a Bass Pedalboard Actually Does
A bass pedalboard is simply an organised platform for mounting and managing your effect pedals. It solves a practical problem: multiple loose pedals on the floor create a tangled mess of cables, are easy to kick accidentally, and look unprofessional. A pedalboard keeps your pedals organized, accessible, and protected during transport. That's genuinely all it does—but that simple function matters tremendously for your playing reliability and stage presence.
Beyond organization, a quality pedalboard makes your effects setup portable and professional-looking. Venues and bandmates take you more seriously when your gear looks organised and well-maintained. For your own practice and confidence, having an organized effects setup encourages experimentation and creative development.
Understanding Pedalboard Basics for Complete Beginners
Before investing in a pedalboard, let's clarify what you actually need to know. A pedalboard is simply a sturdy platform, usually with adhesive strips or mounting systems for securing pedals. Most beginner pedalboards include basic cable management systems and carrying handles for transport. That's genuinely the extent of it—the complexity comes from the pedals themselves, not the board.
Common misconceptions about pedalboards cause unnecessary confusion. You don't need a huge professional board with room for 20 pedals. You don't need expensive cable management systems. You don't need to understand complex signal routing. A simple, compact pedalboard serving your actual needs is perfectly adequate for beginning bass players.
Starting Small: The Beginner's First Pedalboard
Your first pedalboard should accommodate 3-5 pedals comfortably. This modest size suits beginner budgets, forces prioritisation of effects that matter most, and remains highly portable. Many bass players never need a larger board—a compact pedalboard handles gigging bassists' needs perfectly well.
A basic pedalboard typically measures 24-36 inches wide and 12-18 inches deep—compact enough to fit in your car boot, small enough to carry between venues single-handed. This portability matters because equipment that stays home doesn't get used. Start with a size that travels with you easily.
Essential Features for a Beginner Bass Pedalboard
Focus on these key features when evaluating pedalboards:
- Sturdy Construction: Your pedalboard must survive being transported and stepped on occasionally. Plywood or metal construction provides durability. Avoid lightweight boards that flex or wobble underfoot.
- Pedal-Mounting System: The board should have mounting strips or brackets that securely hold pedals. Velcro strips work adequately for beginners—you'll replace them eventually, but they cost mere pounds and work reliably.
- Carrying Handle: A comfortable handle makes transport practical. This simple feature separates boards you'll actually use from ones that become static installations.
- Power Supply Consideration: Some pedalboards include power supply mounts; others don't. For beginners, a separate power supply works fine, but onboard mounting keeps your setup organized if you advance to more pedals.
- Cable Management: Simple channels or clips keep cables organised. You don't need elaborate systems initially—straightforward cable routing suffices.
- Appropriate Size: Choose a size matching your anticipated pedal count. A 3-pedal board looks sparse if you later add pedals, but a 10-pedal board intimidates beginners with unused space.
Common Beginner Mistakes with Pedalboards
Learning from others' experiences prevents wasted money and frustration. Here are frequent errors:
Buying Oversized Boards: Many beginners purchase massive professional-grade pedalboards thinking they need room for expansion. You end up with an unwieldy, difficult-to-transport board you don't fully utilise. Start small; upgrade only when you've genuinely outgrown your current setup.
Purchasing Without Pedals in Mind: Buy your pedals first, then choose a board accommodating them. Buying a pedalboard before knowing which pedals you want forces compromise and often leads to the wrong board.
Assuming Expensive Boards Sound Better: A pedalboard's only function is organization and transport. Expensive boards offer features like built-in power supplies or flight case construction, but these don't affect sound. A £40 basic board works identically to a £400 professional unit for your actual needs.
Neglecting Cable Management: Loose, tangled cables cause connection failures and frustration. Invest in proper cables and learn basic cable management from day one. This habit prevents mysterious signal problems later.
Installing Pedals Permanently: Use removable mounting (velcro strips) rather than permanent installation. Your needs and preferences will change—maintaining flexibility prevents expensive mistakes.
Getting Started: Your First Week with a Pedalboard
Week 1 Planning: Decide which effects pedals actually interest you. Research beginner-friendly pedals suitable for bass (overdrive, compression, delay are good starting points). Don't buy anything yet—just research.
Week 2-3 Acquisition: Purchase your chosen pedals individually or as a small bundle. Once you have actual pedals, measure their footprints and use those dimensions to select your pedalboard.
Week 4 Setup: Receive your pedalboard and mount your pedals using velcro strips. Install them in a logical order (typically input pedals first, modulation in the middle, delays/reverbs at the end).
Week 5 Cable Setup: Connect your pedals with quality short cables (typically 3-6 inch cables work well between pedals). Install your power supply and connect it to the board.
Week 6 onwards: Begin using your pedalboard in rehearsals and practice sessions. Experiment with different pedal order and settings. Get comfortable with your setup before gigging.
Proper Pedalboard Organization and Signal Flow
Understanding basic signal flow improves your pedalboard effectiveness. Audio enters from your bass, passes through your effect pedals in sequence, and exits to your amplifier. Generally, arrange pedals in this order: compression or volume control, then dirt pedals (overdrive/distortion), then modulation (chorus, phaser), then time-based effects (delay, reverb).
This arrangement isn't mandatory—experiment and find what sounds good to your ears. The important concept is that you have some intentional order rather than random pedal placement. Organised signal flow helps you predict and control your effects more effectively.
Budget Expectations for Beginner Pedalboards
Quality beginner pedalboards range from £30 to £100. Entry-level boards (£30-£60) offer solid construction and adequate features for most beginners. Premium beginner boards (£60-£100) might include better cable management or built-in power supply options. Professional-grade boards (over £150) offer features beginners won't need immediately.
For your first pedalboard, budget £50-£80 for a reliable, compact board that will serve you for years. This investment represents a small fraction of your total effects pedal investment and provides essential organization and portability.
Maintenance and Long-Term Care
Bass pedalboards require minimal maintenance. Occasionally check that velcro strips remain sticky; replace them if they've worn out (inexpensive replacement strips cost just a few pounds). Ensure all cable connections remain tight. Protect your board from moisture and extreme temperature swings during transport.
If your board becomes damaged, repair minor issues yourself or seek professional assistance. Treating your pedalboard respectfully—protective transport, proper storage, regular maintenance checks—ensures it remains reliable for years.
For additional information about bass effects and pedalboard strategies, explore our complete guide to bass pedalboards.
Building Your Effects Foundation Confidently
Starting with a bass pedalboard represents a major step in your musical development. You're moving beyond basic direct-to-amplifier playing and beginning to explore creative effects processing. This is exciting progress that opens new sonic possibilities and creative directions. Begin with a simple, compact pedalboard matching your actual needs, not your imagined future needs.
A quality beginner pedalboard costs less than a single premium effect pedal and provides the foundation for years of creative exploration. Start confidently, organise your effects properly, and enjoy the expanded sonic palette that effects processing provides to your bass playing.



Comments