


Keeley Effects article
Keeley Effects for Beginners: A Complete Guide
Keeley effects beginner guide: connect simply, use default settings first, adjust thoughtfully, and build your signature tone through practical experimentation.
Keeley effects pedals are professional-grade guitar effects built by a respected maker known for meticulous craftsmanship and refined tone shaping. If you've just purchased your first Keeley effect or you're considering one and wondering if it matches your skill level, this guide walks you through getting started without overwhelm. You'll learn how Keeley effects integrate into your setup, understand controls using practical musical context, discover the easiest path to inspiring sounds, and build confidence using professional-grade equipment within your first session. Beginner doesn't mean you can't use advanced effects—it means understanding that Keeley pedals reward simple, thoughtful use over complicated parameter tweaking.
Understanding Keeley Effects as a Brand
Keeley builds effects pedals ranging from classic tone shapers (overdrive, distortion, modulation) to experimental creations (fuzz variants, pitch shifters, and complex multi-effects). Each pedal is hand-assembled with carefully selected components. This craftsmanship means every pedal sounds tonally coherent and responds musically to your playing. You're not buying a budget device—you're investing in an effects tool used by touring musicians and recording professionals.
The important distinction: Keeley makes individual single-effect pedals (each doing one thing well) rather than multi-effect units that attempt everything. This simplicity is genuinely a strength. A single Keeley pedal focused on one effect does that effect beautifully and predictably.
Unboxing and Identifying Your Pedal
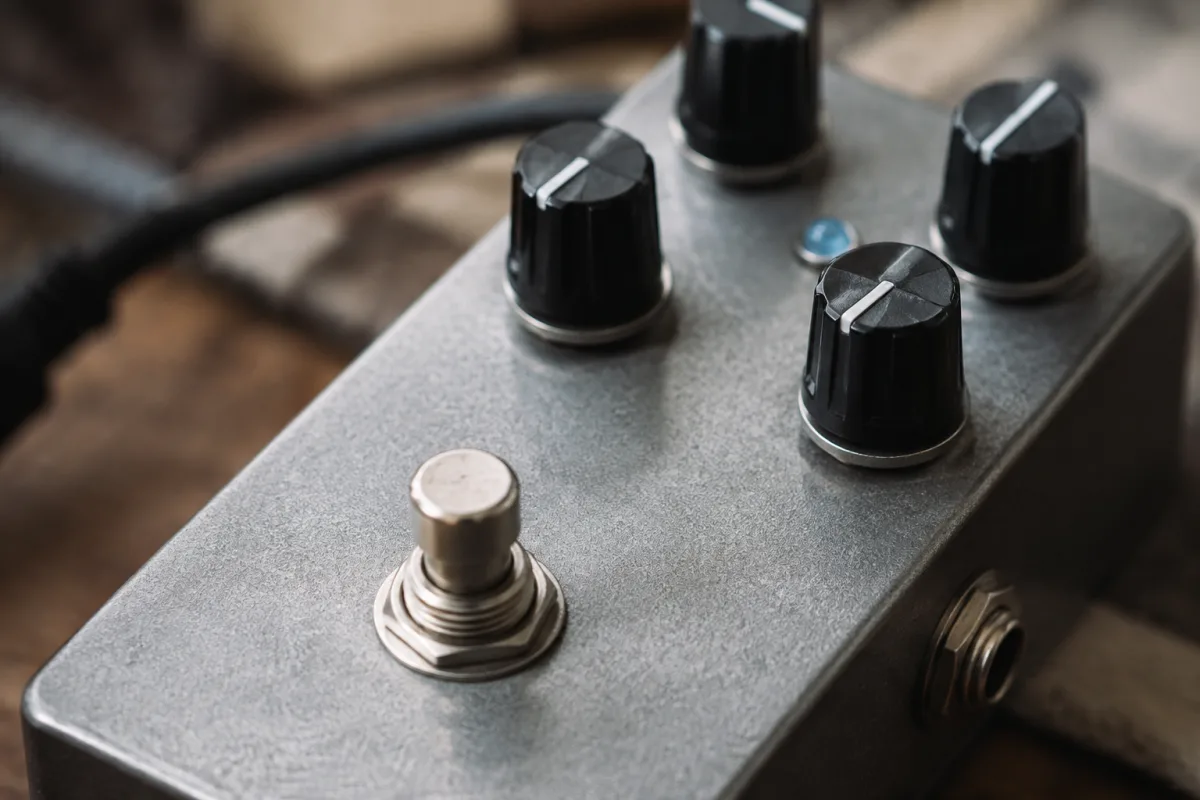
When your Keeley effect arrives, examine the pedal carefully. You'll see the effect name (overdrive, distortion, reverb, or other), a footswitch to turn the effect on/off, several knobs controlling different parameters, and likely an LED indicator showing whether the effect is engaged. Read the parameter names printed on the pedal—they tell you what each knob does.
Most Keeley effects share common controls: volume (adjusts effect output level), tone or tone stack (brightens or darkens the effect character), and usually 1–2 specialised controls (depending on the specific effect type). This consistency means understanding one Keeley pedal gives you intuition about others.
Your First Connection: Signal Path Basics
Connect your Keeley effect between your guitar and amplifier using standard instrument cables. Plug your guitar into the "Input" (sometimes marked "In"), then plug the "Output" (sometimes marked "Out") into your amplifier. Power the pedal using the included power supply. Give it 10 seconds to initialise. You're now ready to use the effect.
Turn the effect volume knob to about halfway. Step on the footswitch to engage the effect. Play your guitar. Hear how the effect immediately transforms your tone? Stop here. You've successfully used your first Keeley effect. This moment—hearing your guitar transform through a professional effect—is the genuine goal of your first session.
Understanding Effect Controls Without Complexity
Every Keeley effect includes a volume control—turn it up to increase effect output, down to decrease. This is intuitive and identical across all Keeley pedals. The tone control (when present) adjusts brightness: turn counterclockwise for darker tone, clockwise for brighter tone. Experiment: engage the effect, play a simple riff, then gradually turn the tone knob whilst listening. Your ears immediately hear the tonal change and understand what the control does.
Specialised controls (which vary by effect type) do specific things: a sustain knob on a compressor determines how long tones ring, a feedback control on a delay determines how many repeating echoes occur. Read the parameter names and trust that the designer chose these specifically because they matter musically. Don't intellectualise—just listen to how adjustments colour your playing.
Your First Week: Practical Exploration
Every day for your first week, engage your Keeley effect and play for 20 minutes using only the default settings. Don't twist every knob constantly. Instead, play familiar songs or passages and listen to how the effect transforms them. After a week of regular use, the effect becomes familiar and predictable. Only then should you experiment with parameter adjustment.
Spend your second week gradually adjusting one control at a time whilst playing the same passage. Adjust the tone knob slightly, play, hear the difference, adjust further. This question-driven learning proves far more effective than reading technical specs. You're developing intuition through experience.
Common Beginner Mistakes to Avoid
The biggest mistake: immediately tweaking all controls searching for the "perfect" sound. This creates confused, unusable settings and frustrates you into thinking the pedal is unreliable. Instead, use default settings for a week, then adjust one parameter at a time after developing baseline understanding.
Another frequent error: running the effect at maximum settings thinking it improves your tone. Maximum distortion doesn't sound better—it sounds extreme and unmusical. Maximum tone tweaking creates harshness. Find moderate settings that enhance your playing without overwhelming it. Subtlety is professionalism.
Beginners also often assume Keeley effects sound "better" than cheaper alternatives and expect this superiority to be immediately obvious. Keeley effects sound tonally coherent and respond musically, but the difference compared to budget effects is often subtle. The real value emerges through months of use as the effect becomes a trusted tone-shaping tool you reach for instinctively.
Pedal Order and Stacking Effects
Using one Keeley effect is simple. Using multiple effects introduces signal chain ordering questions. Generally: place drives/distortions first in the chain, then modulation (chorus, phaser), then time-based effects (delay, reverb) last. This ordering reflects how professional pedalboards are typically configured. However, experimentation is encouraged—try different orders and listen to how effects interact differently.
Don't worry about this yet if you only have one Keeley effect. Focus on mastering that single pedal's character and control responsiveness. Signal chain ordering becomes relevant only once you own multiple effects.
Building Your Signature Tone
After one month of regular Keeley effect use, you'll discover which settings sound inspiring to your ears. These become your "go-to" configuration—the place you return when you want that effect's signature character. As you explore beyond default settings, you're building a personal tone palette. This process is entirely musical and intuitive. Trust your ears.
Record yourself playing through your Keeley effect using different settings. Listen back and hear which versions inspire you most. These recordings document your evolving understanding and become references for recreating favourite sounds.
For comprehensive information about specific Keeley effect types and advanced tone-shaping techniques, refer to the complete guide to Keeley effects, which explores detailed applications and professional workflows.
Your Path Forward
Connect your Keeley effect between your guitar and amplifier. Engage the effect using the footswitch and play for 20 minutes using default settings. Record a short passage. Listen back and celebrate hearing your guitar tone transformed by professional equipment. That transformed tone—enriched, shaped, inspired—is your Keeley effect succeeding. Everything beyond this first session is deepening familiarity and exploring how different settings serve different musical contexts. You've already accomplished the essential goal: using professional effects confidently. Now keep playing daily and let intuition about your effect's character develop organically.


Comments