


Audio Sampler article
Audio Sampler for Beginners: A Complete Guide
A friendly introduction to audio samplers for nervous first-timers—recording your first sound, playing with pitch and timing, and discovering why samplers are one of the most rewarding tools in music production.
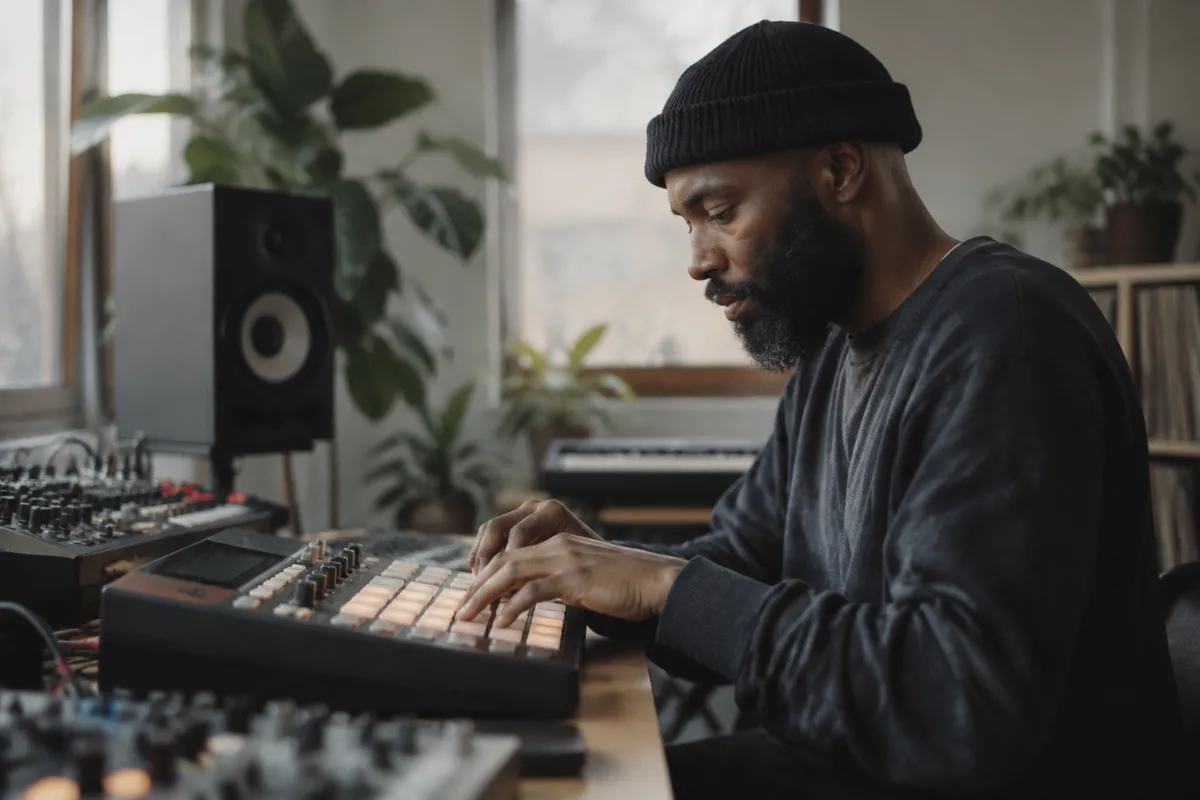
Starting out in music production and feeling overwhelmed by samplers? You're not alone. The idea of recording sounds, chopping them up, and turning them into something new seems technical and intimidating if you're just beginning. But here's the truth: using an audio sampler is genuinely simpler and more fun than most beginners expect. This guide takes you through everything you need to know, with encouragement along the way.
What an Audio Sampler Actually Does
An audio sampler is a device or piece of software that records a sound—any sound—and lets you manipulate it. You can play it back at different pitches, chop it into pieces, layer it with other sounds, and create something entirely new. That scratched vinyl record, that horn stab, that vocal phrase—once you've recorded it into a sampler, you own it as a raw material to work with.
For beginners, the key insight is that an audio sampler doesn't require a technical background. You're not writing code or reading dense manuals. You're recording sounds you like and playing with them. The learning curve is gentler than you'd expect, and the creative payoff is immediate and rewarding.
Why Beginners Should Start with a Sampler
An audio sampler is actually one of the friendliest entry points into serious music production. Unlike synthesisers, which ask you to understand oscillators and filter cutoffs, a sampler starts with a sound you've already recorded or found. You can immediately hear what you're doing and why. That direct feedback loop is brilliant for building confidence.
The other advantage is that samplers teach you about rhythm, layering, and arrangement naturally. You're not learning theory in a vacuum; you're building skills with sounds that excite you. And because sampling is used everywhere—from hip-hop to electronic music, from film scores to pop production—you're learning a technique used by professionals across nearly every genre.
Recording Your First Sample
Before you start worrying about editing or processing, let's talk about capturing a sound. If you're using software, you'll typically press a record button, play or sing into your microphone, and hit stop. That's it. You've now got an audio sampler recording. The sound might be rough or imperfect—that's fine. Most of the best samples in music history sound imperfect. That's part of their character.
If you're using a hardware sampler, the process is almost identical: there's a record button, you input your audio, and you've captured it. Some samplers let you record via microphone; others accept line-level audio from a synthesiser, guitar, or drum machine. Either way, it takes seconds to get a sound into the sampler.
A beginner's first sample doesn't need to be complicated. Record yourself humming a melody. Sample a moment from a record you love (respecting copyright if you're sharing your work). Capture the sound of something interesting—a bell, a door, water. Beginners often worry that their samples aren't "good enough," but that anxiety is needless. Every sample is potentially useful, and half the fun is discovering uses for sounds you weren't expecting.
Playing Your Sample at Different Pitches
One of the most magical features of an audio sampler is that it can play your recorded sound at any pitch. This is where samplers start to feel genuinely powerful. Record a single word or a two-second drum loop, and suddenly you can play it as a melodic phrase or create new rhythmic variations by playing it at different speeds.
Most samplers map your recording to a keyboard, so each key triggers the sample at a different pitch. Middle C might play it at normal speed; a higher note plays it faster and higher; a lower note plays it slower and lower. For beginners, this is liberating—you don't need to understand pitch mathematics. You just play keys and hear the result immediately.
The creative possibilities here are genuinely exciting. A single sampled vocal phrase becomes a whole melody. A short percussion sound becomes a new drum kit. That direct connection between what you're playing and what you're hearing is why samplers are so addictive and intuitive to learn.
Editing Your Sample: The Basics
Once you've recorded an audio sampler sample, you might want to trim it, loop it, or adjust its length. Don't let the word "editing" intimidate you. In most sampler software, these are straightforward operations.
Trimming means removing unwanted silence or extra noise at the beginning or end. You see a visual representation of your sound—called a waveform—and you drag the edges to mark where you want it to start and stop. That's literally all trimming is.
Looping means telling the sampler to repeat a section of your sound continuously. If you've recorded a two-bar drum loop, you can set it to loop so it plays continuously without a gap. Again, most samplers show you the waveform, and you mark the start and end points. The sampler handles the rest.
For beginners, these operations might feel foreign at first glance, but they're far simpler than they sound. Spend five minutes experimenting, and you'll understand them intuitively. There's no mathematics involved; it's all visual and immediate.
Common Beginner Mistakes and How to Avoid Them
After watching many new producers pick up audio samplers, certain patterns emerge. The biggest mistake is overthinking. Beginners often feel they need to understand every feature before they start experimenting. That's backward. Play with your sampler, record sounds you enjoy, and learn by doing. Understanding follows naturally from experimentation.
The second common pitfall is recording audio that's too quiet or too loud. If your input level is too low, you'll get hiss and noise. If it's too hot, you'll get distortion. The solution is simple: keep an eye on your input level meter. Aim for something in the middle, not right at the top. It's not complicated, but it's worth knowing from the start.
Another mistake is assuming that longer samples are better. Beginners sometimes record huge chunks of audio, thinking more is more. In reality, shorter, tightly edited samples are far more useful and creative. A one-second vocal stab or a single drum hit often produces richer creative results than a lengthy recording. Short samples give you more flexibility.
Finally, some beginners get discouraged because their early samples sound rough or they don't immediately know how to use them musically. That's completely normal. Every producer starts there. Your samples will improve as you develop your ear, and your creative use of them will deepen over time. The skill compounds; just keep working.
Taking Your Sampler Further
Once you're comfortable recording, playing, and editing basic samples, you'll naturally want to explore more. Some audio samplers offer filters, envelopes, and effects that let you shape your sound further. Others let you layer multiple samples and create complex arrangements. Each of these features becomes intuitive once you understand the basics.
The beauty of learning on a sampler is that you're not drowning in complexity from day one. You start simple, get comfortable, and add features as your confidence and ambition grow. There's no rush to master everything at once.
For a thorough exploration of what samplers can do, check out our complete guide to audio samplers, which covers more advanced techniques and concepts in depth.
Your Sampler Journey Starts Here
An audio sampler is one of the most rewarding tools in music production. It's forgiving of mistakes, it encourages creativity, and it teaches you skills that transfer to every other aspect of making music. You genuinely don't need to feel intimidated. Record a sound, play it, experiment, and enjoy the process. That's how every great producer started, and that's how you'll grow too.


Comments