


Roland Tr article
Roland Tr for Beginners: A Complete Guide
The prospect of programming a Roland TR drum machine intimidates many producers, but these legendary instruments prove surprisingly accessible for beginners.
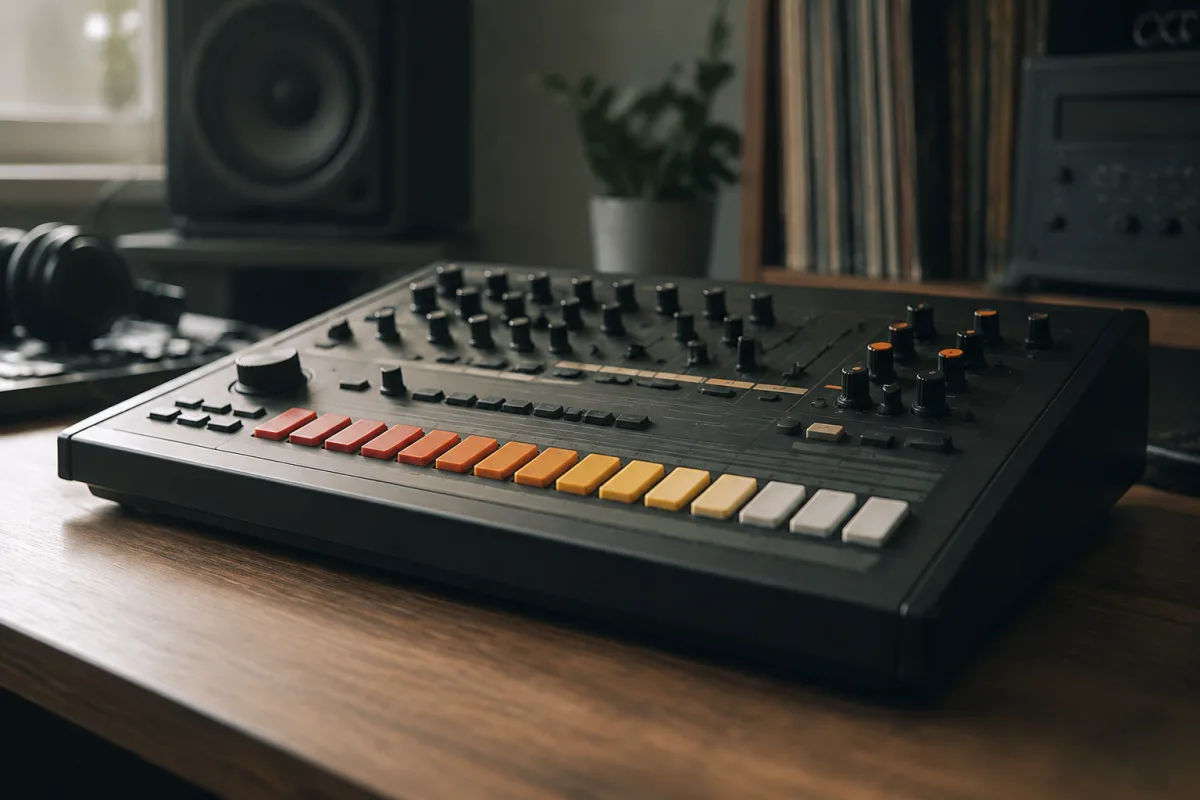
The prospect of programming a Roland TR drum machine intimidates many producers, but these legendary instruments prove surprisingly accessible for beginners. Rather than requiring deep technical knowledge or electronic music production experience, you can create compelling rhythms with a Roland TR within your first session. This beginner's guide removes the mystery and shows you the fastest path to musical competence with these culturally significant instruments.
Understanding What Roland TR Actually Does
A Roland TR drum machine generates electronic drum and percussion sounds through internal synthesis and samples. Unlike strumming a guitar or playing piano, a Roland TR requires you to program rhythmic patterns—telling the machine which drums should play on which beats. This programming might feel alien initially, but the process directly teaches rhythm, timing, and arrangement thinking. A Roland TR essentially is a rhythm composition instrument rather than a performance tool like traditional percussion. Understanding this distinction shapes how you approach learning.
Your First Roland TR Session: Start with Drum Selection
Don't program immediately. Spend your first session exploring what drums your Roland TR contains. Navigate through kick drums, snares, hi-hats, and percussion sounds, listening to each carefully. Notice how different kick variations sound—some punchy, others warm, some with decay. This exploration teaches you about drum sound character. A Roland TR might include 20 kick drum variations; understanding the sonic differences between them develops your ear for rhythm production. This "just listening" time isn't wasted—it's essential foundation-building.
Learning Your Roland TR's Basic Interface
Most Roland TR instruments organise controls logically around fundamental tasks: drum selection, pattern programming, sequencer controls, and sound adjustment. Don't memorise the manual immediately. Instead, sit with your Roland TR and press buttons deliberately, watching what happens. You'll discover that certain knobs control drum sounds, certain buttons select instruments, and certain controls manage timing. This hands-on exploration teaches faster than reading. Your first accidentally-discovered function often sticks better in memory than reading explanations.
Creating Your First Pattern: Simple 4-on-the-Floor
Begin programming the simplest possible rhythm: a kick drum playing on every beat (four kicks in four beats). This foundation teaches you the sequencer's basic operation without complexity. Once you've programmed this simple kick pattern, add hi-hats playing eighth-note subdivisions (faster hits between beats). Now add a snare on beats 2 and 4. You've just programmed house music's fundamental pattern using your Roland TR. This simple structure teaches you more about rhythm than complex patterns would.
Understanding Time Signature and Beat Divisions
A Roland TR typically sequences patterns in 4/4 time (four beats per pattern, notes in quarter-note increments). Beginners don't need to memorise time signature theory—experience teaches the concept. Program a pattern, listen to it, adjust. Your ears develop understanding through direct musical experience faster than intellectual study. Once you've programmed several patterns, you'll intuitively grasp beat relationships and subdivision concepts.
Avoiding Common Beginner Mistakes
Beginning Roland TR users commonly overcomplicate their first patterns, adding too many drums simultaneously and creating chaotic results. Resist this impulse. Start with just one or two drum sounds. Master simple rhythms before adding complexity. Another common mistake involves programming every possible beat position, forgetting that simplicity often sounds better than density. A pattern with strategic rests (silent beats) usually sounds more interesting than constant drumming. Finally, don't panic about making "mistakes"—programming Roland TR intentionally teaches rhythm better than following tutorials exactly.
Practical Sound Design: Adjusting Your Kick Drum
Once you've programmed a basic pattern, explore sound adjustment. Most Roland TR models include decay controls affecting how long drum sounds ring out. Shorten your kick drum's decay for tight, punchy rhythm or extend it for more sustain. Experiment with tuning controls adjusting pitch. This direct experimentation teaches you how electronic drum sounds work—they're sculpted by envelope parameters rather than fixed recordings. Understanding this principle transforms your approach to rhythm production.
Building Longer Compositions: Pattern Variation
Most Roland TR instruments allow programming multiple patterns. After mastering one basic rhythm, create variations—maybe removing hi-hats for the second pattern or adding tom fills. String these patterns together chronologically, creating a short composition that builds interest through variation. This simple approach teaches arrangement principles directly. Your first complete composition might only be 32 bars, but the experience of building structure through variation proves invaluable.
Swing and Feel: Making Rigid Timing Musical
Programmed rhythms sometimes sound mechanical or lifeless because every beat aligns with perfect timing. Most Roland TR instruments include swing controls that intentionally delay certain beats slightly, creating human-like imprecision that adds groove. Experiment with swing controls on your programmed patterns—usually a small amount (10-20%) suffices. You'll discover that seemingly "wrong" timing often sounds better than perfect precision. This counterintuitive principle teaches important rhythm production lessons.
Avoiding Analysis Paralysis
Beginning Roland TR users often research extensively before trying anything, feeling intimidated by the instrument's complexity. This research instinct, while understandable, prevents actual learning. You learn Roland TR through programming, listening, and adjusting—not reading manuals or watching tutorials exclusively. Dedicate half your learning time to hands-on experimentation and half to reference material. This 50/50 balance accelerates genuine skill development.
Your Learning Timeline
Week one: Explore drum sounds, create the simplest possible 4-on-the-floor kick pattern. Week two: Add hi-hats and snares to basic patterns, understand how your Roland TR's sequencer works. Week three: Program pattern variations, create 32-bar compositions with structural changes. Week four: Explore rhythm-altering features like swing and humanisation, read roland tr 909 a complete guide for advanced techniques. By month two, you'll create compelling rhythms confidently. This progression builds practical skill and confidence simultaneously.
Common Questions Answered Through Experience
Most beginner questions answer themselves through direct experimentation. Why should I use swing? Because you'll hear it working when you enable it. How many kicks should I program? As many as sound good—your ear develops preferences through listening. When should I add complexity? When basic rhythms feel boring. Trust your instincts more than external guidance during early learning. Your musical intuition develops through hands-on experience faster than following rules.


Comments