


Brass Cleaning Kit article
Everything You Need to Know About Twinkle Brass and Copper Cleaning Kit
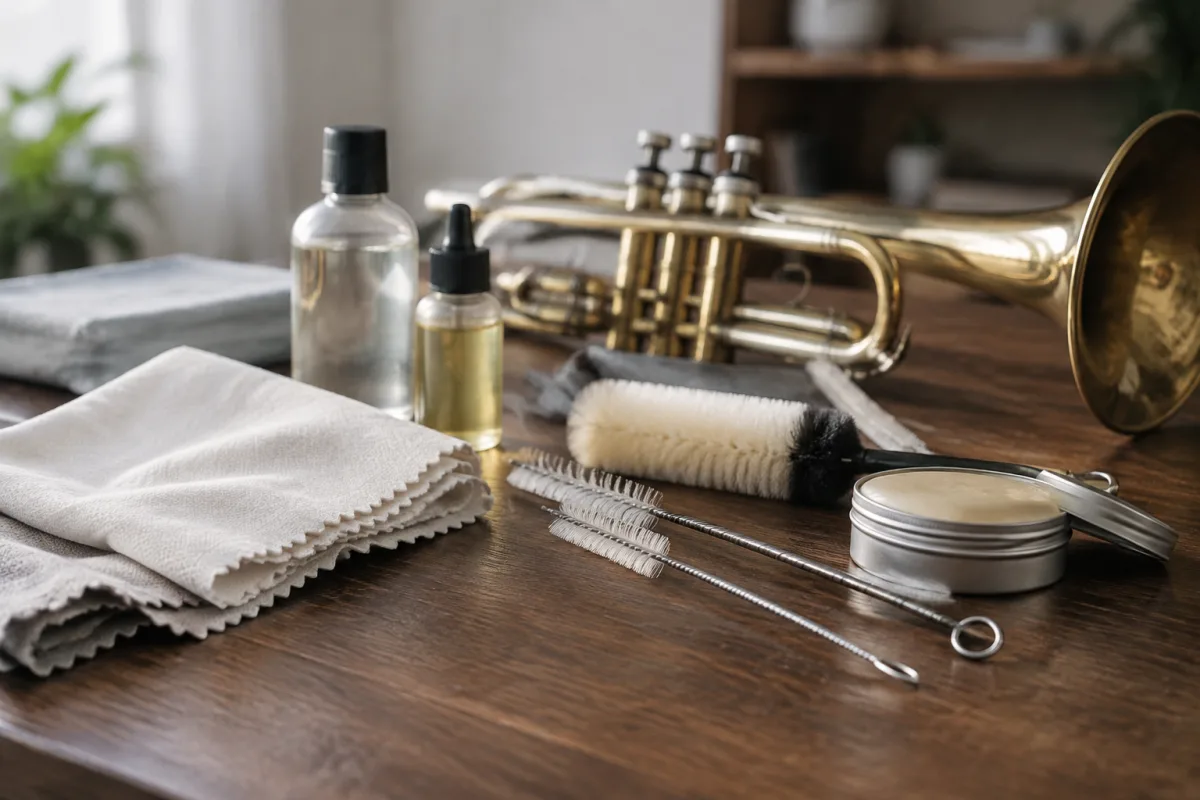
Brass instruments are prized for their rich, warm tones, but maintaining their brilliant finish requires proper care. A comprehensive brass cleaning kit is essential for any serious musician or band director, combining the right tools, polishes, and protective products to keep your instruments looking and sounding their best. Whether you play the trumpet, trombone, French horn, or tuba, understanding what goes into an effective cleaning kit will help you make an informed purchase and develop a sustainable maintenance routine.
What Is a Brass Cleaning Kit?
A brass cleaning kit is a curated collection of specialised products designed specifically for the maintenance of brass instruments. Unlike general household cleaners, which can damage lacquer finishes or corrode delicate valves, these kits contain only products formulated to preserve both the appearance and functionality of your brass. Most comprehensive kits include a polishing cloth, valve oil, slide grease, and a protective lacquer—everything needed for regular upkeep and deep cleaning.
The core purpose of a brass cleaning kit is twofold: aesthetic maintenance and functional preservation. Tarnish, oxidation, and fingerprints accumulate quickly on brass surfaces, and without proper cleaning, this build-up can eventually affect the instrument's tonal qualities. A dedicated kit ensures you have the right solutions on hand whenever maintenance is needed.
Essential Components of a Quality Brass Cleaning Kit
Professional brass cleaning kits typically include several key items, each serving a specific purpose in the maintenance process:
| Component | Purpose | Frequency of Use |
|---|---|---|
| Microfibre polishing cloth | Remove tarnish and restore shine | After every playing session |
| Valve oil | Lubricate valve mechanisms for smooth operation | Weekly or as needed |
| Slide grease | Ease the movement of trombone slides and valve slides | Weekly or as needed |
| Brass polish or cream | Remove stubborn tarnish and oxidation | Monthly or when tarnish appears |
| Protective lacquer spray | Seal and protect the brass finish | After deep cleaning, every 3–6 months |
| Cleaning rod or snake | Remove debris from tubing interiors | As needed, typically monthly |
Choosing the Right Brass Cleaning Kit for Your Needs
Not all brass cleaning kits are created equal. Your choice depends on several factors: the type of instrument you play, how frequently you perform, and whether your brass has a lacquer finish or is unlacquered (raw brass).
For regular musicians, a mid-range kit with basic polishing cloths, valve oil, and slide grease is typically sufficient. These kits cost between £15 and £35 and cover most everyday maintenance needs.
For professional musicians and serious enthusiasts, premium kits offer higher-quality products with specialised formulas. Expect to spend £40–£80 for kits that include superior polishing compounds, synthetic microfibre cloths, and professional-grade lubricants that extend instrument life.
For trombone and French horn players, look for kits that emphasise slide maintenance. These instruments require more frequent lubrication, and kits tailored to their needs include fast-dry slide grease that won't attract dust.
Step-by-Step Cleaning Routine
Using your brass cleaning kit effectively requires understanding the proper sequence. Here's how a professional cleaning routine works:
- Wipe down after playing: Use a soft microfibre cloth to remove moisture and fingerprints immediately after playing. This is the quickest way to prevent tarnish build-up.
- Apply valve oil: Oil your valves weekly (or more often if you practise daily). A single drop in each valve is sufficient—excess oil can clog mechanisms.
- Grease valve slides and main slide: If your instrument has external slides, apply slide grease to the outer tube. For trombones, this is the critical maintenance step.
- Polish weekly: Use a cream or paste polish to maintain shine and remove light tarnish. Apply with a soft cloth in circular motions, then buff until the brass gleams.
- Deep clean monthly: Run a cleaning snake through the tubing to dislodge debris and moisture that can accumulate inside. Follow up with a thorough polish and re-oil all moving parts.
- Reapply protective lacquer seasonally: Every 3–6 months, depending on climate and use, spray a fresh coat of protective lacquer to seal the finish and reduce the rate of tarnish formation.
Common Mistakes to Avoid
Even with a quality cleaning kit, mistakes in application can damage your brass instruments. Here are the pitfalls to watch for:
- Using household cleaners: Bleach, window cleaner, and abrasive kitchen sponges will strip lacquer and corrode brass. Stick only to products formulated for musical instruments.
- Over-polishing: Aggressive polishing can thin the lacquer finish. Use gentle, circular motions and avoid excessive pressure.
- Neglecting interior maintenance: Most players focus on external shine but forget about tubing interiors, where moisture and verdigris accumulate. Regular snake cleaning prevents valve stiction.
- Applying too much lubricant: Excess valve oil pools inside the valve casing and attracts dust, causing sluggish response. A single drop is sufficient.
- Skipping the protective spray: Protective lacquer is not optional for long-term maintenance. Without it, tarnish returns within days of polishing.
Budget Considerations and Brand Recommendations
When selecting a brass cleaning kit, several reputable brands have earned trust within the musical community. Entry-level kits from manufacturers like Yamaha and Jupiter offer reliable performance at affordable prices. Mid-range options from Bach and Conn combine quality components with reasonable pricing. Premium kits from specialist brands like Edwards and Calicchio include aerospace-grade polishes and synthetic lubricants designed for professional touring musicians.
Budget £30–£50 for a kit that will serve you well for years. Attempting to save money with a £10 kit often backfires when cheap polishes damage your lacquer or generic oils gum up your valves.
Maintaining Your Cleaning Kit Itself
A brass cleaning kit requires its own upkeep. Store polishing cloths in a dry place and replace them when they become saturated with polish residue. Keep polish containers tightly sealed to prevent evaporation. Check expiration dates on oils and lacquers, as lubricants can separate or thicken over time. A well-maintained kit lasts for years and continues to deliver reliable results.
Conclusion
A quality brass cleaning kit is a worthwhile investment for any musician who takes their instrument seriously. By choosing a comprehensive kit matched to your instrument type and maintaining a consistent cleaning routine, you'll preserve the beauty and playability of your brass for decades. The modest expense of a good kit is trivial compared to the cost of professional repairs or the disappointment of a tarnished, sluggish instrument. Make regular maintenance part of your musical practice, and your brass will reward you with bright tone and reliable performance.





Comments