


Student Clarinet article
Student Clarinet for Beginners: A Complete Guide
Learning clarinet feels overwhelming at first, but within weeks you'll produce recognisable tones. This guide covers setup, practice routines, lessons, and how to build confidence as a complete clarinet beginner.
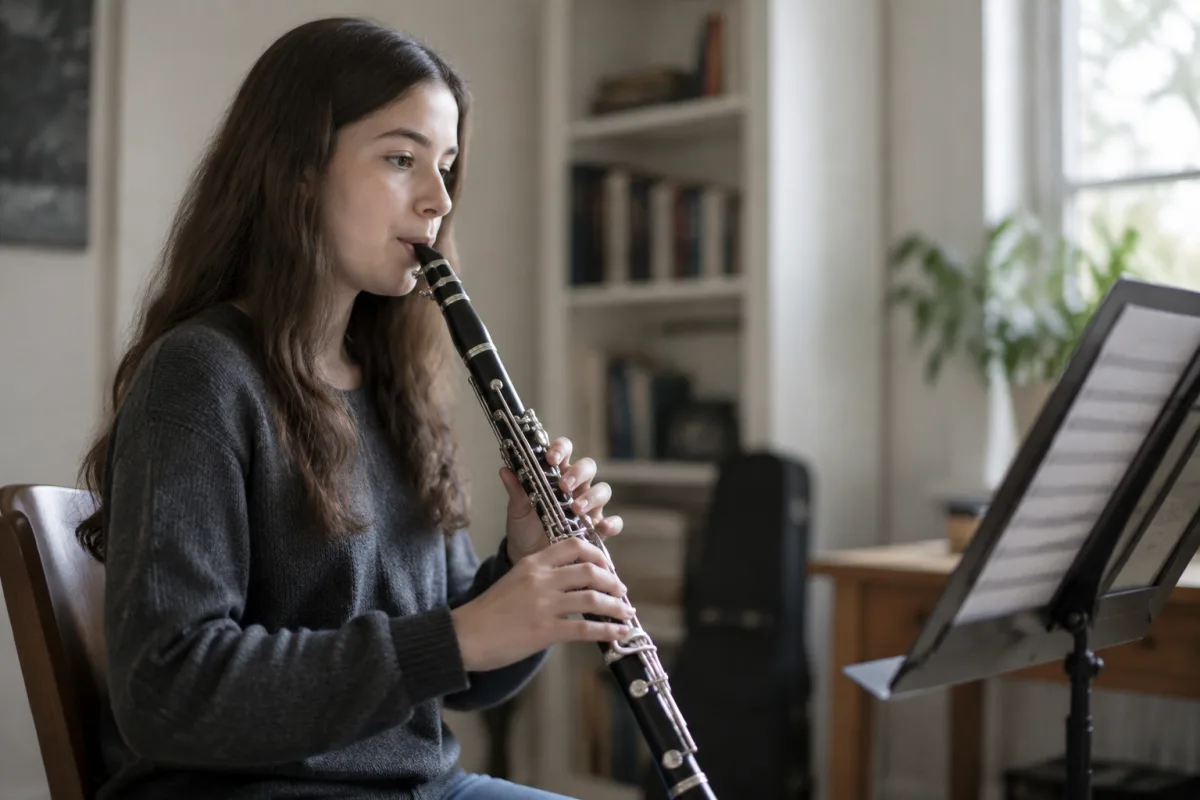
Why Clarinets Feel Intimidating But Shouldn't
Starting clarinet feels overwhelming. The instrument looks complicated, learning to make a sound takes practice, and you'll feel clumsy for your first weeks. This is genuinely true for every clarinet beginner. The good news is that this initial difficulty is temporary and completely normal. Within a few weeks of consistent practice, making a clean sound becomes natural. Within a month, you'll be recognisably playing tunes. The intimidating phase passes quickly if you persist.
Many nervous beginners worry they're not musical enough or don't have the right embouchure. This anxiety is unnecessary. Your embouchure develops through practice. Musical ability isn't fixed at birth—it develops through experience and instruction. A student clarinet gives you an instrument that responds honestly to your efforts. As your technique improves, the clarinet sounds better. This direct feedback is motivating.
Getting Your First Clarinet Home
When your student clarinet arrives, take time to examine the pieces before assembly. Look at the barrel, body, and bell—they should look smooth with no cracks, scratches, or rough edges. The mechanism (keys and springs) should look neat and properly assembled. Run your finger lightly over joints—they should be smooth transitions with no gaps.
Your student clarinet will arrive with a reed and possibly a ligature. The reed is the small piece that vibrates against the mouthpiece—it's absolutely essential and fragile. Handle it carefully. Store it flat in its case when not playing. Many beginners crack their first reed by accident. Treat it gently and it should last weeks or months.
Assembly is straightforward but requires care. Screw the barrel onto the upper joint gently—don't force it. The lower joint connects similarly. The bell fits into the lower joint. If any part feels stuck, don't force it—something is misaligned. Your teacher can demonstrate proper assembly, or watch a reputable YouTube tutorial showing careful technique.
Your First Sounds and Early Practice
Your first attempts to make sound will likely be squeaks, chirps, and bizarre noises. This is completely normal. The embouchure—how your mouth positions around the reed—requires specific muscle control you haven't developed yet. You'll produce only air noise at first. This is not failure; it's the necessary starting point for every clarinetist.
Practice long tones. Place the mouthpiece correctly in your mouth, set your embouchure (your teacher will show you), blow steadily, and listen for the fundamental tone beneath the noise. It might be faint initially. That's fine. Each practice session, you'll hear the tone more clearly. Your embouchure is developing with every attempt.
Practice for short sessions—15 to 20 minutes daily is plenty. Your embouchure muscles tire quickly. Longer practice doesn't help and causes fatigue without additional benefit. Consistency matters far more than duration. Daily 15-minute practice builds skills faster than weekend marathon sessions.
Your Teacher is Essential
Learning clarinet without instruction is possible but inefficient. A good teacher shows proper embouchure from the start, prevents bad habits from developing, and provides feedback you can't hear in your own playing. Within a few lessons, you'll produce recognisable tones instead of squeaks. The progress feels miraculous because proper technique makes enormous difference.
Weekly lessons for your first several months are genuinely worthwhile. A teacher adjusts your embouchure, corrects finger position, and creates a practice routine tailored to your pace. They also address problems—why is that note always flat? Why is your tone breathy? These questions get answered instead of frustrating you for weeks.
Many schools offer music lessons through their band programme. Private lessons are also available through music shops or independent teachers. Either way, structured instruction accelerates progress and keeps you motivated when things feel difficult.
Common Early Challenges
Squeaking constantly: Normal for beginners. Squeaks result from improper embouchure or air speed. Your teacher helps refine both. Within weeks, squeaks become rare. Patience and consistent practice are the solution.
Fingers can't reach: Clarinet accommodates different hand sizes. Some players with smaller hands find it challenging initially but adapt. Finger position and reach improve with practice. If genuinely problematic, discuss with your teacher—alternative fingerings exist for some notes.
The student clarinet sounds harsh or fuzzy: This often indicates embouchure or reed issues. Soft reeds are often better for beginners than harder ones. Your teacher can assess and suggest adjustments. Tone quality improves rapidly as embouchure develops.
Notes don't seem in tune: Student clarinets have intonation variations—some notes need slight embouchure adjustment to play in tune. Your teacher teaches you these corrections. Intonation skills develop gradually through listening and adjustment.
Keeping Your Clarinet Healthy
After every practice session, run a swab through your clarinet to remove internal moisture. This is essential. Moisture damages pads and mechanisms. A simple swab (part of your cleaning kit) takes 30 seconds and protects your instrument significantly.
Store your student clarinet in its case in a cool, dry place. Never leave it in direct sunlight, extreme heat, or damp spaces. These conditions warp the instrument or damage pads. Proper storage keeps your clarinet functioning reliably.
Reeds wear out. A reed that cracks, chips, or sounds terrible needs replacement. Budget £3–£5 per reed and expect to replace them every 1–3 months depending on practice frequency. A worn-out reed makes everything frustrating—replace it promptly.
Have your student clarinet inspected by a professional if anything feels wrong. If the mechanism sticks, keys leak, or pads lose seal, professional adjustment is needed. Most issues are minor and inexpensive to fix. Neglect turns them into major problems.
Building Confidence Over Months
By three months of consistent practice with instruction, you'll be recognisably playing melodies. By six months, you'll be comfortable enough to explore beyond fundamentals and start enjoying the music. This timeline is realistic and achievable.
Progress isn't linear. Some weeks you'll feel stuck. Don't panic—that's normal. Everyone hits plateaus. They pass with consistent practice. Your teacher helps you push through by adjusting your practice routine or introducing new concepts.
Within a year of regular practice, you'll be genuinely capable. Your student clarinet will respond to your technique development. As your embouchure strengthens and finger dexterity improves, the instrument opens up. Playing becomes fun rather than frustrating.
For more comprehensive information about clarinet technique and development, explore our complete guide to student clarinets for technical details and instrument selection.
Conclusion
Starting clarinet is genuinely challenging at first, but the initial difficulty passes quickly with proper instruction and consistent practice. A student clarinet responds honestly to your efforts—as your technique develops, the instrument sounds progressively better. Invest in a quality instrument, find a good teacher, and practise consistently. The intimidation you feel now will transform into satisfaction as you make music. The clarinet is genuinely rewarding once you push through the early learning curve.



Comments