


USB Audio Interface article
Usb Audio Interface for Beginners: A Complete Guide
Recording music at home seems technically complicated. A USB audio interface makes it simple. This beginner's guide shows you how to start recording in minutes.
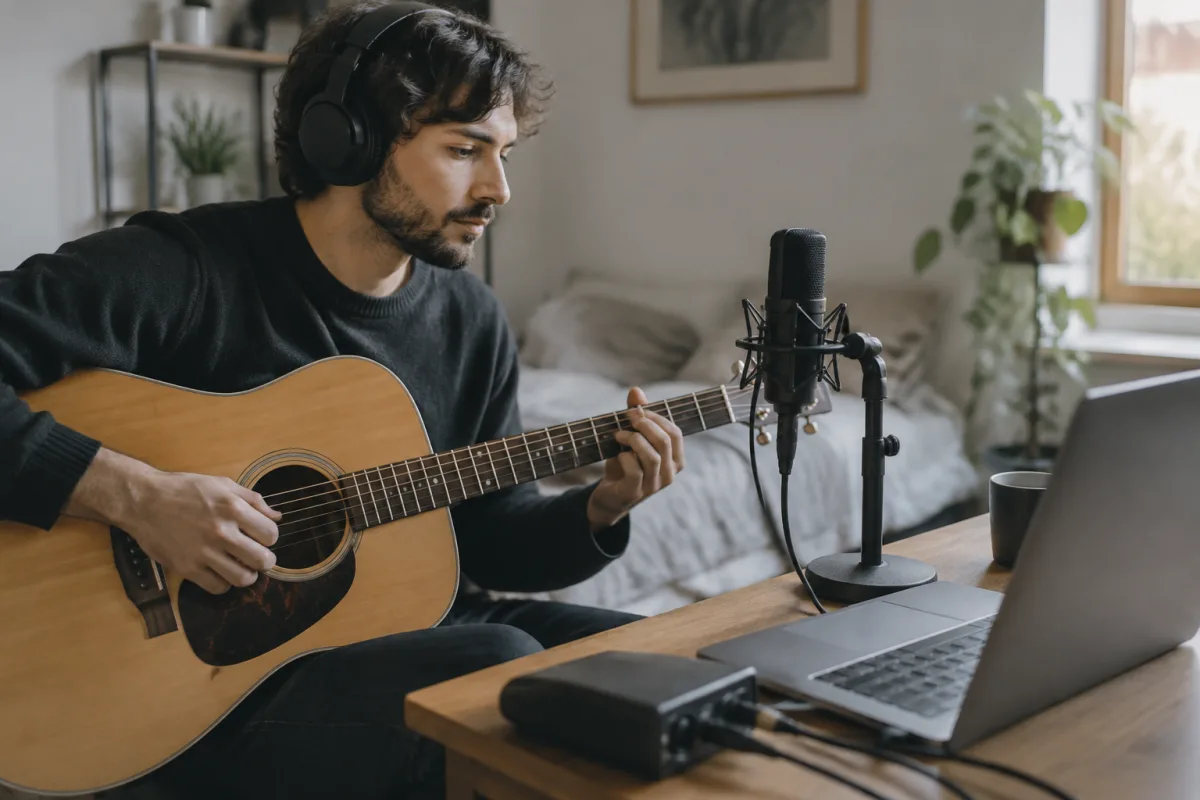
The prospect of recording music at home seems impossibly technical. You see photos of professional studios with racks of mysterious equipment and assume home recording requires expensive gear and expertise. The truth is simpler: a USB audio interface transforms any laptop into a functional recording studio, and setup takes roughly five minutes. If you're nervous about home recording, this guide demystifies USB audio interfaces and shows you that professional-quality home recording is genuinely accessible to beginners with modest budgets.
What a USB Audio Interface Actually Is
Stop overthinking. A USB audio interface is simply a box connecting between your instruments/microphones and your computer. Inside, it converts the analogue signal from your guitar or microphone into digital information your computer understands. That's literally its job. It's not magic, it's not complicated, and you don't need expertise to use one.
Your computer's built-in sound card attempts the same conversion but does it poorly. Built-in sound cards introduce latency (delay between playing and hearing playback), add noise, and limit input/output options. A USB audio interface handles conversion cleanly with minimal latency, multiple input/output options, and professional results. The improvement between built-in sound cards and even budget USB interfaces is dramatic.
Why Beginners Fear USB Audio Interfaces (And Why They Shouldn't)
Beginners often assume USB audio interfaces require technical knowledge. They don't. Plug it in via USB—your computer installs drivers automatically (or you download them from the manufacturer's website). Connect your guitar, keyboard, or microphone to one of the inputs. Open your recording software. Press record. Congratulations—you're now recording.
Fear typically stems from unfamiliar terminology. "Sample rate," "bit depth," "preamps," "latency"—these sound technical and exclusionary. Here's the truth: USB audio interfaces come pre-configured for sensible defaults. Beginners don't need to understand these concepts to record quality music. Leave settings at defaults and focus on your playing. Understanding these technical details matters for advanced mixing later, not for initial recording.
Your First Week: What Actually Happens
Day one: Unbox your USB audio interface. Plug it into your computer. Install drivers if needed (automatic on most modern systems). Connect your instrument via the input jack. Open free recording software like Audacity or your DAW's trial version. Press record. Play something. Listen back. This entire process takes under an hour, and you'll be shocked at the quality improvement from your built-in sound card.
You'll immediately notice latency concerns. You play a note and hear it back 50 milliseconds later—disorienting during real-time recording. This is normal with budget interfaces and high computer load. Adjust your monitoring: instead of listening to the recording, play directly through your interface monitors (speakers/headphones) whilst recording. This eliminates perceived latency and lets you hear yourself accurately.
Your first recordings will sound amateur. This isn't the interface's fault—it's you learning to mic properly, position your instrument correctly, and eliminate background noise. Expect imperfection during early weeks. This is part of learning, not failure.
Common Beginner Mistakes with USB Audio Interfaces
The biggest mistake is buying the most expensive interface available, expecting it to compensate for poor technique or environment. A £500 interface in a noisy room produces worse recordings than a £100 interface in an acoustically treated space played by someone with proper microphone technique. Investing in your environment and technique matters more than gear cost.
Another common error is connecting instruments directly to computer line-level inputs. Instruments produce microphone-level signals (tiny voltages) and need amplification before reaching your computer. Your USB audio interface provides this amplification through instrument inputs. If you're getting very quiet recordings, you're probably plugging into the wrong input.
Beginners often ignore ground noise and hum. If your recordings contain a persistent humming sound, you likely have a grounding problem—common with poorly shielded cables or instruments generating noise. Switch to better-shielded cables or move away from electrical equipment. These practical fixes often solve mysterious noise issues.
Understanding USB Audio Interface Controls
Your USB audio interface probably has: input volume knobs (controlling how loud incoming signals are), output volume knobs (controlling playback volume), and possibly some additional buttons. That's genuinely it for basic use. Professional interfaces offer more controls, but beginners need only these fundamentals.
Set input levels so the incoming signal reaches roughly 70% of maximum volume. Too quiet and you'll hear noise during playback; too loud and you'll clip (distort horribly). Your recording software shows input levels visually—adjust until you see signal comfortably in the middle range without peaking at maximum.
Recommended First Steps After Setup
Record simple playing—just you and your instrument, nothing complicated. Listen back critically. Identify what you like and what you'd improve: too much background noise? Poor microphone positioning? Strings needing cleaning? Address these practical concerns before worrying about advanced recording techniques.
Experiment with your physical setup. Try microphone positioning slightly left, centre, right, or at different distances. Notice how each position changes the recorded sound. This hands-on experimentation teaches you far more than reading tutorials.
Once you're comfortable with basic recording, explore your recording software's basic editing features: cutting out false starts, normalising volume levels, adding simple reverb. Don't get lost in advanced mixing—focus on understanding your interface and software fundamentals.
Choosing Your First USB Audio Interface Model
For absolute beginners, avoid the cheapest options (under £50). They often have driver compatibility issues and sound quality issues outweighing any cost savings. Budget £100–£200 for a solid beginner interface that handles fundamental recording well.
Look for: at least two inputs (allowing simultaneous guitar and microphone recording), headphone output, knobs controlling input volume, and drivers supporting your operating system. Extra features like MIDI inputs or built-in DSP effects aren't essential for beginners—ignore the marketing and focus on functional basics.
Building Confidence Through Action
Recording yourself seems vulnerable initially. You hear every mistake, every imperfection, every awkward moment. This is valuable feedback—you'll improve faster hearing exactly what you sound like than rehearsing with no honest feedback.
Accept early recordings as learning exercises, not final products. Your tenth recording will be dramatically better than your first. Your hundredth will be barely recognisable as the same player. This progression comes from consistent recording and honest listening, not from purchasing better gear.
Many famous artists recorded breakthrough albums using humble home studio setups. Your USB audio interface isn't limiting you—your technique and confidence are. Invest in building these first.
Moving Beyond Basics
After several weeks recording basics, you might want to explore microphone techniques, acoustic treatment, or advanced mixing. That's healthy progression. But here's the secret: you learned more about recording from your first week with a basic USB audio interface than from months reading about it.
For comprehensive guidance on USB audio interface selection, features, and advanced recording techniques, explore our complete guide to USB audio interfaces covering all essential information for home recording.
Your USB audio interface is your gateway to professional-quality home recording. Setup is simpler than you fear, learning curve is gentler than you expect, and results improve faster than you'd believe. Start today and embrace the beautiful imperfection of your first recordings.


Comments