
USB Mic and Headphone article
The Complete Guide to Usb Mic And Headphone
USB microphones and monitor headphones create an affordable, effective home recording setup. Discover how to choose, configure, and optimize your equipment.
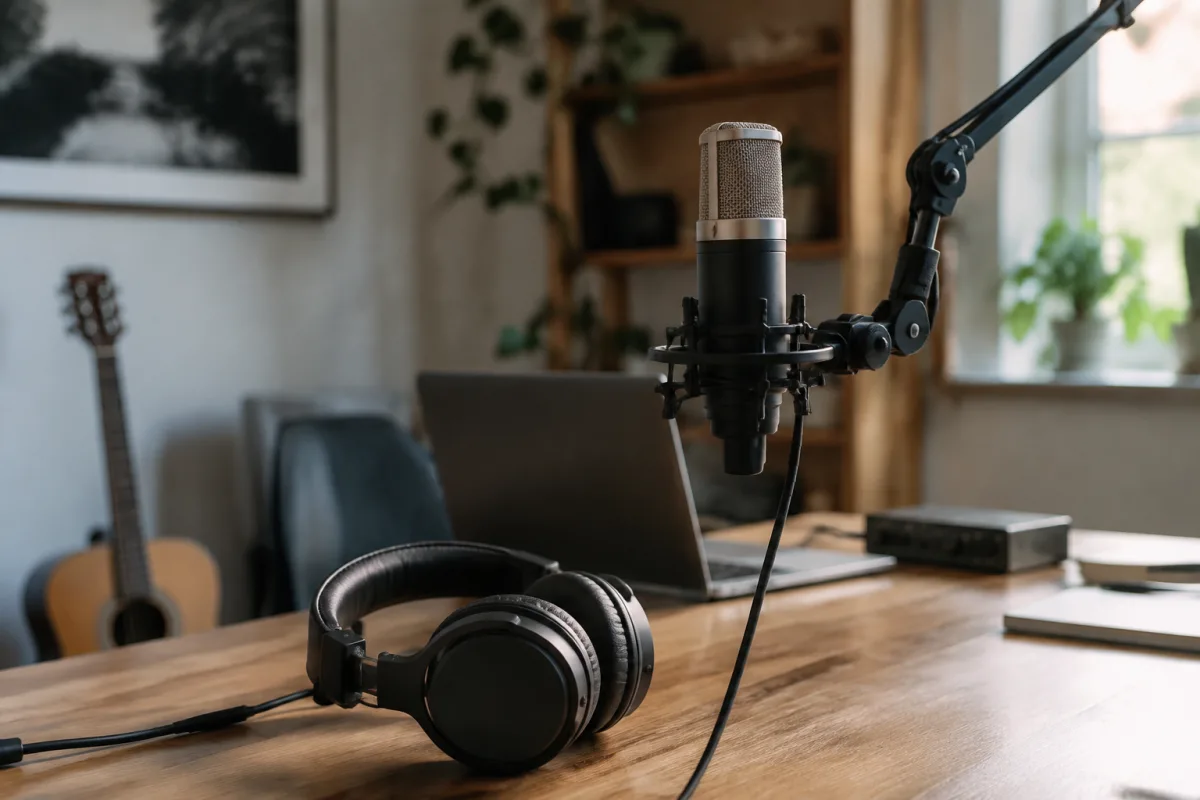
Building a home recording setup no longer requires expensive equipment or technical expertise. A USB microphone and quality headphones form the foundation of a genuinely professional recording environment. The beauty of this combination is simplicity—plug the microphone into your computer's USB port, plug in your headphones, and you're ready to record. No audio interfaces, no separate preamps, no complex routing. Just straightforward, effective tools that let you capture good sound and monitor what you're recording in real time. For podcasters, musicians, voice-over artists, and streamers, the right USB microphone and headphone combination transforms what's possible in a bedroom or home office.
Why USB Microphones and Headphones Work So Well Together
USB microphones integrate everything you need: the capsule, preamp, and analog-to-digital converter all in one unit. Your computer sees it as a standard audio input device. Headphones plug into your computer (or sometimes directly into the USB microphone) and let you monitor your recording in real time. This means you hear yourself as you record, catch mistakes immediately, and avoid wasting time on takes you'll have to redo. The combination is remarkably efficient.
Cost-effectiveness appeals too. A decent USB microphone costs £50–250. Quality monitor headphones run £80–200. Total investment for a genuine professional setup: £150–450. Compare that to traditional studio equipment (audio interface, external microphone, microphone preamp, studio monitors) which costs £1,000+, and you understand why USB setups are so popular.
Choosing a USB Microphone
USB microphone quality varies enormously. Budget models (£30–50) produce functional but characterless sound—useful for recording voice-over work but not ideal for instruments or singing where tone matters. Mid-range USB microphones (£80–150) offer noticeably better sound quality, more robust construction, and genuine utility for most recording purposes. Professional-grade USB microphones (£200+) produce sound quality that rivals traditional studio equipment.
Popular USB Microphone Types
Side-address cardioid microphones (like the Audio-Technica AT2020 USB or Blue Yeti) are most common. You speak or sing into the side of the microphone, and the cardioid pattern rejects sound from the back and sides, reducing room noise and background interference. They're forgiving and work well in less-than-ideal recording spaces.
Broadcast-style large-diaphragm condenser microphones deliver warm, present sound ideal for vocals and acoustic instruments. These tend to cost more but reward careful technique with genuinely professional recordings.
Shotgun microphones are narrowly focused on sound directly in front, rejecting side and ambient noise. They suit recording in noisy environments or when you need maximum isolation from background sounds.
Key Features to Look For
Sampling rate and bit depth matter. 24-bit/44.1kHz recording is standard and sufficient for most purposes. 24-bit/48kHz is slightly better and becoming increasingly common. Check whether the microphone supports these rates—most modern USB microphones do.
Mute button and gain control on the microphone itself are genuinely useful. You can adjust levels without diving into computer settings, and instant mute prevents accidental recording of coughing fits or phone calls.
Built-in headphone monitoring is valuable. Some USB microphones include a headphone jack on the unit itself, letting you monitor your recording directly without routing through your computer. This reduces latency (the slight delay you hear when monitoring through software) and improves the recording experience.
Selecting Quality Headphones for Monitoring
Monitoring headphones should accurately represent what you're recording without flattering or deceiving you. Unlike consumer headphones (which often boost bass and treble for excitement), monitor headphones aim for neutral frequency response—what you hear is what's actually in your recording.
Closed-Back vs. Open-Back Headphones
Closed-back headphones isolate sound completely, preventing it from leaking into your microphone. This is essential when recording—you don't want your headphone audio feeding back into the microphone. Closed-back monitors work in any environment and excel for recording.
Open-back headphones deliver more spacious, natural sound but leak audio into the environment. They're better suited to mixing (after recording) than to live monitoring during recording sessions. If you're working in a home studio where preventing headphone sound reaching the microphone is critical, closed-back is the practical choice.
Key Features in Monitor Headphones
Frequency response should be relatively flat across the range you care about (typically 20 Hz to 20 kHz). Read measurements or listen to reference recordings you know well—can you hear detail without excessive coloration?
Comfort matters genuinely. You might wear headphones for hours during recording sessions. Clamping pressure, pad material, and headband design all contribute to comfort. Try before you buy if possible.
Impedance and sensitivity affect how the headphones perform with your equipment. Most USB setups work with any modern headphones, but checking specs prevents surprises.
Setting Up Your USB Microphone and Headphones
Physical setup is straightforward. Position the USB microphone on a stand or boom arm roughly 15 cm from your mouth at a slight angle (not directly on-axis). This positioning avoids plosive sounds (harsh "P" and "B" sounds) while capturing clear, present vocals.
Connect the USB microphone to your computer using the supplied cable. Plug headphones into the computer's headphone jack (or the microphone's headphone jack if it has one). Configure your computer's audio settings to recognize the USB microphone as the default input device and your headphones as the output device.
In your recording software (Audacity, GarageBand, your DAW, or streaming platform), select the USB microphone as the input and your headphones as the monitor output. Enable monitoring so you hear yourself as you record. Adjust the input gain on the microphone until the software shows levels around -12 to -6 dB on peaks—loud enough to capture detail, not so loud it distorts.
Reducing Latency and Monitoring Issues
Latency is the delay between speaking and hearing yourself through headphones. If latency is too high (more than roughly 50 milliseconds), it's distracting and makes recording feel unnatural. Reduce it by enabling direct monitoring on the USB microphone if available, using a recording application with low-latency monitoring, or reducing your buffer size in audio settings (though very small buffers can cause glitching).
Troubleshooting Common Problems
If your headphones produce no sound, check that they're set as the audio output device in your computer's sound settings. If recording levels are too quiet, increase the gain on the microphone itself and in your recording software. If sound is distorted, reduce gain—you're clipping the input, and no amount of post-processing will fix it.
If headphone sound leaks into your recording, increase headphone volume (so you hear yourself at safe levels without turning up the microphone gain) and ensure the microphone is positioned to reject sound from your headphones' direction.
Upgrading Your Setup
As your needs evolve, you can upgrade individual components. Start with a mid-range USB microphone and basic closed-back headphones. If you later need better sound quality, upgrade the microphone. If you need more comfort or better monitoring, upgrade headphones. If you need to record multiple sources simultaneously or integrate with external equipment, transition to a traditional audio interface and separate microphone—but you can start simply and scale as you grow.
A USB microphone and quality headphones are genuinely sufficient for professional-quality recording. Countless podcasts, albums, and streaming broadcasts originate from setups built around this combination. The simplicity and cost-effectiveness make them ideal for getting started. The sound quality they deliver makes them viable for staying with them long-term.


Comments