


Mixer for Studio article
Mixer For Studio for Beginners: A Complete Guide
New to home studio mixing? This beginner guide explains what a mixer does, how many channels you need, USB versus analog options, and essential features to start recording quality audio.
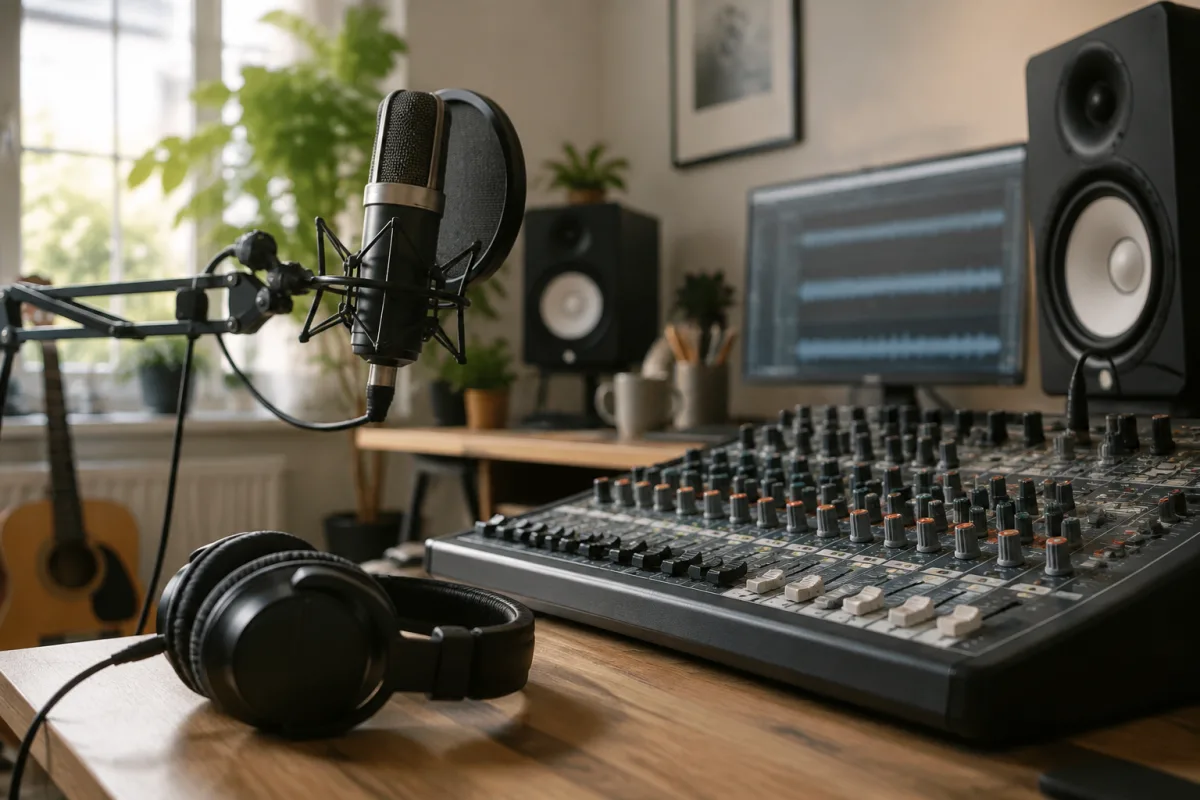
Setting up a home studio feels overwhelming when you're staring at all that equipment. A mixer—sometimes called a mixing console—sits at the heart of it all, and if you've never used one, it seems unnecessarily complicated. The good news is that you don't need to understand every button to get started. This guide demystifies mixers for studio recording and helps you find the right fit for your first real recording setup.
What a Mixer Actually Does (Simply)
At its core, a mixer takes multiple audio inputs—microphones, instruments, playback devices—combines them, adjusts levels, and sends the result to your speakers or recording interface. Think of it like a traffic controller directing different audio sources into a single stream. A beginner needs a mixer that handles multiple instruments or a microphone plus backing tracks, allows you to adjust levels independently, and connects easily to your computer.
You don't need to do anything fancy at first. Basic mixing means: hearing everything at the right volume, managing what goes to your speakers, and recording clean audio. Master those basics before worrying about effects, EQ, or compression.
How Many Channels Do You Actually Need?
Channels are the inputs on your mixer. This is where beginners often overthink. Most home studios record one or two sources at a time—a vocalist and guitar, or just a microphone. You don't need twenty channels; you'd never use them.
Here's a practical breakdown for common setups:
- Solo podcaster or single vocalist: 2-4 channels minimum (mic, maybe playback, monitor input)
- Vocals plus one instrument: 4-6 channels (vocals, instrument, playback reference, headphone monitor)
- Small band or multi-instrument: 8-12 channels (room for all players plus flexibility)
- Complex setups: 16+ channels (rarely needed for home studios)
Start with more channels than you think you need, but don't go overboard. An 8-channel mixer handles nearly any beginner scenario.
Analog Versus Digital Mixers
Analog mixers have physical faders and knobs. Digital mixers use screens and buttons to control levels and settings. Each type has a place in beginner studios.
Analog mixers are tactile and visual—you see and feel every adjustment. They're straightforward: plug things in, push faders, adjust. No learning curve. They're ideal if you want to keep things simple and physical. The downside is they take up space and have fewer features.
Digital mixers pack more features into smaller spaces. You can save settings, recall previous mixes, and access effects more easily. They're better if you plan to record multiple different projects. The learning curve is steeper because menus and screens require navigation.
For absolute beginners, analog is friendlier. You can understand it by looking at it. Digital is better long-term if you want flexibility.
Choosing Between USB and Traditional Interfaces
Some mixers connect to your computer via USB, acting as both mixer and interface. Others are standalone—they don't connect to your computer directly. This distinction matters for beginners.
USB mixers combine mixing and audio recording in one device. They're compact, all-in-one solutions. You plug instruments and mics into them, and audio goes straight to your recording software. This is simpler for recording because there's one less device. The trade-off is less control over what goes where and smaller interfaces overall.
Traditional mixers mix audio independently. You connect them to a separate audio interface for recording. This setup gives you more control and flexibility but adds complexity and cost. It's overkill for most beginners starting out.
A USB mixer is the beginner-friendly choice for recording at home.
Essential Features You'll Actually Use
Don't get distracted by fancy features you'll never touch. Focus on these essentials:
- Channel faders: Physical sliders to adjust input levels independently. This is fundamental.
- Gain/input knob: Lets you set proper input level for each channel so nothing clips or distorts.
- Headphone output with volume: Essential for monitoring while recording. You need to hear yourself playing.
- Main stereo output: Sends combined audio to your speakers.
- Direct recording output or USB: Sends audio to your computer for recording.
- Phantom power: If using condenser microphones, you need this. It powers the mic through the cable.
That's genuinely enough to start. Ignore buttons for things like reverb, compression, or EQ until you understand basics.
Setting Levels Correctly (Most Important Skill)
This is where beginners struggle most. Setting proper levels prevents distortion, hum, and unusable recordings. The process is simple:
- Have your vocalist sing or musician play at their normal volume
- Adjust the input gain on that channel until the level meter reaches about -12dB to -6dB
- Peaks should reach -3dB at maximum, never hitting 0dB (clipping)
- If you have a master fader, set it around unity (0dB) once all channels are balanced
- Listen on headphones to ensure the mix is clean and balanced
Too low and your recording sounds weak and noisy. Too high and it distorts. Getting this right is 80% of good home studio audio quality.
Setup Space and Cable Considerations
Beginners often create cable chaos. Plan ahead. You'll need microphone cables (XLR), instrument cables (1/4 inch), and maybe USB cables. Label everything. Keep cables short where possible and organised to avoid ground hum and interference.
Position your mixer where you can reach it and see the faders easily. You need to adjust levels in real-time during recording. A small table or monitor stand works well. Avoid stacking equipment on top of the mixer—heat matters for electronics.
Common First-Timer Mistakes to Avoid
Learning from others saves frustration:
- Buying too many channels: You'll never use them. Start with 4-8.
- Ignoring gain staging: Proper input levels are more important than anything else.
- Running everything at maximum volume: This causes distortion. Keep headroom.
- Not using headphones during recording: You can't hear what's going to your computer without monitoring.
- Buying an analog mixer if you record often: You'll want digital recall soon enough.
- Skipping the manual: It takes 20 minutes to understand your specific mixer's routing.
Read the setup guide that comes with your mixer. It answers 90% of beginner questions.
Getting Your First Mix Right
Your first recording should be simple: vocals or single instrument plus a click track or backing track. No effects, no compression, no EQ. Just get clean audio recorded at proper levels. Learn to balance what you hear through headphones against what sounds right on speakers. This fundamental skill applies to every project you'll record.
Explore our complete guide to mixer for studio to understand more advanced mixing concepts once you're comfortable with basics.
Starting Your Mixing Journey
A mixer is less mysterious than it seems. It's a tool for managing multiple audio sources, and you learn by using it. Start simple, focus on getting clean recordings with proper levels, and build from there. Most successful home studio setups began exactly where you are—with someone willing to learn by doing rather than trying to understand everything first. Your first mixer purchase is a practical tool, not a professional studio investment. Use it to learn, record, and grow.



Comments