
Mixer Audio Mic article
The Complete Guide to Mixer Audio Mic
Audio mixers and microphones are essential for professional recording, live performance and podcasting. Understand how they work together, proper gain staging techniques and selecting the right equipment for your needs.
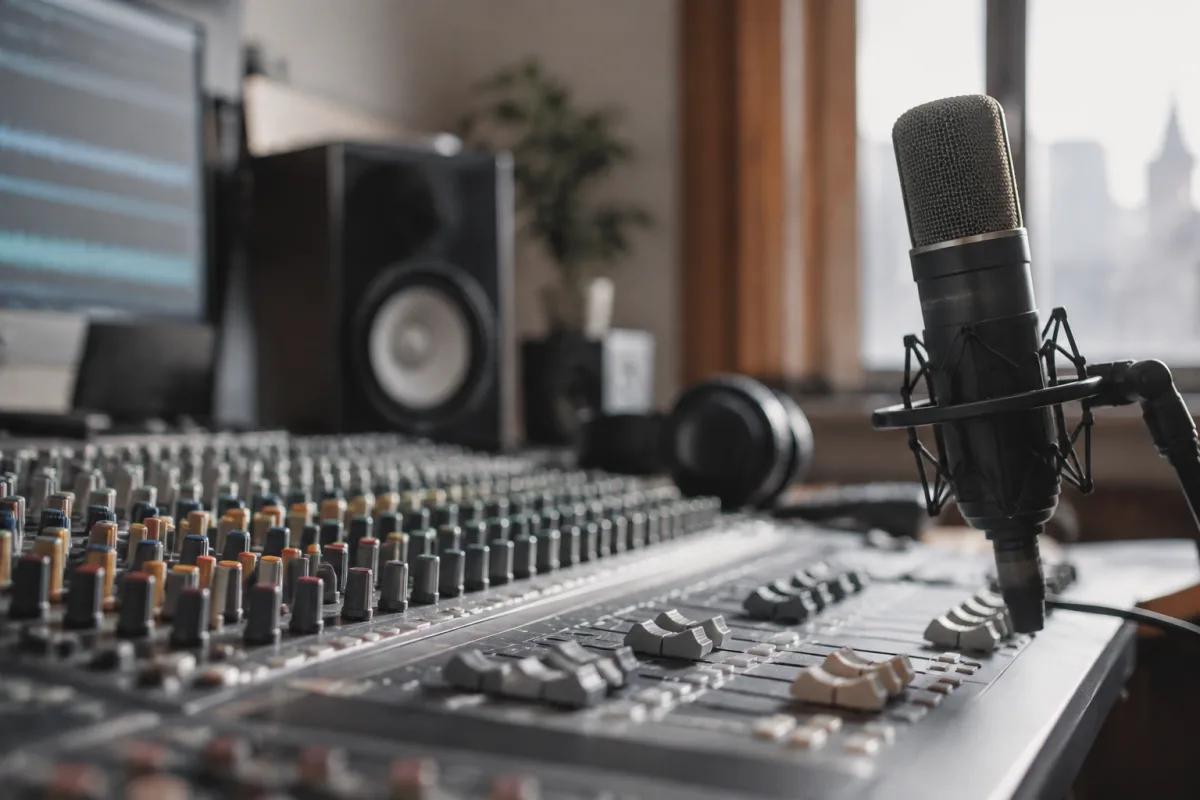
Audio mixers and microphones form the backbone of professional recording, live sound and podcasting. A mixer routes multiple audio sources into a cohesive stereo signal, controlling levels, EQ and effects for each channel. Microphones convert acoustic sound into electrical signals that the mixer processes and amplifies. Understanding how mixers and mics interact helps you capture clean, professional-sounding recordings whether you're recording a band, streaming live performances or producing podcasts at home.
Understanding Audio Mixers
An audio mixer (also called a mixing console or soundboard) accepts multiple audio inputs — microphones, instruments, playback devices — and blends them into a combined output. Each channel on a mixer features its own controls: input level (gain), fader for volume adjustment, EQ knobs for tone shaping, and auxiliary sends for effects and monitoring. The master section combines all channels into stereo output sent to amplifiers, recordings or streaming platforms.
Mixers vary dramatically in size and capability. Portable USB mixers for podcasting or home recording cost £50–£300 and handle 2–8 channels. Medium-sized mixers (£300–£1,500) serve small clubs, live bands and semi-professional studios. Large-format mixing consoles (£5,000+) handle complex events or professional studios with 32+ channels.
Microphone Types and Characteristics
Different microphone types suit different applications. Dynamic microphones are rugged, handling high sound pressure levels without distortion — ideal for live performance and loud sources like drums and bass cabinets. Condenser microphones feature greater sensitivity and frequency response, capturing detailed sound from vocals, acoustic instruments and overheads — essential for studio recording. Ribbon microphones deliver warm, coloured response prized by engineers recording jazz, orchestral music and vocals.
Each microphone type requires different connection methods. Dynamic and ribbon mics typically connect via XLR cables to mixer inputs. Condenser microphones require phantom power — electrical current supplied through the mic cable to power the capsule. Modern mixers typically provide phantom power via a switch on each channel or globally for all channels.
Mixer Channel Strip Breakdown
Each channel on a mixer features standardised controls:
- Input Gain — controls the strength of the incoming signal. Set too low and you get quiet, noisy recordings; too high causes distortion. Proper gain staging (setting input levels correctly) is fundamental to professional sound.
- EQ Section — typically three-band (treble, mid, bass) on smaller mixers, parametric on larger consoles. EQ shapes tone: boosting bass adds warmth, cutting highs removes harshness.
- Fader — adjusts channel volume in the stereo mix. All faders at "unity" (-∞ to 0 dB, with 0 being no gain change) creates the balanced mix.
- Pan Control — positions the channel left or right in the stereo field, creating width and separation.
- Auxiliary Sends — route the channel to effects processors (reverb, delay) at variable amounts without affecting the main mix.
- Mute and Solo Buttons — silence a channel or isolate it for listening and adjustment.
Matching Microphones to Mixer Inputs
Proper microphone-to-mixer connection requires attention to impedance and signal level. Most professional microphones output low impedance (typically 50 Ohms), matching mixer XLR inputs directly. Guitar amplifiers and keyboards output higher impedance, requiring high-impedance inputs (often labelled "instrument" or "-20dB pad") on the mixer.
Phantom power (typically 48 volts DC) flows silently through XLR cables to power condenser microphones. Dynamic and ribbon mics don't require phantom power, and older ribbon mics can be damaged by it — always check your microphone's specifications and enable phantom power only for channels using condensers.
Setting Proper Gain Levels
Gain staging — setting input levels correctly before recording or mixing — is crucial for professional sound. Bring the fader to unity (0 dB), then adjust input gain so peaks hit around -6 to -3 dB on the mixer's meter. This leaves adequate headroom to prevent distortion if levels spike. If your mixer lacks an input meter, aim for consistent movement on the channel fader when playing at normal volume.
Incorrect gain staging causes either weak, hissy recordings or distorted, compressed-sounding audio. Taking time to set gain properly initially prevents hours of wasted recording and frustration later.
Microphone Placement and Technique
Microphone placement dramatically affects the character of recorded sound. Close-mic'd sources (2–6 inches away) capture detailed definition but emphasise plosives and handling noise. Room-miking from further distances captures more acoustic ambience but includes more background noise. Most professional recordings use multiple mics per source at different distances, blended via the mixer to achieve balanced tone.
Directional microphones (cardioid, hypercardioid, omnidirectional) have different polar patterns controlling which directions they pick up sound most effectively. Cardioid mics reject sound from the rear, ideal for isolating a vocalist from monitors or crowd noise. Omnidirectional mics pick up equally from all directions, useful for capturing room ambience or large ensembles.
Integration in Recording and Live Scenarios
In studios, mixers serve as central hubs connecting microphones, instruments and effects units. Multiple mic inputs feed into different channels, each with independent processing. The master output records to an audio interface or direct to disc. Auxiliary sends on each channel route to reverb and delay processors, then back to return channels for blending these effects into the mix.
For live sound, mixers accept stage microphones and instruments, process them with EQ and effects, then route to front-of-house (FOH) speakers and stage monitors. The engineer adjusts levels and EQ in real time, responding to band dynamics and room acoustics. Wireless microphone systems connect to mixer channels via receivers, eliminating cable constraints for mobile performers.
Conclusion
Mastering audio mixers and microphones unlocks professional-quality sound across recording, live performance and streaming applications. Understanding microphone types, proper gain staging, mixer channel functions and mic placement techniques ensures clean, detailed recordings that showcase performances at their best. Whether you're setting up your first home studio, operating live sound for a band or streaming content professionally, solid mixer and microphone knowledge transforms the quality of your output.


Comments