


Mic and Arm Buying guide
Mic And Arm: A Complete Buyer's Guide
Choosing the right mic and arm transforms your recording setup. Learn compatibility, specs, price tiers, and common mistakes before you buy.
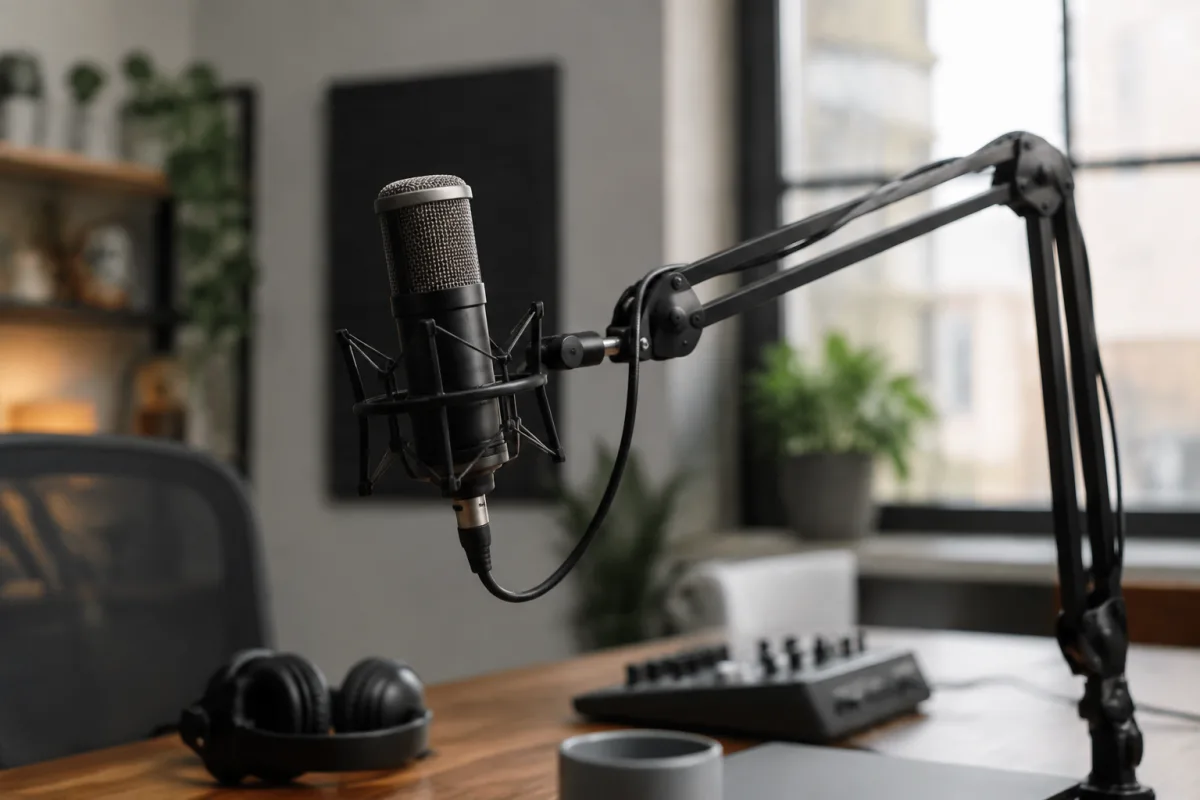
A quality mic and arm setup transforms your recording environment. Whether you're streaming, podcasting, voice recording, or producing music, your microphone and its support system directly influence audio quality and recording consistency. Yet many people overlook the arm when choosing a mic, or they invest in an expensive microphone only to mount it on an unstable, noisy arm that undermines the investment. This guide helps you choose the right mic and arm combination by breaking down the critical specifications, identifying common pitfalls, and matching equipment to your actual use case and budget.
Understanding Mic and Arm Compatibility
Before buying either component separately, understand that mic and arm compatibility determines success. Your microphone's weight and mounting thread size must match your arm's load capacity and mount type. Most modern condenser microphones use a standard 5/8-inch UNC thread, but some professional models use different threads. Ribbon microphones and large-diaphragm condensers can be surprisingly heavy—sometimes exceeding 500 grams. A flimsy arm rated for 200 grams will droop with a heavy mic, ruining your carefully positioned recording setup. Always verify compatibility before purchasing separately, or buy a matched kit to eliminate guesswork.
Microphone Specifications That Matter Most
Microphone selection depends on your recording environment and use case. Condenser microphones are sensitive and detailed, ideal for studio recording, voiceovers, and podcasting in quiet rooms. Dynamic microphones reject background noise, making them better for live streams, noisy environments, or rooms without acoustic treatment. USB microphones simplify setup but offer less flexibility than XLR models. Consider these critical specs:
- Frequency Response: Look for 20 Hz to 20 kHz (human hearing range). Microphones emphasising specific frequency ranges (like presence peaks for podcasting) can be desirable depending on your voice and content.
- Sensitivity: Measured in dBV/Pa. Higher sensitivity captures more detail but requires careful gain staging to avoid clipping. Typically -30 to -40 dBV/Pa is standard for studio work.
- Noise Floor: Lower is better; aim for microphones with self-noise below 15 dB SPL. A noisy microphone picks up background hum and electronic noise that no amount of post-processing can fully eliminate.
- Maximum SPL (Sound Pressure Level): Matters only if you're recording extremely loud sources (live drums, amplifiers). Most spoken-word recording uses only 90-100 dB SPL, so this spec is often overemphasised in marketing.
Arm Specifications: Load Capacity, Resistance, and Noise
A quality mic and arm works seamlessly; a poor arm becomes your biggest regret. The arm must support your microphone's weight without sagging. Check the rated load capacity and add a safety margin—a 400-gram mic benefits from an arm rated for 500+ grams. Test the arm's resistance adjustment: it should hold your microphone in any position without drifting or sudden drops. Springs that are too stiff make positioning frustrating; springs that are too loose fail during recording. Listen for mechanical noise: cheap arms creak or click when adjusted, which transmits through your microphone to your recording. Professional mic and arm combinations use sealed bearing systems that eliminate these noises. Finally, check whether the arm accepts standard 5/8-inch shock mounts and pop filters—compatibility with accessories extends the life and flexibility of your setup.
Shock Mounts and Pop Filters: Why They're Not Optional
A quality shock mount isolates your microphone from vibrations transmitted through the arm and stand, significantly reducing handling noise and rumble. A pop filter reduces plosives (harsh "p" and "b" sounds) and protects your microphone capsule from saliva. Together, they're not luxury add-ons; they're essential components of a professional mic and arm setup. Budget shock mounts with single-layer suspension work adequately; premium versions with multi-layer isolation cost more but deliver measurably cleaner recordings. Pop filters with metal mesh or hybrid mesh/fabric designs work better than simple foam models. Expect to invest £30-60 in combined shock mount and pop filter to complement a decent microphone and arm.
Price Tiers: Building a Mic and Arm Setup at Every Budget
| Budget Tier | Microphone Type | Arm Type | Best For |
|---|---|---|---|
| Budget (£50-150) | USB condenser or dynamic | Basic desktop arm, possibly fixed stand | Casual streaming, learning, hobbyist recording |
| Mid-Range (£150-400) | Quality condenser XLR or cardioid dynamic | Professional desk-mount arm with quality springs | Podcasting, semi-professional voiceover, content creation |
| Professional (£400-800) | Large-diaphragm condenser XLR or ribbon | Heavy-duty articulated arm with sealed bearings | Studio recording, professional voiceover, music production |
| Premium (£800+) | Specialty condensers, ribbons, or vintage models | Custom-integrated arm systems or professional booms | High-end studio work, commercial production, broadcast |
Common Mistakes When Choosing Mic and Arm Combinations
- Ignoring acoustic treatment: A £500 mic and arm won't sound professional in a bare, reflective room. Budget 20% of your equipment spending on acoustic treatment or save and record in a naturally dead space first.
- Mismatching weight and arm capacity: This is the most common regret. A heavy microphone on an undersized arm drifts during recording, ruining takes. Always verify specifications before buying separately.
- Buying an arm without proper isolation: Cheap arms transmit desk vibrations directly into your recording. A quality shock mount becomes essential but won't fully compensate for a poor arm.
- Overlooking cable management: XLR cables attached to an arm can create noise if they're not properly secured. Budget for quality balanced cables and cable clips.
- Choosing USB convenience over recording quality: USB microphones are simpler but offer less flexibility and typically lower sound quality than XLR microphones into an audio interface. They're fine for streaming; less ideal for professional voiceover or music recording.
- Neglecting gain staging: An excellent mic and arm combo still sounds bad if your input levels are set incorrectly. Spend time learning proper gain staging; it's free and transforms your recordings.
Testing Before You Buy
If possible, test your mic and arm choice before committing to the full purchase. Record a sample clip on the arm at home to check for noise, stability, and positioning comfort. Listen back on multiple systems: headphones, laptop speakers, and car speakers all reveal different issues. Professional retailers often allow returns within 14-30 days if you're dissatisfied, so use that window to confirm your choice works for your specific environment. Read user reviews specifically about noise levels and arm stability—these factors vary significantly between models.
Integration With Your Recording Setup
Your mic and arm doesn't exist in isolation. Verify that your microphone connector matches your audio interface (most use XLR or USB). Check whether your arm mount fits your desk and doesn't require permanent installation. Consider cable routing: will XLR cables be visible on camera? Will they create clutter? Professional mic and arm setups integrate cleanly into streaming setups, home offices, and recording studios. For deeper guidance on the full range of models and brands, explore our complete guide to mic and arm equipment, which covers specific product recommendations across all price ranges and use cases.
After Purchase: Maintenance and Optimisation
Once you've invested in your mic and arm, protect that investment through basic maintenance. Keep your microphone away from moisture and dust. Store it in a protective case when not in use. Check your arm's tension adjustment periodically; springs weaken over time and may need re-tightening. Replace pop filter mesh every 6-12 months as it accumulates dust and loses effectiveness. These simple steps extend the life of your equipment and maintain consistent recording quality.



Comments