


4 Channel Audio Mixer article
The Complete Guide to 4 Channel Audio Mixer
A 4 channel audio mixer is the foundation of many home studios and small live setups. This guide covers everything you need to know to select, set up and use one effectively.
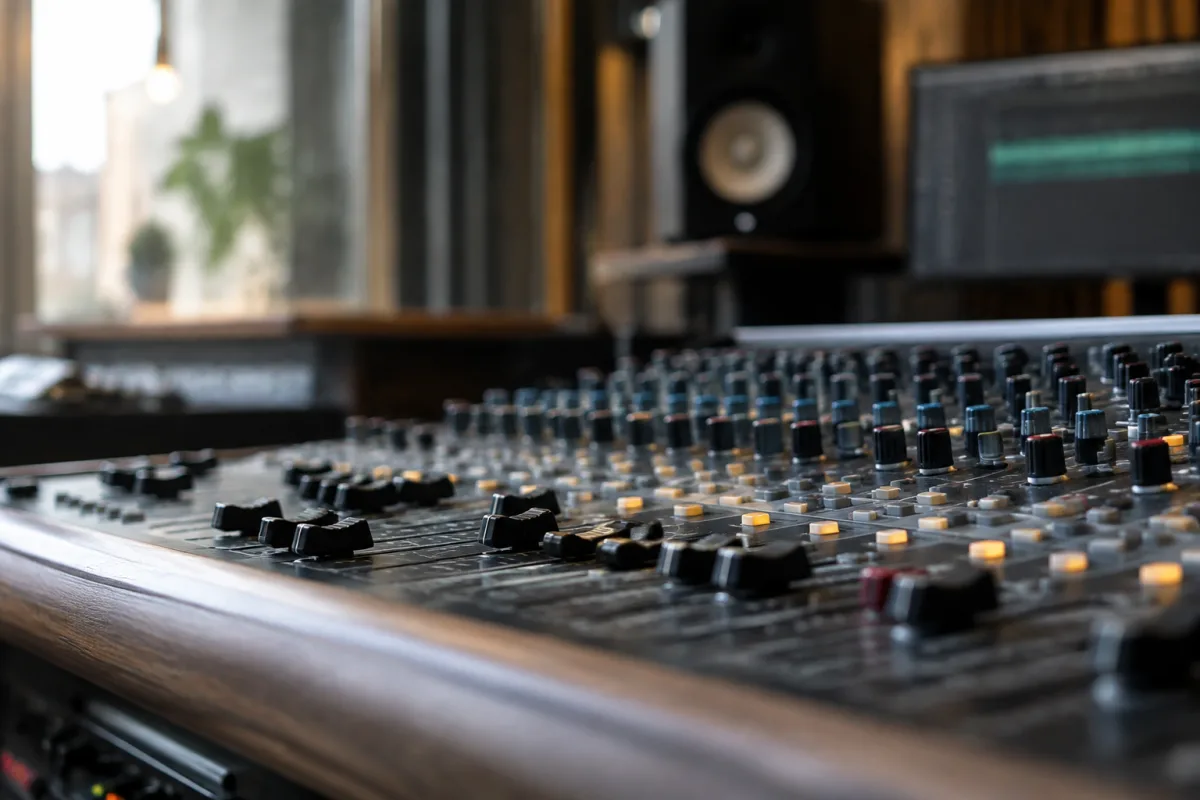
A 4 channel audio mixer sits at the heart of many home studios, small live setups and podcast operations. Whether you're combining multiple microphones, instruments or audio sources, understanding how to choose and use a 4 channel audio mixer properly transforms your recording and live sound capabilities. This guide covers everything from basic features to practical selection advice.
What Is a 4 Channel Audio Mixer?
A 4 channel audio mixer is a compact device designed to combine up to four separate audio signals into a single stereo output. Unlike larger mixing consoles, a 4 channel audio mixer offers an entry-level solution that's portable, affordable and ideal for growing musicians and podcasters. Each channel typically includes independent controls for gain, EQ and effects, allowing fine-tuned mixing without overwhelming complexity.
The compact footprint makes a 4 channel audio mixer perfect for bedrooms, small rehearsal spaces or portable live rigs. Many professional musicians also keep one as a backup tool or for specific applications.
Key Features to Look For
When evaluating a 4 channel audio mixer, these specifications matter most:
- Input types: XLR, 1/4-inch and RCA connectors allow connection of different audio sources. A good 4 channel audio mixer includes multiple input options per channel.
- Preamps: Built-in mic preamps with phantom power enable direct connection of condenser microphones without external equipment.
- EQ controls: At minimum, a 4 channel audio mixer should offer bass, mid and treble controls per channel.
- Output options: Master stereo output, headphone output and auxiliary sends for monitors or effects.
- Faders vs knobs: Faders provide more control and faster adjustments than rotary knobs, especially during live mixing.
- Built-in effects: Reverb, delay and compression help create professional-sounding mixes without external processors.
Analogue vs Digital 4 Channel Audio Mixer
Today's market offers both analogue and digital 4 channel audio mixer options, each with distinct advantages:
Analogue 4 Channel Audio Mixer Models: These use purely analogue circuitry to process audio. Benefits include immediate, hands-on control, no learning curve for digital interfaces, and no power dependency for basic operation. Disadvantages are lack of digital effects and no recording capabilities built-in.
Digital 4 Channel Audio Mixer Units: These incorporate digital processing, onboard recording, USB output for computer connection, and sophisticated effects. The trade-off is complexity and battery dependence. Digital 4 channel audio mixer models suit producers and podcasters who need recording and editing.
Most beginners benefit from an analogue 4 channel audio mixer for simplicity and reliability, upgrading to digital models once their needs expand.
Specifications and Audio Quality
Quality metrics for a 4 channel audio mixer include:
| Specification | What It Means | Good Minimum |
|---|---|---|
| Signal-to-Noise Ratio (SNR) | Lower background noise; higher number is better | 90 dB or higher |
| Frequency Response | Range of audio frequencies captured | 20 Hz – 20 kHz (full hearing range) |
| Total Harmonic Distortion (THD) | Unwanted harmonic artifacts; lower is better | Below 0.1% |
| Microphone Input Level | Microphone sensitivity; higher headroom is better | 40 dB or higher gain |
A quality 4 channel audio mixer captures clean audio without excessive noise, making these specifications genuinely important for recording applications.
Common Applications
A 4 channel audio mixer serves multiple purposes across different workflows:
- Home recording: Combine vocals, guitar, bass and drums for multitrack recording sessions without a full-size mixing console.
- Podcasting: Mix host microphones, guest inputs and background music for professional podcast production.
- Live performance: Blend multiple instruments and vocals for small venue performances or rehearsals.
- DJ applications: A portable 4 channel audio mixer enables mixing two microphones with turntables or controllers at small events.
- Streaming: Combine microphone, game audio and music for gaming or music streaming on platforms like Twitch and YouTube.
Budget Considerations
The price range for a 4 channel audio mixer reflects features and build quality:
- Budget models (£40–80): Basic functionality, limited features, acceptable for casual use or testing the waters.
- Mid-range (£80–150): Solid build quality, useful built-in effects, better preamps. This range suits most hobbyists and semi-professionals.
- Premium (£150–300): Professional components, superior audio quality, advanced features and durability for commercial use.
- Professional (£300+): Typically not necessary unless running a professional studio or live sound company.
Most beginners find excellent value in a mid-range 4 channel audio mixer. The build quality and audio performance justify the investment without unnecessary cost.
Essential Accessories and Setup
A functional 4 channel audio mixer setup requires supporting equipment:
- Cables: Quality XLR and 1/4-inch cables prevent signal loss and noise introduction. Avoid cheap cables that degrade audio quality.
- Microphone stand: Keeps microphones at consistent working height and reduces handling noise.
- Studio monitors or headphones: Accurate audio monitoring prevents mixing mistakes and ensures quality checking.
- Phantom power supply: If your 4 channel audio mixer lacks built-in phantom power, an external supply enables condenser microphone use.
- DI box: Allows connection of instruments with high-impedance outputs (like guitars) to your mixer's line inputs.
- Pop filter: Reduces plosive sounds from vocals and improves microphone recordings dramatically.
Tips for Effective Mixing
Once you have your 4 channel audio mixer set up, these practices yield better results:
- Set gain properly: Use the peak meters on your 4 channel audio mixer to set each channel's input level so peaks reach around -6 dB, allowing headroom for mixing.
- Keep levels separate: Resist boosting overall master volume to compensate for quiet individual channels; instead, adjust each channel independently.
- Use EQ sparingly: Subtle 3–5 dB adjustments sound natural; large boosts or cuts typically sound harsh.
- Monitor carefully: Always use headphones or speakers that represent real-world listening conditions; cheap monitors hide problems.
- Clean up unused channels: Mute channels you're not using to reduce background noise and keep your mix cleaner.
Common Beginner Mistakes
People new to audio mixing often repeat predictable errors with their 4 channel audio mixer:
- Setting input levels too high: This causes distortion that can't be fixed in the mix. Leave headroom for safety.
- Neglecting cable quality: Poor cables introduce noise and signal loss, undermining your 4 channel audio mixer's potential.
- Using monitoring equipment inappropriately: Cheap or untreated monitors give misleading feedback about your mix quality.
- Over-processing with effects: Subtlety works better than heavy processing. A light touch with reverb and compression sounds more professional.
- Ignoring the manual: Every 4 channel audio mixer has specific features and quirks documented in its guide. Learning them prevents frustration.
Maintenance and Longevity
Proper care keeps your 4 channel audio mixer working reliably for years:
- Store in a dry environment away from extreme temperatures
- Avoid excessive dust accumulation; use a microfiber cloth for regular cleaning
- Don't force connectors; damaged inputs become expensive problems
- Keep faders and knobs free from sticky residues through gentle cleaning
- Test periodically with known good audio sources to catch problems early
Conclusion
A quality 4 channel audio mixer provides the foundation for home recording, podcasting or small live sound applications. Choose one that prioritizes clean audio, intuitive controls and reliable build quality over unnecessary features. Invest in good supporting equipment — cables, monitors, microphones — which often makes the difference between mediocre and professional results. With proper setup and technique, your 4 channel audio mixer becomes an indispensable tool for creating better-sounding projects.


Comments