


XLR Patchbays article
Xlr Patchbays for Beginners: A Complete Guide
If you're setting up a home or small studio, you might have heard the term 'XLR patchbay' and felt a bit overwhelmed. Don't worry—this guide is written specifically for beginners like you.
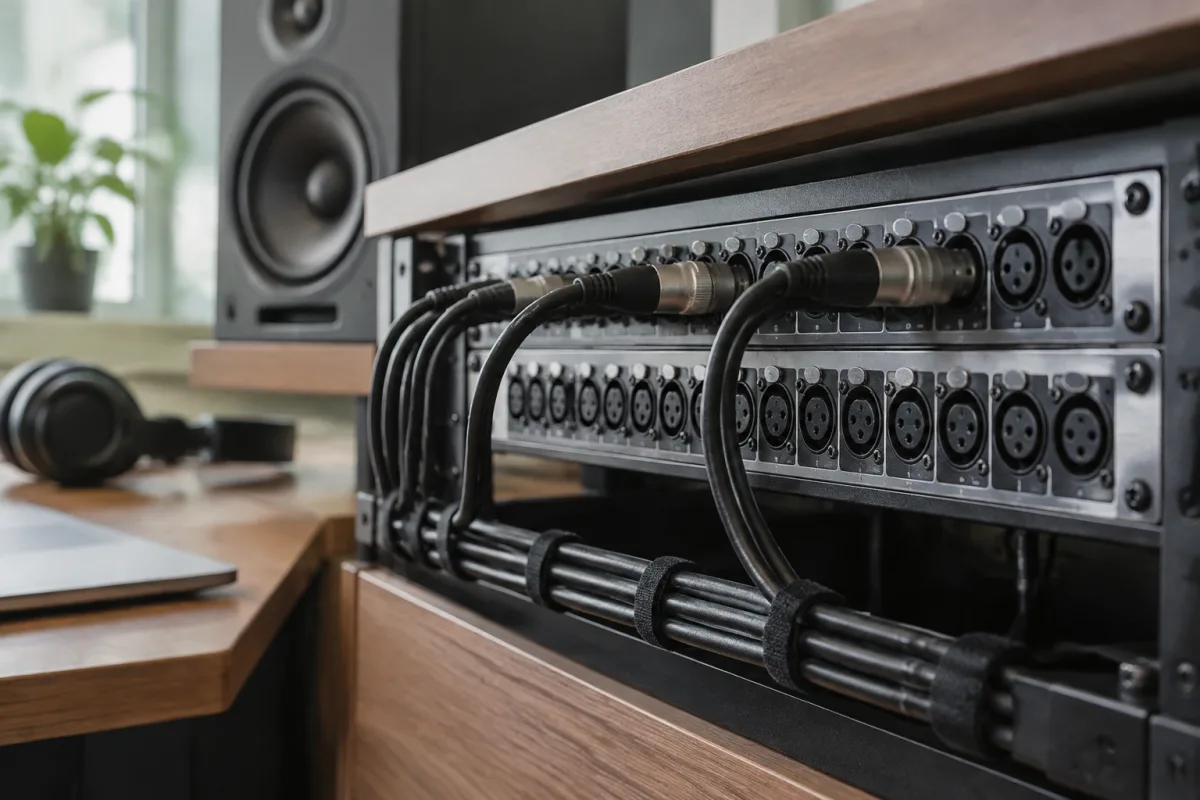
If you're setting up a home or small studio, you might have heard the term "XLR patchbay" and felt a bit overwhelmed. Don't worry—this guide is written specifically for beginners like you. An XLR patchbay might sound complicated, but it's actually one of the smartest investments you can make to keep your studio tidy, flexible, and future-proof. Let's demystify this essential piece of studio gear together.
What Is an XLR Patchbay, Really?
Think of an XLR patchbay as a central switchboard for your audio cables. Instead of plugging cables directly into your equipment every time you want to connect something new, everything plugs into the patchbay first. You then use short patch cables to make your connections on the patchbay itself. It sounds like extra work, but it actually saves you time and protects your equipment from wear and tear.
The XLR in "XLR patchbay" simply refers to the type of connector—the three-pin or five-pin circular connectors you've probably seen on microphones and audio cables. They're industry standard in studios worldwide.
Why Should a Beginner Consider a Patchbay?
You might think, "Can't I just plug things directly into my mixer?" You absolutely can start that way. But as your studio grows, a patchbay becomes invaluable. Here's why beginners benefit from adding one early:
- Protect your gear: Constantly plugging and unplugging cables wears out input/output connectors. A patchbay takes the abuse instead.
- Reduce desk clutter: All your cables route behind the patchbay, leaving your mixing desk and equipment looking professional and organised.
- Switch setups in seconds: Need to reroute your microphone from your interface to your preamp? Just move one patch cable on the patchbay instead of crawling behind your desk.
- Scale easily: When you add new gear—another microphone, a compressor, outboard effects—the patchbay adapts. No need to redesign your whole wiring scheme.
- Learn professional workflows: Every serious studio uses a patchbay. Getting comfortable with one now will serve you well as you advance.
The Right Patchbay for Your Beginner Studio
Here's the good news: you don't need a massive 96-channel patchbay to start. A beginner should look for a small XLR patchbay—typically 12 or 24 channels—that gives you flexibility without overwhelming complexity.
Key features to look for:
- Balanced XLR connections: Make sure it has female XLR inputs (where your cables plug in from the back) and female XLR outputs (where you connect to your mixer or interface).
- Half-normalling: This feature—offered by most beginner patchbays—means inputs are automatically routed to outputs unless you patch them elsewhere. It simplifies setup.
- Compact size: A desktop patchbay (about 1U to 2U rack height) fits nicely in a small space.
- Quality connectors: Look for gold-plated XLR jacks to ensure reliable, long-lasting connections.
Getting Started: Your First Setup
Don't overthink this. Here's the simplest beginner approach:
- Mount or position your patchbay: Place it on a shelf, in a small rack, or on your desk where you can easily reach the front panel. Ensure good airflow and that it's not sitting on cables.
- Run long cables from your equipment to the patchbay: Take XLR cables from your microphone preamp, audio interface, mixer, and any outboard gear and plug them into the back of the patchbay. Label each one clearly (use tape and a marker).
- Label the front panel: Create a simple diagram or label indicating what each input and output on the front represents. This takes 10 minutes and saves you hours of confusion later.
- Get quality short patch cables: Invest in a dozen or so professional patch cables (short XLR leads, usually 1 to 3 metres). These are what you'll use to make temporary connections on the front of the patchbay.
- Start with one connection: Plug your main microphone preamp input to an output on the patchbay, and that output to your mixer input. Get it working smoothly before adding more.
Common Mistakes Beginners Make (And How to Avoid Them)
Learn from others' stumbles so you don't waste time troubleshooting:
- Forgetting to label cables: After a month, you won't remember which cable goes where. Label everything with masking tape and a permanent marker before you connect anything.
- Using the wrong cable type: Make sure you're using balanced XLR cables specifically, not speaker cables or instrument cables. They look different and won't work properly.
- Overloading too quickly: Don't try to wire up every piece of gear you own on day one. Add connections gradually and test each one. This makes troubleshooting far easier.
- Not understanding half-normalling: If your patchbay has this feature, a signal flows from input to output automatically. You only need to patch when you want to change that flow. Read your manual to confirm how your model works.
- Ignoring gain structure: Even with a patchbay, don't crank levels everywhere. Maintain proper gain staging from your preamp through the patchbay to your mixer. It keeps your signal clean and prevents distortion.
Growing Your Studio Patchbay System
Once you're comfortable with a basic setup, you can expand. Many studios grow by adding:
- A second patchbay for monitor sends or effects returns
- Submix groups to route multiple microphones together
- Dedicated outboard compression or EQ in your chain
- Headphone sends for artists or musicians recording in another room
Your first patchbay is a foundation, not a limitation. Design it to serve you now and allow room to grow.
Is a Patchbay Really Necessary?
Honestly? No—not for absolute beginners in a tiny home studio. If you have only a microphone, an interface, and a pair of speakers, you don't yet need a patchbay. Start recording, build confidence, and add one when your setup becomes complex enough that cable management frustrates you. Many working producers record excellent music without a patchbay.
But if you're serious about studio work, plan to add more equipment, or want to develop good habits from the start, a patchbay is worth the investment. Think of it as a tool that matures with your skills and your studio.
The Bottom Line
An XLR patchbay is a cable management and workflow tool—nothing mysterious or intimidating. It protects your equipment, keeps your studio looking professional, and gives you the flexibility to reconfigure your setup without fussing with cables. Start small, label everything, and add connections as your studio grows. For a deeper dive into studio patchbay specifications and advanced features, check out the complete guide to XLR patchbays, which covers professional-level configurations and technical details.
You've got this. Your future studio self will thank you for the clarity and organisation you create today.


Comments