
XLR Mic Cables article
The Complete Guide to Xlr Mic Cables
Quality XLR microphone cables ensure clean audio from studio recording to live performance. Discover what separates professional cables from budget options.
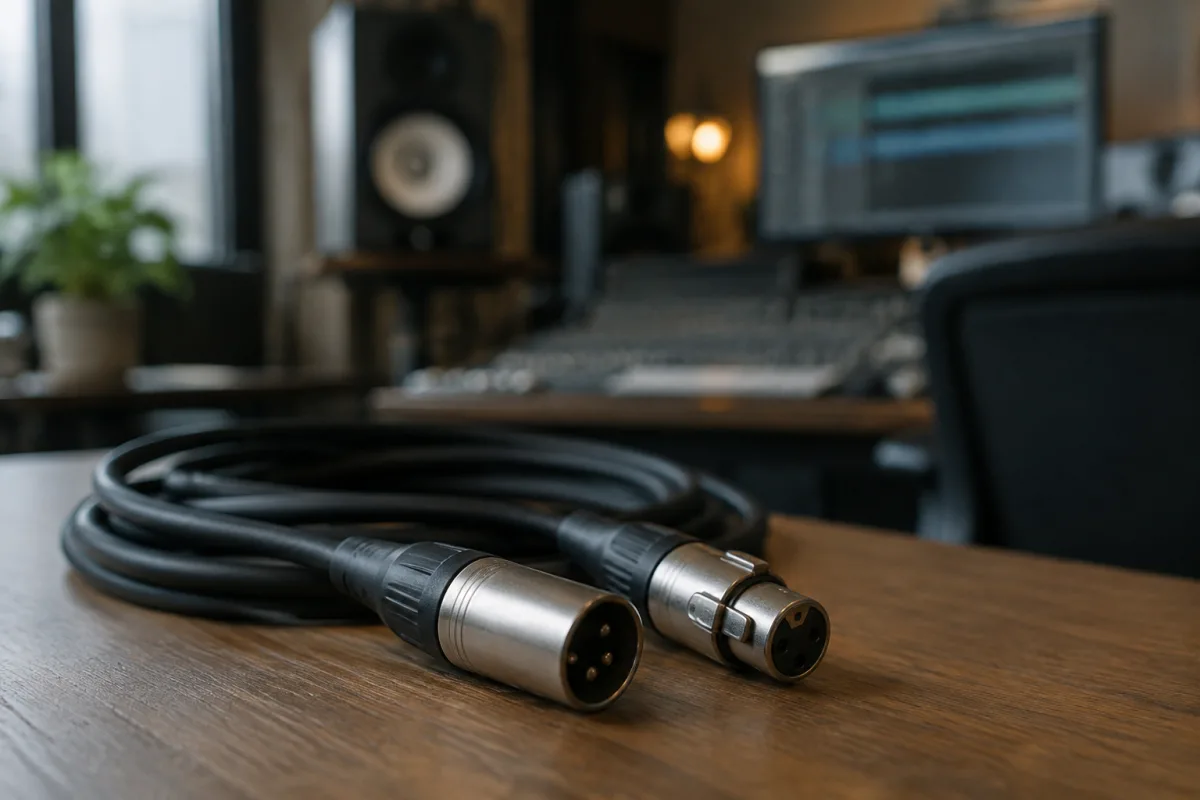
Quality XLR microphone cables form the invisible foundation of professional audio recording, live performance, and broadcast work. Often overlooked in favour of flashier equipment, a reliable microphone cable delivers clean audio from your microphone to your mixer, interface, or amplifier—and a poor cable introduces noise, signal loss, and frustration. Understanding what makes an XLR cable reliable, recognising the difference between budget and professional options, and knowing how to care for your cables keeps your audio chain transparent and dependable for years.
What Makes a Quality XLR Microphone Cable
An XLR microphone cable carries a tiny, fragile audio signal from your microphone to equipment that amplifies it. Unlike speaker cables carrying high-power amplified signals, microphone cables deal with low-level signals vulnerable to interference and degradation.
Shielding quality is paramount. A braided copper shield around the signal conductors protects your audio from electromagnetic interference radiated by power cables, fluorescent lights, radio towers, and wireless systems. Poor shielding lets interference bleed into your signal as audible hum, buzz, or crackling. Professional XLR cables feature comprehensive braided shielding; budget cables often use thin foil shields that tear easily and offer inadequate protection.
Conductor gauge and material affect signal integrity. Thicker conductors (lower AWG numbers like 16 or 18) transmit signal more effectively over long distances than thin wire. Oxygen-free copper (OFC) offers superior conductivity compared to standard copper. Premium cables use solid-core or stranded OFC; budget cables often use copper-plated steel or mixed-metal conductors.
Connector quality determines reliability during repeated connections and disconnections. Gold-plated XLR connectors resist corrosion and maintain consistent electrical contact. Solder joints inside connectors must be solid and thorough; cold solder joints create intermittent connections that cause dropouts and crackling. Premium cable manufacturers hand-solder connectors; budget manufacturers use automated ultrasonic or wave soldering that sometimes produces inferior joints.
Jacket durability protects cables during transport and venue use. PVC jackets are affordable but stiff and prone to cracking in cold weather or after repeated coiling. Professional cables often use polyethylene or polyurethane jackets that flex smoothly, resist kinking, and endure years of heavy use.
Cable Lengths and Their Practical Implications
| Length | Best Use | Advantages | Disadvantages |
|---|---|---|---|
| 1–3m | Studio recording close-miking | Minimal signal loss; less susceptible to interference | Limited flexibility in mic placement; restricts movement |
| 5–10m | Live performance; standard venues | Flexibility to distance mic from mixer; standard length | Slightly more susceptibility to EMI in noisy environments |
| 15–20m | Large venues; drums stage to FOH | Spans long distances; reduces cable clutter | Higher signal loss; requires quality cable and shorter paths optimal |
| 30m+ | Outdoor events; broadcast trucks | Long-distance mic runs; single cable per channel | Significant signal loss; demands professional-grade cable to maintain quality |
Most venues and studios rely on 5–10m cables as their workhorse standard. Shorter cables introduce negligible noise and require less budget; longer cables demand thicker gauge and better shielding to maintain signal quality. For runs beyond 15 metres, consider using an active snake or repeater box rather than extending microphone cables further.
Professional vs. Budget XLR Microphone Cables
The market offers XLR microphone cables ranging from under £5 to over £50 per cable. Your choice depends on the application and how frequently you gig or record.
Budget cables (£5–15) often feel thin, flimsy, and prone to kinking. Shielding may be incomplete; connectors may feel loose or develop intermittent contacts after repeated use. Budget cables work for occasional bedroom recording or practice rehearsals, but their unreliability makes them risky for recording sessions or live performance where a failing cable ruins takes or shows.
Mid-range cables (£15–30) represent the sweet spot for most musicians and smaller venues. Cables from respected manufacturers like Neutrik connectors and Mogami or Canare wire offer genuine quality—solid construction, comprehensive shielding, and durability through years of professional use. Mid-range cables hold their value well and rarely need replacement unless actually damaged.
Premium cables (£30–60+) offer incremental improvements in shielding, materials, and construction—worthwhile for broadcast, major venue work, or critical studio recording where audio transparency is non-negotiable. For most players, the improvement from mid-range cables is subtle and may not justify the cost.
Recognising and Avoiding Common Cable Problems
Intermittent connections are the most common failure mode. If your cable works sometimes but crackles or cuts out when moved, a solder joint has likely cracked inside the connector, or the cable has developed an internal break in the conductor. The fix is replacement—repair attempts rarely restore reliability.
Permanent hum or buzz despite proper grounding suggests inadequate shielding or damage to the braided shield. Check that nothing is touching or compressing the cable, and ensure your microphone and mixer are properly grounded. If hum persists, the cable shielding has likely failed.
Damaged connectors from drops or careless unplugging eventually fail. If an XLR connector feels loose, bent, or damaged, replace the cable rather than risk losing audio during a critical moment. Repair shops can sometimes replace connectors, but a new quality cable costs only slightly more.
Kinking and splitting jackets allow interference into the cable. Coil cables gently in loose loops rather than tight spirals; tight coiling damages the jacket and weakens the cable. Store cables in cable bags or racks rather than tangled in equipment cases.
Maintenance and Care Extends Cable Life
Proper handling keeps XLR cables reliable for a decade or more. Always hold the connector body when unplugging—pulling on the cable itself damages internal wires and connectors. Coil cables gently by hand or around your arm, never tight around a pencil or wound on a reel. Store cables away from direct sunlight, extreme heat, or moisture.
Periodically inspect your cables for visible damage, cracks in the jacket, or bent connectors. Replace cables showing wear before they fail in the field. A £20 replacement cable is far cheaper than missing a recording session or ruining a live performance.
Label your cables with coloured tape or heat-shrink tubing—a small investment that speeds setup, prevents tangling multiple cables, and helps you identify which cable is which during troubleshooting.
Conclusion
Quality XLR microphone cables remain one of the most important yet overlooked investments in your audio chain. A reliable mid-range cable from a respected manufacturer—Mogami, Canare, or Neutrik—delivers clean audio transparently for years of professional use. Invest in decent cables now, maintain them properly, and you'll never fall victim to the intermittent connections and mysterious hum that plague cheap, damaged cables. Your microphone deserves a worthy cable to carry its signal faithfully.



Comments