
Mic with Boom Stand article
The Complete Guide to Mic With Boom Stand
A mic with boom stand provides flexible microphone positioning for studio recording and live performance. Discover how to choose and set up the right equipment.
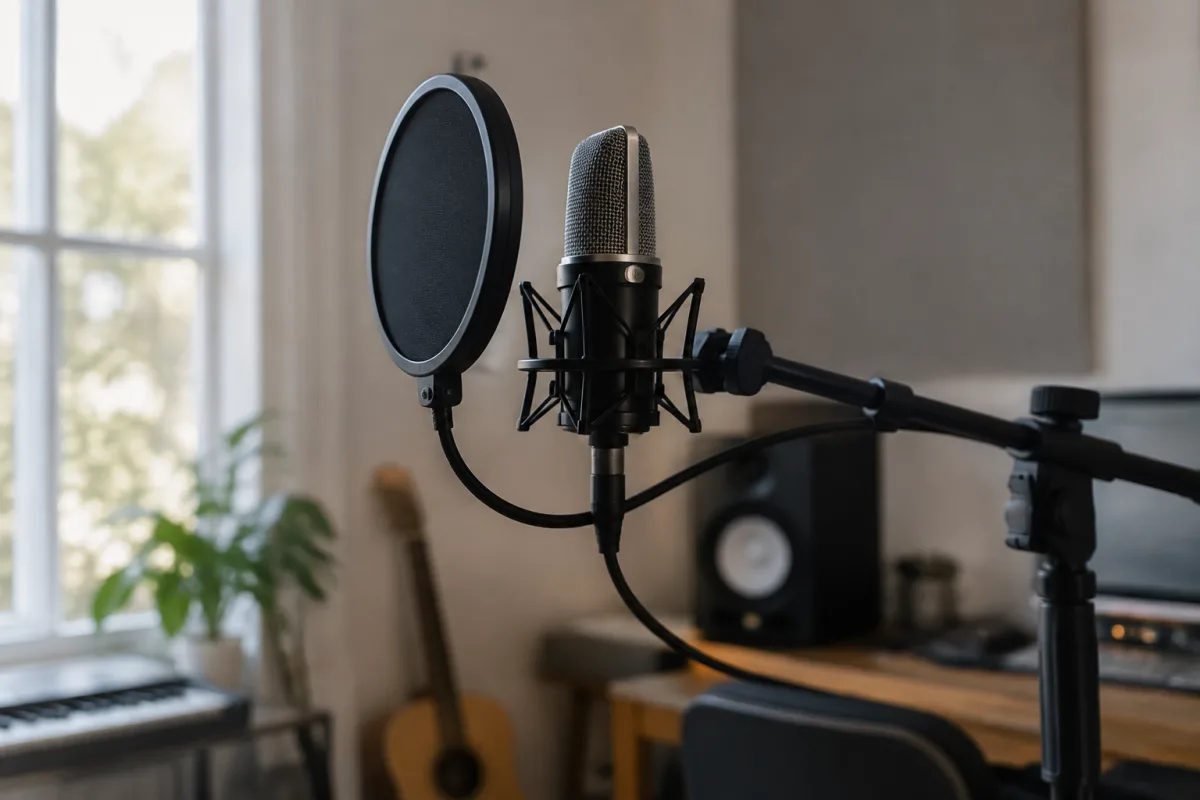
A mic with boom stand is fundamental equipment for any recording studio or performance space. The combination of a quality microphone and a properly positioned boom stand enables consistent capture of vocals, instruments, and dialogue with minimal handling noise and maximum flexibility. Whether you're recording podcasts, capturing vocal performances, or setting up for live streaming, selecting the right equipment can significantly impact your audio quality and workflow efficiency.
Types of Boom Stands
Understanding the different boom stand designs helps you choose the most suitable solution for your recording environment. Each type offers distinct advantages depending on your space and use case.
Desktop Boom Arms mount directly to your desk or table using a clamp. These compact stands work exceptionally well for podcasters and home recording studios where space is limited. This configuration allows height and angle adjustment without requiring floor space, making it ideal for tight setups.
Floor-Standing Boom Stands are traditional tripod-based systems that offer stability and adjustability. These feature a weighted base that prevents tipping, even when the boom arm extends fully to reach awkward microphone positions. A professional mic with boom stand of this type remains steady during active recording sessions and live performances.
Complete Bundles come pre-assembled with both the microphone and boom arm included, simplifying setup for beginners. These packages eliminate compatibility concerns and provide good value, though individual component selection often yields higher quality results.
Heavy-Duty Professional Stands feature reinforced construction designed for professional environments. These support heavier microphones and provide precise positioning for critical recording tasks. Professional-grade units maintain stability even with large-diaphragm condensers or multiple microphones mounted on a single arm.
Key Features of Quality Boom Stands
Weight capacity is critical when selecting equipment. Ensure your chosen stand safely supports your microphone's weight plus any shock mount, pop filter, or cable weight. Quality boom stands support between 1 and 3 kilos, with professional models handling even heavier loads.
Reach and articulation determine how easily you can position your microphone. Equipment should extend at least 60 centimetres from its base, allowing placement directly in front of your mouth or instrument. Articulated arms with multiple joints provide even greater flexibility for creative microphone positioning.
Stability is essential for professional audio capture. A mic with boom stand should remain steady without drooping or creeping downward during recording sessions. Quality friction locks keep the arm in your chosen position without requiring constant readjustment. Test the stand under load before purchasing to confirm stability meets your needs.
Cable management features reduce clutter and prevent accidental tugging. Look for equipment that includes cable clips or routing channels to organise cables neatly. This prevents tripping hazards and protects cables from damage during setup and teardown.
Microphone Mounting Considerations
A microphone clip or shock mount connects your microphone to the boom arm. Universal clips fit most microphone diameters and provide quick mounting. For expensive or delicate equipment, a shock mount isolates vibration transmission and protects your investment.
Pop filters are valuable additions to any mic with boom stand setup, particularly for vocal recording. These screens reduce plosive sounds and wind noise whilst positioning naturally in front of the microphone. Many complete kits include pop filters, but quality units are also available separately.
Boom Stand Setup and Positioning
| Recording Type | Ideal Distance | Microphone Angle | Boom Stand Placement |
|---|---|---|---|
| Vocal Recording | 6–8 inches | Slightly Off-Axis | Mouth Level, Front Facing |
| Instrument Recording | 12–24 inches | Adjustable per Instrument | Near Sound Source |
| Podcast/Dialogue | 8–12 inches | Straight-On | Mouth Height, Centered |
| Drum Kit (Overhead) | 24–36 inches | Downward Angled | Above Drum Kit |
Your equipment should position the microphone at mouth level for vocal recording. This placement reduces the need for extreme head tilting and maintains consistent microphone distance throughout your performance. Most boom stands allow easy height adjustment to accommodate different users or instruments.
Angle adjustment provides flexibility for different recording techniques. Positioning the microphone slightly off-axis reduces plosive impact and sibilance in vocal recordings. Instrument recording often requires perpendicular positioning to capture the sound source accurately.
Studio Layout and Placement
Your mic with boom stand placement affects room acoustics and recording quality. Position the stand away from hard, reflective surfaces like windows or bare walls that cause acoustic reflections. Placing it in the corner of a room or near soft furnishings minimises room noise and echo.
Cable routing deserves consideration in your overall setup. Equipment should allow cables to route cleanly to your audio interface without creating tripping hazards. Professional studios use cable management systems and conduits to keep recording areas tidy and safe.
Microphone Isolation and Vibration Control
Even the best mic with boom stand setup benefits from vibration isolation. Floor vibrations travel through boom stands and into sensitive microphones, introducing low-frequency rumble. A quality shock mount absorbs these vibrations before they reach your microphone element.
Additional isolation stands provide secondary vibration decoupling for the entire assembly. These rubber-damped platforms decouple your recording equipment from floor vibrations caused by footsteps, traffic, or other environmental noise.
Maintenance and Care
Regular maintenance keeps your equipment functioning smoothly. Check friction locks periodically to ensure they maintain proper tension. Tighten any loose fasteners that develop over time with regular use.
Clean your microphone and stand to prevent dust accumulation that can affect audio quality. Use soft, dry cloths—avoid liquids that damage electronic components. Store your mic with boom stand in a protective case during transport to prevent physical damage.
Choosing Your Setup
Your ideal mic with boom stand depends on your recording environment and microphone type. Home podcast studios typically benefit from desktop boom arms that save space. Professional recording environments favour floor-standing stands that support heavy microphones and provide precise positioning.
Consider whether you want a complete bundle or prefer selecting components individually. Bundles offer convenience and value for beginners, whilst experienced recordists often achieve better results by choosing premium microphones and stands independently.
A quality mic with boom stand is an investment that will serve you reliably for years. Proper positioning and support of your microphone fundamentally affects your recording quality. Whether recording vocals, instruments, podcasts, or live streams, having the right equipment enables professional-grade audio capture that reflects well on your content and respects your audience's listening experience.


Comments