
Mic and Cable article
The Complete Guide to Mic And Cable
Discover how to select the right mic and cable combination, understand cable construction, and solve common audio problems. A guide to professional microphone setups.
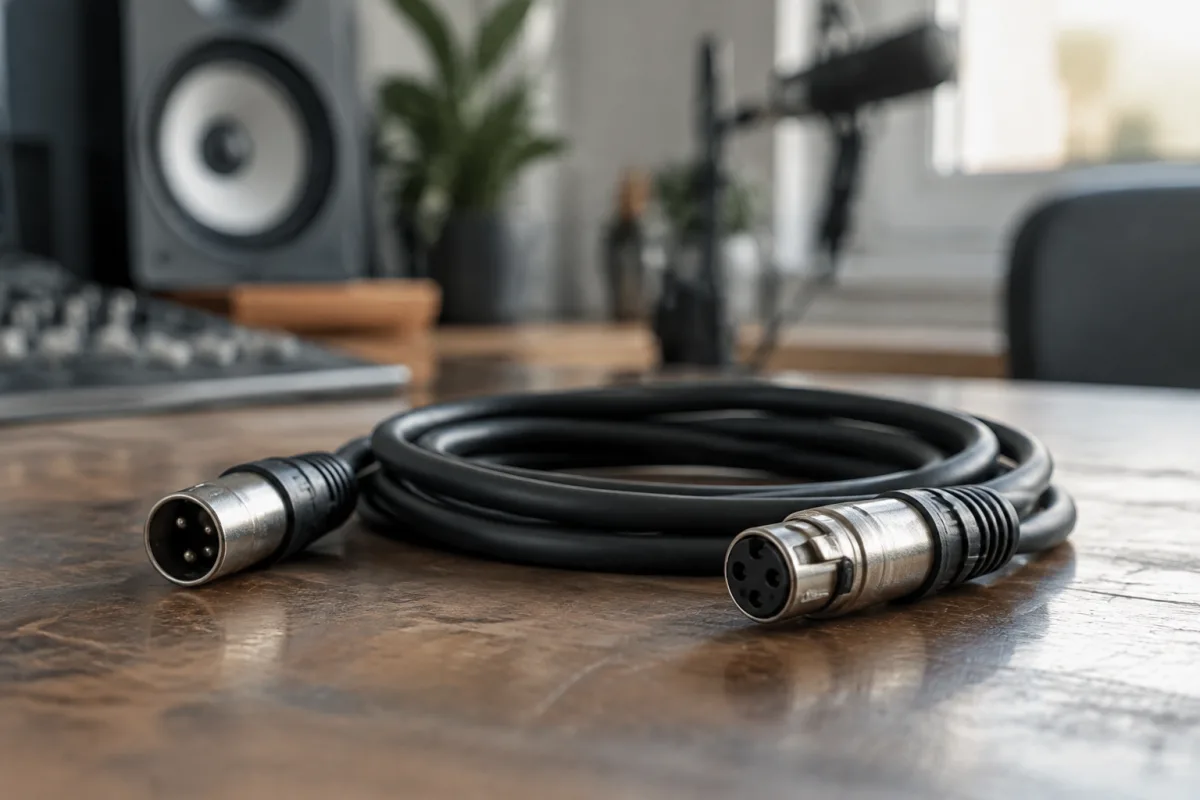
The relationship between a microphone and its cable is more critical than most amateur recordists realise. A poor cable can undermine even the finest microphone, introducing noise, signal loss, and unreliable connections. Understanding how to select, maintain, and troubleshoot your setup is essential for professional results.
Why Quality Matters
A microphone captures sound as electrical signals, which then travel through the cable to your recording device. Any weakness in this chain affects the final recording. The cable shields the delicate signal from electromagnetic interference, carries it reliably over distance, and establishes proper impedance matching between the source and your equipment.
Cheap cables with poor shielding introduce hum and buzz. Damaged connectors create intermittent dropout. Mismatched impedance causes signal loss and frequency response problems. Your expensive microphone is only as good as the cable connecting it.
Microphone Types and Cable Requirements
Different microphone types require different cable approaches:
| Microphone Type | Cable Type | Connector | Typical Use |
|---|---|---|---|
| Dynamic microphones | Shielded XLR cable | XLR 3-pin | Live sound, studio vocals |
| Condenser microphones | Shielded XLR cable, balanced | XLR 3-pin | Studio recording, acoustic instruments |
| Ribbon microphones | Low-impedance XLR cable | XLR 3-pin | Jazz, classical recording |
| USB microphones | USB cable (proprietary) | USB (Type A/B or C) | Podcasting, streaming |
The gold standard for professional studio recording is a balanced XLR connection. This three-pin connector allows proper impedance communication, manages phantom power for condensers, and provides superior noise rejection compared to unbalanced alternatives.
Cable Construction and Specifications
Understanding what goes inside your mic and cable is the first step to choosing the right equipment. High-quality solutions share common characteristics:
- Multi-layer shielding: Copper braid or foil shield inside the jacket blocks external RF interference and electromagnetic noise.
- Balanced wiring: Three inner conductors (two for signal, one for ground) with identical impedance throughout.
- Proper gauge: Thicker conductors (lower gauge numbers like 22 AWG) have lower resistance and better signal integrity over long runs.
- Quality connectors: Gold-plated contacts on XLR plugs resist corrosion and ensure reliable connection after repeated insertions.
- Flexible jacket: PVC or polyurethane outer cover resists kinking and cracking, extending lifespan.
The impedance of a professional setup should be between 50–70 ohms, matched to professional audio equipment standards. Budget options often ignore this specification, leading to signal degradation.
Selecting the Right Setup
Choosing the correct mic and cable combination depends on several factors. First, verify the microphone's impedance—typically 50 ohms for professional condenser and dynamic types. The cable must match this specification for optimal signal transfer.
Consider cable length carefully. Longer runs (beyond 30 metres) require thicker gauge wire to compensate for resistance. For studio work under 10 metres, standard 20–22 AWG cable is adequate. For stage use with long runs to mixing consoles, invest in properly sized solutions.
Connector quality directly affects reliability. Professional XLR connectors from reputable manufacturers like Neutrik feature metal bodies that protect the pins and gold-plated contacts that maintain connection integrity. Budget options with plastic bodies and nickel plating fail prematurely.
Common Problems and Solutions
A crackling, cutting-out, or noisy signal often stems from cable issues rather than microphone failure. Here are the most common problems with mic and cable setups:
- Intermittent signal: The connector is loose or corroded. Clean the XLR pins with a dry cotton swab or contact cleaner spray. Tighten any threaded connectors.
- Hum or buzz: Poor shielding or unbalanced grounding. Replace with a properly shielded balanced cable. Ensure your audio interface has balanced XLR inputs.
- Weak signal: Signal loss typically indicates cable impedance mismatch, conductor damage, or very long cable runs. Try a shorter cable first to diagnose.
- RF interference: Mobile phones or wireless equipment nearby can induce noise. Move your setup away from transmitters or use shorter cables with better shielding.
If a combination isn't working, systematically test by substituting each component. Try the microphone with a different cable, or test the existing cable with another microphone. This quickly identifies whether the problem is in the microphone, cable, or connection point.
Cable Care and Maintenance
Proper care extends cable lifespan and maintains signal quality. Never coil a cable tightly—use broad loops to avoid stress on the connectors and internal conductors. Store cables in a dry place away from heat sources that degrade plastic jackets.
Regularly inspect connectors for dirt, corrosion, or bent pins. A small amount of electrical contact cleaner applied to the XLR pins prevents oxidation. Never force a connector—if it doesn't slide in smoothly, gently check alignment first.
Replace cables that show visible damage: cracked jackets, exposed shielding, kinked sections, or loose connectors. A damaged setup is unreliable and may introduce noise that's difficult to track down later.
Investing Wisely
The relationship between a quality microphone and a quality cable is inseparable. Buying a superb microphone then pairing it with a cheap cable is false economy. Professional-grade cables typically cost 20–50 pounds depending on length and construction.
For home studio use, a single high-quality 5–10 metre cable serves most purposes. For professional studios, investing in multiple cables of different lengths—both balanced XLR for microphones and unbalanced for instruments—provides flexibility and redundancy.
Well-maintained, properly selected mic and cable combinations deliver years of reliable service, protecting your investment in quality equipment and ensuring clean recordings every time.


Comments