


Audio Mixer Rack article
The Complete Guide to Audio Mixer Rack
An audio mixer rack consolidates multiple inputs and routes them to outputs with precision and control—essential equipment for professional studios and live sound.
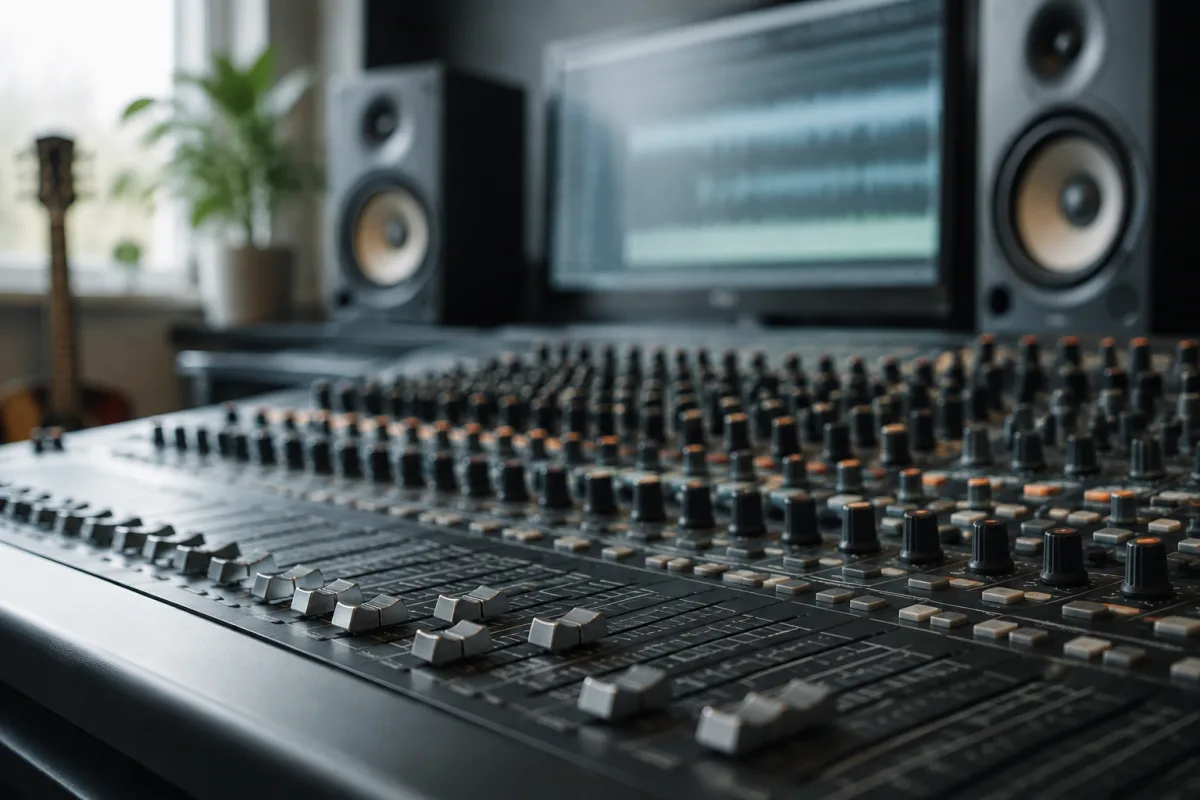
An audio mixer rack is the beating heart of any professional studio or live sound setup, consolidating multiple inputs, processing them in real time, and routing them to outputs with precision and control. Whether you're running a recording studio, managing a band's live performance, or operating a broadcast facility, understanding how to select and deploy an audio mixer rack effectively can transform the quality of your sound and streamline your workflow substantially.
What is an Audio Mixer Rack?
An audio mixer rack, also known simply as a mixing console or mixer, is a hardware unit that blends multiple audio signals into fewer outputs. Unlike a compact tabletop mixer, an audio mixer rack is purpose-built for installation into standard 19-inch racks, making it ideal for fixed installations where space efficiency and rack integration matter. These units accept line-level or microphone-level inputs from instruments, microphones, and other sources, apply gain, EQ, and effects, and output the blended result to monitors, speakers, or recording devices.
The core function of such equipment remains consistent across price points: gathering diverse audio sources and sculpting them into a cohesive, controllable mix. What changes between entry-level and professional setups is channel count, processing depth, routing flexibility, and build quality.
Key Components
Every audio mixer rack shares a standard signal flow:
- Input channels: Each input strips audio to its core path: a preamp (to boost weak mic signals), a fader for level control, and panning to place the signal left or right in the stereo field.
- EQ section: Most units include parametric or graphic EQ on each channel, allowing you to shape tone by boosting or cutting frequencies.
- Aux sends (auxiliaries): These allow you to route a portion of each channel to external devices—reverb units, monitor wedges, or effects processors—independently of the main output.
- Master section: The master fader controls the overall level of the main output bus, and most installations include a master EQ and metering.
- Metering: LEDs or VU metres show signal level on each channel and the main bus, essential for avoiding clipping and ensuring consistent levels.
Types of Equipment
Audio mixer racks fall broadly into several categories. A compact unit (typically 8–16 channels) suits small studios or mobile rigs and saves rack space. A mid-range installation (16–32 channels) serves general studios and smaller live events. Large-format equipment, with 48 channels or more, is reserved for broadcast centres, arena touring, or complex fixed installations.
Digital models, which became mainstream in the 2000s, store scenes (snapshots of the entire mixing state), recall them instantly, and often include onboard processing such as dynamics, reverb, and delay. Analogue units remain preferred in many classical recording and mastering environments for their transparent, coloration-free sound—though this distinction matters less as digital converters and processing have improved. Many professional setups now use a hybrid approach, pairing a digital console with outboard analogue gear for tone shaping.
Choosing the Right Equipment
Selecting an audio mixer rack depends on three critical questions: How many simultaneous inputs do you need? What level of processing (EQ, compression, effects) must happen onboard versus via outboard gear? And what is your budget?
For a small studio recording classical vocals and acoustic guitar, a 12-channel unit with basic 3-band EQ and one pair of aux sends may suffice. For a touring band mixing monitors and front-of-house simultaneously, you might need a 32-channel installation with subgroup routing, multiple matrix outputs, and robust onboard dynamics.
When evaluating such equipment, check the specifications: input impedance (higher is usually better for microphones), maximum input level (measured in dBu), frequency response, and signal-to-noise ratio. Test any mixer with your own equipment before committing; a unit that sounds clean and responsive in a shop might reveal noisy preamps or sluggish faders under real use.
Installation and Setup
Mounting an audio mixer rack begins with choosing a sturdy, vibration-free location. Studio desks with dedicated rack spaces or purpose-built furniture keep the equipment accessible without introducing hum or vibration from nearby speakers or air-handling units. In live sound, such installations typically sit on a reinforced cart or in a weatherproof case, protected from dust and impact.
Cabling is where many setups stumble. Keep microphone cables separate from AC power leads to avoid hum. Use balanced XLR or AES connectors for long runs; unbalanced RCA is acceptable only for short distances and line-level signals. When wiring any audio mixer rack, label every input and output clearly—it saves troubleshooting time and speeds up future setups.
Grounding is crucial: ensure the mixer, all outboard gear, and monitoring speakers share a common ground point. Improper grounding introduces hum (a 50 Hz buzz in the UK) that will plague every recording. Lifting the ground on an XLR adapter may cure some hum, but it is a symptom of a deeper grounding fault.
Common Maintenance and Troubleshooting
The faders, potentiometers, and switches are the first components to wear. A few preventative steps extend their life. Use the faders smoothly, avoid sudden jarring movements, and store the equipment in a clean, temperature-stable environment. If a channel develops crackling or noise as you move the fader, a spray contact cleaner (applied carefully to the fader contacts) often restores function.
LED indicators on the mixer should glow steady when powered. If power indicators are dim or the audio mixer rack fails to pass signal, check the AC inlet, power cable, and fuse. Modern equipment rarely fails suddenly; gradual noise or distortion usually signals an ageing power supply.
If an entire channel goes silent, verify the channel fader is raised, the input sensitivity is not set to minimum, and the input socket is not faulty (test with a different cable or source). Many troubleshooting hours are saved by working methodically through the signal chain from input to output.
Conclusion
A properly chosen mixing console remains indispensable in recording, broadcast, and live sound. Selecting the right equipment for your needs, understanding its signal flow, and maintaining it properly will serve you for years of reliable operation. Whether you prioritise the transparent warmth of analogue circuits, the recall convenience of digital mixing, or a hybrid blend of both, such equipment transforms raw audio into a polished, professional result.


Comments