
Acoustic Isolation Panels article
The Complete Guide to Acoustic Isolation Panels
Acoustic isolation panels absorb unwanted reflections and external noise, transforming problematic rooms into recording-friendly spaces without expensive renovation.
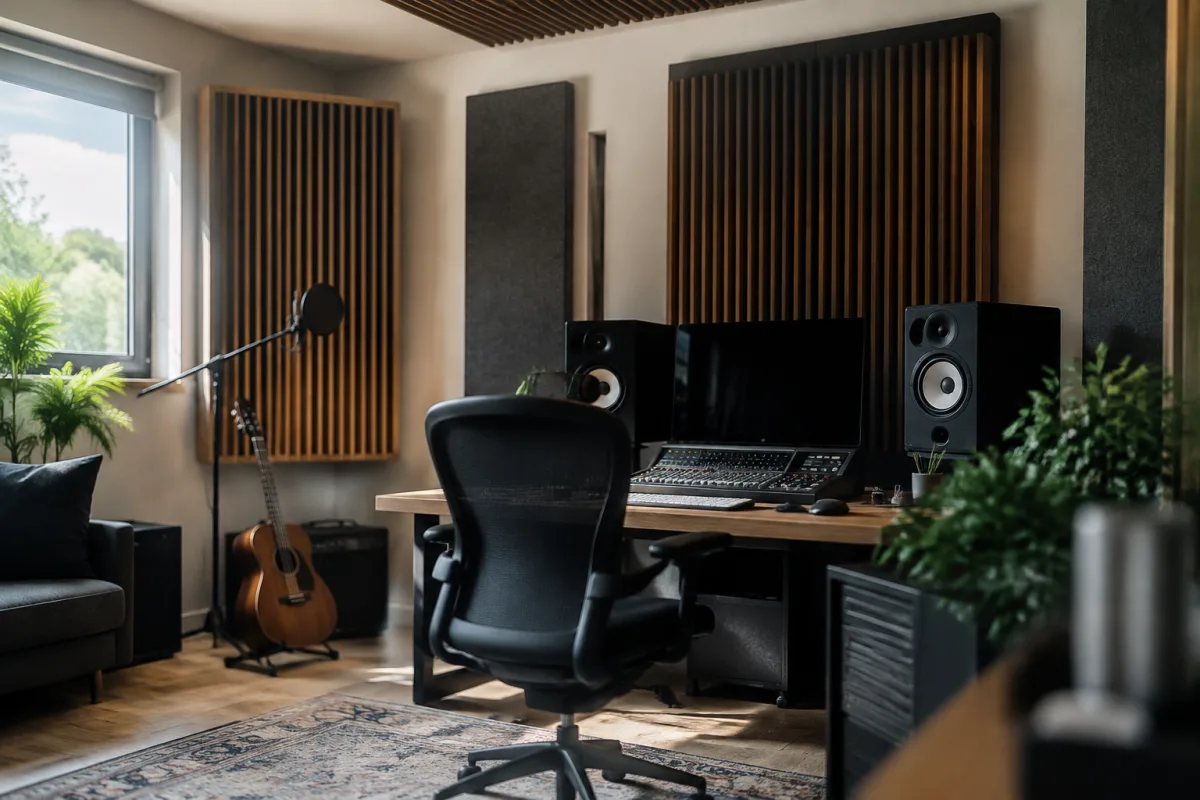
Acoustic isolation panels transform problematic room acoustics into recording-friendly spaces, absorbing unwanted reflections and external noise that degrade audio quality. Whether you're setting up a home studio, vocal booth, or drum room, acoustic isolation panels are the most practical solution for improving sound capture without expensive structural renovation.
What Are Acoustic Isolation Panels?
Acoustic isolation panels are sound-absorbing wall treatments made from foam, mineral wool, or fibre materials designed to dampen sound reflections and reduce ambient noise. Unlike soundproofing, which blocks sound from entering or leaving a room, acoustic isolation panels improve the sonic character of a space by preventing echoes and harsh reflections that muddy recordings. They work by converting sound energy into negligible heat through material absorption.
A typical acoustic isolation panel consists of a porous core material wrapped in fabric, mounted on walls, ceilings, or in corners where reflections are most problematic. The result is cleaner recordings with reduced room noise, easier mixing decisions, and natural-sounding vocals and instruments that require less post-production processing.
Types of Acoustic Isolation Panels
Different materials offer varying acoustic performance, aesthetics, and price points:
| Panel Type | Material | Absorption Quality | Best For |
|---|---|---|---|
| Foam Panels | Expanded polystyrene or polyurethane foam | Good mid-high frequencies; poor low frequency | Budget studios, vocal booths, voice-over rooms |
| Mineral Wool Panels | Rock or slag wool compressed into boards | Excellent across full frequency spectrum | Professional studios, drums, serious recording |
| Fibreglass Panels | Glass fibres bonded together | Excellent mid-high absorption; moderate low | Control rooms, recording studios, treated spaces |
| Membrane Acoustic Panels | Hollow panels with air space or light fill | Excellent low-frequency absorption | Bass traps, low-frequency problem areas |
| Fabric-Wrapped Panels | Any core wrapped in decorative acoustic fabric | Depends on core material | Professional studios where aesthetics matter |
How Acoustic Isolation Panels Improve Your Recording
Poor room acoustics introduce multiple problems to recordings. Reflections from hard walls create echoes and flutter that destroy clarity. Standing waves at low frequencies create boomy, undefined bass. Exterior noise—traffic, neighbours, HVAC systems—bleeds into sensitive microphone recordings. Acoustic isolation panels target each problem by absorbing offending frequencies before they reach your microphone.
The practical benefit is immediate: cleaner vocal recordings that sit better in mixes with less processing, tighter drums with reduced room tone, and reduced background noise that would otherwise require tedious removal in post-production. A professionally treated room produces noticeably better recordings with the same microphones and equipment because the acoustic environment itself is no longer fighting your capture.
Placement and Installation of Acoustic Isolation Panels
Correct placement maximises acoustic isolation panel effectiveness. Early reflections—sound bouncing directly off nearby walls before reaching your microphone—cause the most obvious problems. Place panels on the walls closest to your recording position, especially corners where reflections are strongest. Position panels at 45-degree angles in room corners to absorb standing waves and low-frequency buildup.
For vocal recording, install panels at ear height on the wall opposite the singer, and use corner bass traps to absorb low frequencies. For drum recording, place panels at the height where instruments sit and behind the drum kit. For control room mixing, treat the first reflection points (areas where sound bounces directly from speakers to your ears) and add bass traps in room corners. Professional acoustic designers use acoustic measurement tools to identify problem areas, but for home studios, treating corners and first-reflection points yields substantial improvement.
Installation is straightforward: use adhesive specifically rated for your panel type and wall surface, or install panels on wooden frames for non-permanent treatment. Never over-dampen a room—dead-sounding spaces are as problematic as overly reflective ones. Aim for balanced absorption that reduces harshness whilst retaining natural acoustics.
Density and Thickness: What Matters
Acoustic isolation panel effectiveness depends on material density and thickness. Thicker panels absorb lower frequencies more effectively; thin panels excel at high frequencies. A 4-inch (100mm) mineral wool panel absorbs frequencies down to roughly 250 Hz, whilst thin foam panels primarily absorb above 1 kHz. For comprehensive room treatment, combine panels of different thicknesses: thin foam for mid-high frequencies, thicker mineral wool or fibreglass for fuller coverage.
Budget-conscious studios often start with foam panels in early reflection points (which reduces harshness dramatically) and add bass traps later as budget allows. For new studios, planning treatment using thicker, more comprehensive panels from the start costs less than multiple upgrades.
Aesthetic Integration
Acoustic isolation panels no longer look industrial. Fabric-wrapped panels in various colours and sizes integrate seamlessly into studio design. Some manufacturers offer custom acoustic art—photographs or designs printed on acoustic panels that absorb sound whilst functioning as wall décor. This approach works particularly well in home studios where aesthetic integration with living spaces matters.
Alternatively, wooden frames can house acoustic panels, creating sleek, professional-looking wall treatments. Some studios use movable panel systems that adapt to different recording scenarios—removing panels for roomy drum sounds, adding them for controlled vocal recording. Balancing acoustic function with visual design is entirely possible with modern acoustic isolation panels.
Budget Considerations and Cost-Effectiveness
Comprehensive acoustic treatment requires investment, but less than you might expect. A basic treatment kit for a small home studio (vocal booth or project room) costs £400–£800. A professional single-room treatment might run £2,000–£5,000. These costs are dramatically lower than acoustic renovation (structural changes, adding mass, fixing HVAC noise) and deliver immediate, measurable improvements in recording quality.
Prioritise treatment where it matters most: first reflection points in recording spaces, corner bass traps for low-frequency control, and behind speakers in mixing rooms. Start there and expand treatment gradually as budget allows. Even modest treatment yields noticeable improvement compared to untreated rooms.
Combining Panels with Other Acoustic Solutions
Acoustic isolation panels work best alongside other treatments. Heavy curtains or bass traps address problems panels alone cannot solve. Moving blankets in corners add supplementary absorption without cost. Proper microphone technique—positioning close to the sound source—reduces room noise reaching the microphone, making acoustic panels more effective. Acoustic isolation panels are part of a complete treatment strategy, not a standalone solution.
Maintenance and Durability
Quality acoustic isolation panels last years with minimal care. Foam panels can degrade if exposed to UV light or moisture; store in protected environments and avoid damp basements. Mineral wool and fibreglass panels are more durable and resistant to moisture if properly installed. Most fabric-wrapped panels are cleanable with careful vacuuming—never wet-clean without checking manufacturer guidelines.
Conclusion
Acoustic isolation panels are the practical foundation of any recording space, transforming untreated rooms into acoustically functional environments. By absorbing problematic reflections and reducing ambient noise, acoustic isolation panels enable cleaner, more professional recordings without expensive structural changes or noise complaints from neighbours. Whether you're building a professional studio or upgrading a home setup, acoustic isolation panels are the single most impactful investment in recording quality you can make. Treat the room properly, and both your recordings and your mixing decisions improve immediately.


Comments