
Mic and Pop Filter article
The Complete Guide to Mic And Pop Filter
A mic and pop filter is essential studio equipment for vocalists and podcasters. Discover how it works, different types, and how to get the most from this simple but effective tool.
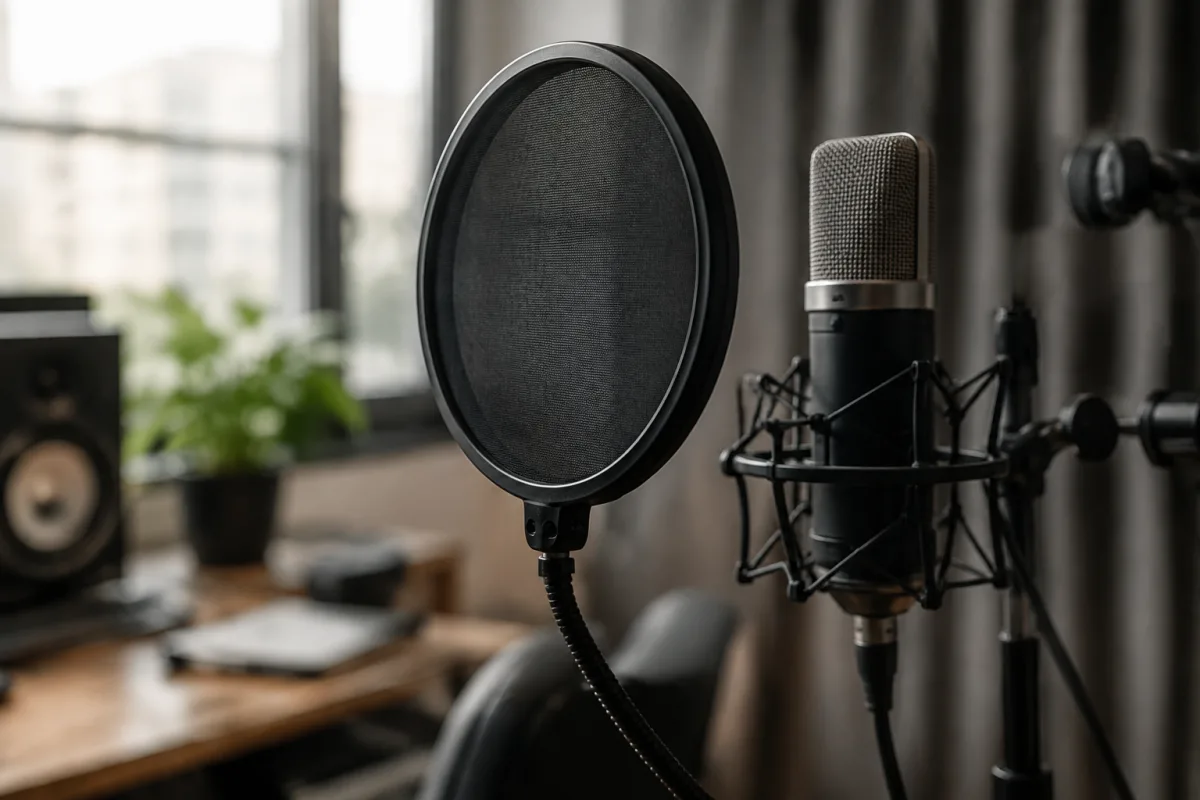
Understanding Mic and Pop Filter Basics
A mic and pop filter is one of the most underrated pieces of recording equipment in any home studio. It's a simple accessory that sits between you and your microphone, catching the explosive bursts of air that turn "P" and "B" sounds into unwanted noise. For anyone recording vocals, podcasts, or voiceover work, a quality mic and pop filter transforms your recordings from amateur to professional in one swift addition.
The beauty of a mic and pop filter lies in its simplicity. You don't need to understand complex signal flow or digital processing—just position it correctly and watch your recordings instantly improve. What seems like a minor piece of gear does genuine work, protecting your microphone from plosives whilst allowing the full, natural tone of your voice through.
How a Mic and Pop Filter Works
A mic and pop filter operates on a simple principle: it slows down fast-moving air before it reaches the microphone capsule. When you say "pop" or "bass," air moves forcefully outward from your mouth. Without a mic and pop filter, that blast hits the microphone diaphragm directly, causing a low-frequency thump that audio engineers spend hours trying to remove in post-production. With a mic and pop filter in place, the air disperses harmlessly, and your voice comes through clean.
Most mic and pop filter designs use a combination of materials. An outer layer of fine mesh catches larger particles—dust, saliva spray, anything that shouldn't be near your microphone capsule. A second layer of foam or mesh material further slows the air, whilst remaining acoustically transparent. The metal or plastic frame holds everything in place and mounts securely to a microphone stand or boom arm.
Mesh vs. Foam: Choosing Your Mic and Pop Filter Material
Mesh mic and pop filter models are the traditional choice and remain the most popular. They're effective at stopping plosives, durable, and won't compress or degrade over months of use. A quality mesh mic and pop filter allows air to pass through with minimal acoustic impact—your voice sounds natural and uncoloured. Mesh is also easier to clean; you can rinse it under water if dust accumulates.
Foam mic and pop filter designs use layered foam instead of mesh. They're often more aggressive at stopping plosives because foam absorbs rather than just dispersing the air. However, foam absorbs slightly more treble frequencies, which can make vocals sound marginally duller. Some engineers prefer this because it adds a subtle warmth. Foam mic and pop filter materials do compress over time with repeated use and may need replacing after a few years of heavy recording.
The best choice depends on your microphone and voice. A mic and pop filter paired with a bright-sounding large-diaphragm condenser might benefit from foam's slight warmth. A darker-sounding microphone might need the transparency of mesh. Many professionals own both, choosing based on the project.
Microphone Placement and Mic and Pop Filter Distance
How you position your mic and pop filter dramatically affects how well it works. The general rule: position the mic and pop filter about 2 to 4 inches (5-10 cm) in front of your microphone. This distance is crucial. Too close, and the mic and pop filter becomes less effective—the plosives haven't dispersed enough. Too far, and you're wasting the mic and pop filter's protection whilst adding an awkward spacer to your setup.
The angle matters too. A mic and pop filter works most effectively when sound travels perpendicular through it—straight on. If you angle your mic and pop filter significantly or position it off-centre, some plosive protection is lost. For the best results with a mic and pop filter, ensure you're singing or speaking directly at it, perpendicular to its surface.
Consider mounting stability as well. A mic and pop filter that wobbles or shifts during recording is worse than no mic and pop filter at all. A quality gooseneck mount—the flexible arm that holds the mic and pop filter—should hold position without drifting. Some heavy-duty designs use rigid arms, which take up more space but offer absolute stability.
Mic and Pop Filter Advantages Beyond Plosives
Whilst stopping plosives is the primary job of a mic and pop filter, it offers additional benefits. A mic and pop filter shields your microphone from saliva spray, dust, and other particles that can accumulate on the capsule. Regular cleaning of your mic and pop filter is far easier and cheaper than servicing a damaged microphone. For expensive large-diaphragm condensers, a mic and pop filter is insurance against costly repairs.
A mic and pop filter also creates a psychological distance between you and your microphone. Instead of feeling like you're singing directly at it, the mic and pop filter creates a subtle barrier that allows many vocalists to relax and perform more naturally. Some singers report that this psychological separation helps them feel less self-conscious during recording sessions.
Temperature and moisture are factors too. During intense vocal sessions, the mic and pop filter catches some of the moisture from your breath, protecting the microphone capsule. In cold studios, a mic and pop filter reduces the risk of condensation forming on the microphone when you first switch on your equipment.
Choosing Quality in a Mic and Pop Filter
A budget mic and pop filter might save you £10 or £15, but it often comes with compromises. Cheap mesh deteriorates quickly, gooseneck mounts fail, and the acoustic impact can be noticeable. A quality mic and pop filter, by contrast, should last years with minimal maintenance. Look for brands that use robust materials, reliable mounts, and have solid warranties.
The best mic and pop filter models often come from microphone manufacturers or established audio brands. These companies understand the relationship between a microphone and its accessories and build accordingly. A Neumann, Shure, or Rode mic and pop filter paired with their own microphone typically offers seamless compatibility and proven acoustic performance.
Installation and Use
Installing your mic and pop filter is straightforward. Most models use a flexible gooseneck that clamps to your microphone stand or boom arm. Position it so the mesh sits 2-4 inches from your microphone, perpendicular to your mouth. Test your setup by recording a few plosive-heavy words—"pop," "bass," "please"—and check that the sound is clean and the plosive impact is minimal.
Maintain your mic and pop filter with simple care. Brush off dust regularly with a soft-bristled brush. If it accumulates heavy dust or residue from vocal sessions, rinse the mesh gently under lukewarm water and air-dry completely before using it again. Never use harsh chemicals or aggressive scrubbing—the mesh is delicate. With proper care, a quality mic and pop filter becomes an invisible part of your recording chain, protecting your microphone and your recordings for years to come.


Comments