


Overhead Microphone Buying guide
Overhead Microphone: A Complete Buyer's Guide
A practical buying guide for selecting an overhead microphone. Learn about polar patterns, frequency response, build quality, and how to avoid common mistakes.
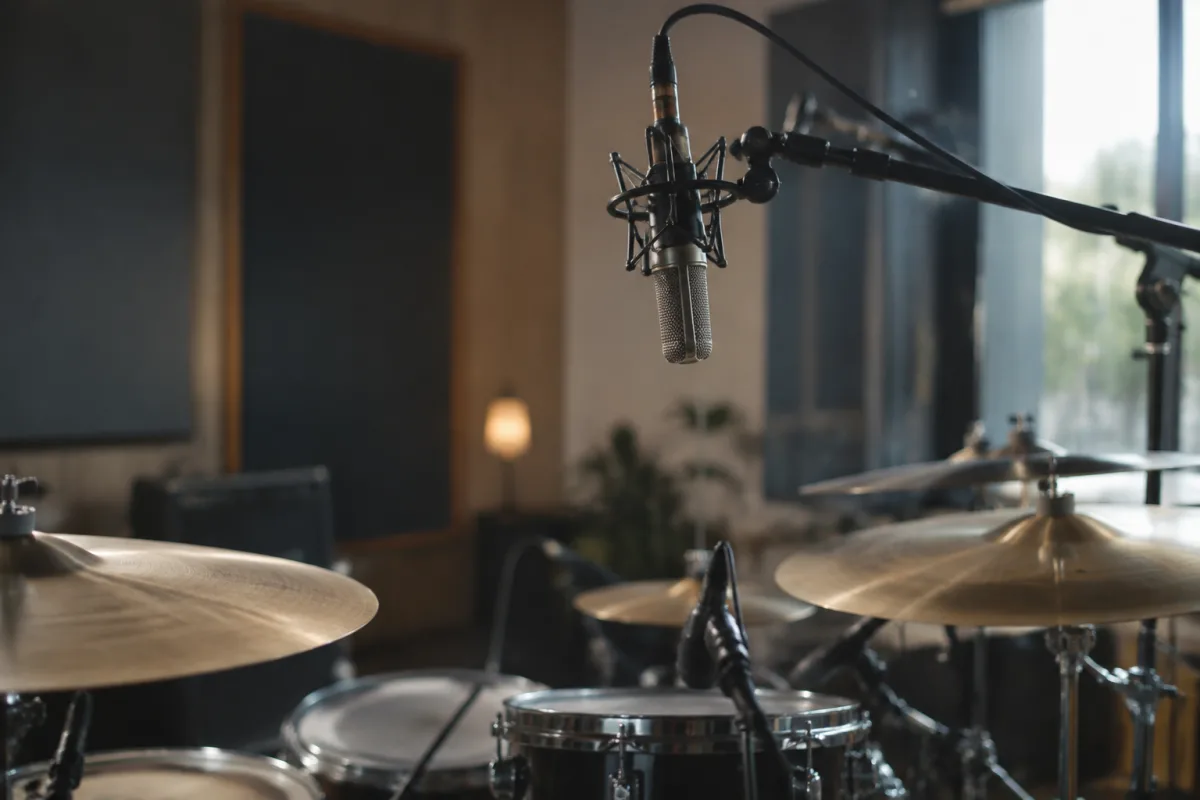
Choosing an overhead microphone for drum kits, acoustic instruments, or room ambience requires understanding a different set of priorities than microphones used closer to the source. An overhead microphone sits above the performance, capturing a wider perspective and collecting room reflections that shape the final character. This buying guide explains what specs matter for overhead microphone selection, common pitfalls to avoid, and how to match the right model to your budget and recording needs.
Understanding Overhead Microphone Positioning and Requirements
An overhead microphone typically hangs 3 to 6 feet above the sound source, exposed to reflections and ambient noise. This positioning requires different characteristics than close-miked techniques. Your overhead microphone needs extended frequency response to capture the brightness of cymbals and the detail of drum shells, good off-axis rejection to minimise room reflections when you don't want them, and sufficient output level to reach your preamp without excessive noise. These requirements make budget microphones a poor choice for overheads; the weaknesses that don't matter for close-miking become deal-breakers when positioning the overhead microphone several feet away.
Condenser vs. Dynamic: Why Condensers Dominate Overhead Microphone Applications
Almost all overhead microphone choices are condensers, not dynamics. Condensers capture subtle transients, extended highs, and room information that define good overhead microphone sound. They require phantom power (typically supplied by your audio interface or mixer), but this is standard in professional studios. Dynamic microphones lack the sensitivity needed for effective overhead microphone work at distance; they're better reserved for close-miking kick drums or snares. Stick with condenser technology for overhead microphone applications, and budget accordingly for phantom power-capable gear.
Diaphragm Size and Frequency Response
Overhead microphone models come with small-diaphragm (typically 1/2-inch) or large-diaphragm (1-inch or larger) designs. Small-diaphragm condensers are the standard choice for overhead microphone work because they offer consistent polar patterns across frequencies, peak presence in the right frequencies for cymbals and transients, and better off-axis coloration rejection. An overhead microphone with good presence peak (usually 4-8 kHz) captures cymbal clarity without sounding harsh. Check that your overhead microphone has a frequency response peak in this range, not a flat or dark character. Extended high-frequency response (to 20 kHz) helps overhead microphone capture air and detail, though frequency response above 15 kHz is academic for most rock and pop recording.
Polar Patterns: Cardioid vs. Omnidirectional Overhead Microphone Options
Your overhead microphone will typically be cardioid (rejects sound from the sides and rear) or omnidirectional (equally sensitive in all directions). Cardioid overhead microphone designs are more versatile because they allow you to reject room reflections, minimize drum bleed when recording individual drums, and control wash. A cardioid overhead microphone pointing downward at 45 degrees rejects some floor reflections and room ambience whilst capturing the drums well. Omnidirectional overhead microphone models are rarer but useful if you specifically want to capture room character; they're rarely the default choice for drum overhead microphone applications. For your first overhead microphone purchase, cardioid is the safer bet.
Sensitivity and Noise Floor Considerations
An overhead microphone needs adequate sensitivity to deliver good signal levels from a distance without requiring excessive preamp gain (which amplifies noise). Look for overhead microphone models with sensitivity ratings around -35 dBV/Pa or better (lower dB values mean higher sensitivity). Equivalent noise floor should be below 20 dB SPL A-weighted for a quality overhead microphone; anything below this means the microphone adds noticeable hiss to your recordings. Budget overhead microphone options often have noise floors around 25-30 dB, which is acceptable for loud sources like drums but problematic if you're recording quieter instruments or room ambience.
Maximum SPL: Overhead Microphone Durability and Headroom
An overhead microphone positioned above a drum kit faces high sound pressure levels, especially near cymbals. Your overhead microphone should handle at least 130 dB SPL without distorting; premium overhead microphone models often exceed 140 dB. This spec prevents the microphone from clipping when cymbals hit hard. Cheaper overhead microphone models sometimes specify lower maximum SPL, which creates practical problems: you'll need to position the overhead microphone further away to avoid distortion, reducing captured detail. Choose an overhead microphone rated for genuine high SPL if you're recording acoustic drums.
Build Quality and Capsule Protection
An overhead microphone hangs in a studio, exposed to dust and knocks. Look for solid metal construction, a robust diaphragm, and protective grilles. Cheap overhead microphone options use thin plastic bodies that fail after years. Premium overhead microphone designs use brass or aluminium bodies, replaceable capsules if damage occurs, and grilles that protect without colouring sound. Check whether your overhead microphone includes a suspension mount; quality mounts reduce vibration transmission and handling noise. Warranty length matters; reputable overhead microphone manufacturers offer 2-year warranties or longer because they're confident in durability.
Matched Pairs: Cost vs. Convenience
Professional studios often use matched overhead microphone pairs for stereo drum recording. Buying matched overhead microphone sets guarantees consistent capsule behaviour across channels, eliminating phase issues and tonal mismatch between left and right overheads. Matched overhead microphone pairs cost more but are worth it for serious recording. If you're starting with a single overhead microphone, focus on choosing one quality model now; you can add a matched unit later.
Price Tiers for Overhead Microphone Purchases
Budget overhead microphone models (£80–200): Acceptable for casual recording, limited presence peak, higher noise floor, adequate for well-isolated drums. Mid-range overhead microphone options (£200–600): Professional quality, good presence, low noise, suitable for mixing-quality recordings. Premium overhead microphone solutions (£600+): Studio-grade sound, excellent transient capture, refined presence, ideal for critical recording and touring. The jump from budget to mid-range overhead microphone is dramatic; the jump from mid-range to premium is refinement. Most professional studios start with mid-range overhead microphone models and stay there for years.
Mounting Considerations for Your Overhead Microphone Setup
Your overhead microphone needs safe, stable mounting. Studio boom stands work, but dedicated overhead microphone mounting systems designed for cymbal stands are better. Check whether your overhead microphone purchase includes a suspension system (elastic shockmount); if not, budget for one. Avoid cheap plastic mic stands; they transmit vibration to the overhead microphone. An overhead microphone will sound better on a proper boom arm than hanging from a rope. Factor mounting costs into your total overhead microphone investment.
Common Overhead Microphone Buying Mistakes
The biggest overhead microphone mistake is buying based on price alone. Cheap overhead microphone models sound thin and noisy from a distance; they're false economy. Don't assume large-diaphragm models suit overhead microphone applications; they usually add unpleasant coloration. Avoid omnidirectional overhead microphone options if you're unsure; cardioid is more flexible. Don't skip phantom power checks—confirm your preamp or mixer supplies it. Finally, don't buy matched overhead microphone pairs immediately; start with a single quality unit, then add a matched pair later once you understand your workflow.
Testing Your Overhead Microphone Before Committing
If possible, demo an overhead microphone over a weekend before buying. Record drums or cymbals with it, listen back critically, and assess whether the presence peak suits your taste and source material. Online communities dedicated to recording often loan overhead microphone samples for evaluation. Borrow from a local studio if you can; one session is worth hundreds of online reviews when it comes to evaluating an overhead microphone.
The right overhead microphone transforms drum and instrument recordings from muddy and distant to clear and present. Invest in mid-range quality, prioritise presence peak and low noise in your overhead microphone selection, and you'll hear the difference immediately. For broader context on how overhead microphone models compare and what role they play in your recording setup, explore our complete guide to overhead microphones.


Comments