


Overhead Mics article
Overhead Mics for Beginners: A Complete Guide
Intimidated by overhead microphones? This straightforward guide walks you through setting them up for drum recording, with practical positioning advice and confidence-building tips.
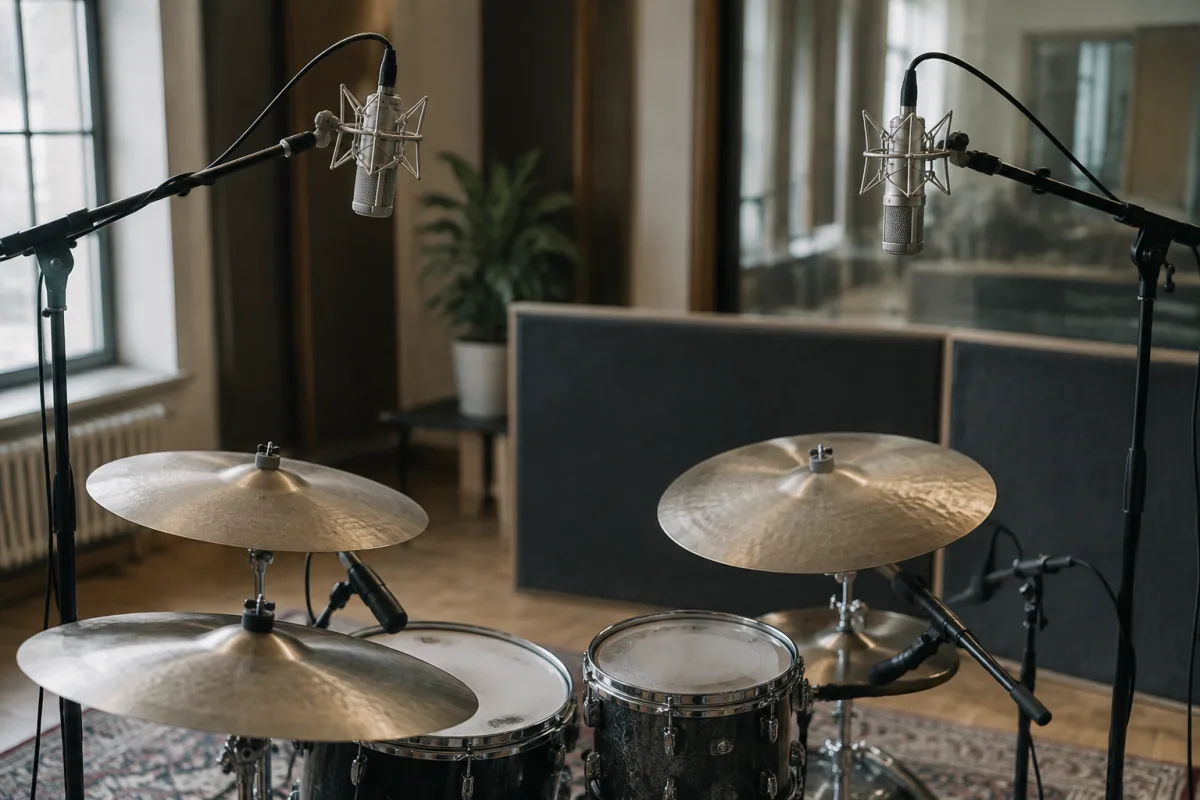
Recording drums or a full ensemble? You might be nervous about trying overhead microphones. They seem intimidating—suspended above the kit, requiring positioning precision, picking up everything. But here's the honest truth: overhead mics are actually one of the most forgiving recording tools once you understand the basic principles. They capture ambience and cymbal shimmer in ways you simply cannot get any other way, and they're surprisingly straightforward to set up correctly the first time.
Why Overhead Mics Matter for Your First Recordings
If you've been recording drums with only close mics (kick, snare, toms), you're missing something essential—the cymbals. Overhead microphones capture the cymbals properly, plus they grab the overall sound of the kit in its acoustic space. This overhead image is what makes drums sound "real" and three-dimensional in a mix. Without it, drums feel flat and disconnected, even with perfect close-mic recordings.
The brilliant part? You don't need expensive microphones. A pair of budget condensers in an X-Y configuration will sound professional. Your technique matters far more than your gear. In fact, many professionals deliberately use mid-range condensers for overhead work—anything more expensive is often pointless.
The Absolutely Essential Setup for Beginners
Start here. This is all you need:
- Two condenser microphones: These are almost always used in pairs for overhead work. They don't have to be expensive—even £50-100 condensers work beautifully. Cardioid or omnidirectional patterns both work, though cardioid is easier for beginners (it rejects sound from the sides and rear).
- Two microphone stands: Boom stands are ideal—they extend over the drums without being in your way. Regular straight stands work too; you'll just need to position them more carefully.
- Correct cables and XLR connections: Make sure you have proper shielded XLR cables and that your audio interface has enough inputs. Check this before you start recording—discovering you're one input short is frustrating.
- Shock mounts or clip mounts: Some condensers come with these; others you'll need to buy separately. They isolate the microphone from vibrations in the stand.
The Beginner-Friendly Positioning Approach
Forget complex polar pattern theory. Here's what works:
Position the mics about 2-3 feet above the drums, roughly above the edges of the kit, angled slightly downward toward the cymbals. The exact positioning depends on your kit size and room, but this starting point works for most situations. Position them symmetrically—if the left mic is 2 feet up, the right one should be roughly 2 feet up as well. This creates a balanced stereo image.
Keep them equidistant from the kick drum. This prevents phase issues when both mics capture the kick. You want them roughly the same distance from the kick (within a foot or so) so the kick's sound arrives at both mics at approximately the same time.
Angle them slightly inward. Many beginners angle the mics to point slightly toward each other. This helps them capture cymbals evenly. A 90-degree angle between the two mic capsules (like an X shape) is a classic approach—easy to remember and it works well.
Common Beginner Mistakes to Avoid
Learn from others' experience:
- Placing them too high: Way up near the ceiling sounds distant and picks up too much room reflections. Stay within 3-4 feet of the kit. Close is better for beginners.
- Positioning them too far apart: Spacing them excessively creates a huge stereo image that feels unnatural. Keep them roughly 2-3 feet apart at most.
- Forgetting about phase relationships: If your kick drum sounds thin or weak with overheads mixed in, it's probably a phase issue. Ensuring the mics are roughly equidistant from the kick drum fixes this almost always.
- Using directional cardioid mics without understanding rejection: Cardioid mics reject sound from the rear. If both mics face slightly inward (like an X), they'll reject room reflections behind them. Don't position them randomly—think about what you're rejecting.
- Expecting perfect cymbal balance on your first try: It's normal to get it slightly off. Record a test take, listen back, and make minor adjustments. Small tweaks in mic angle or height make big differences.
The Easiest Path Forward: Stereo Pairing Tips
Here's your beginner workflow:
- Set up both mics roughly symmetrically, about 2-3 feet above the drums
- Angle them in an X-Y configuration (roughly 90 degrees apart)
- Ensure they're equidistant from your kick drum
- Do a test recording—just a minute or two of you playing normally
- Listen back in headphones, standing in the middle of the stereo image
- If cymbals sound imbalanced or kick sounds thin, make one small adjustment and try again
- Usually, two or three test takes get you to something you're happy with
Building Your Confidence Gradually
You're not expected to get this perfect immediately. Professional engineers spend years perfecting overhead technique. Your first overhead recordings will sound good—probably better than you expect. As you do more sessions, you'll develop feel for spacing and positioning. After a few sessions, you'll know exactly where to put them for your kit and room without thinking.
The key insight is this: overhead mics are far more forgiving than they appear. Tiny positioning tweaks don't usually matter. Close enough works beautifully. Perfect doesn't exist.
Budget Recommendations by Experience Level
First-time overhead recording (£80-150 for a pair): Audio-Technica AT2020s are iconic in this range. Behringer condensers work surprisingly well. You're testing the waters here. Budget gear at this price point performs professionally.
Once you're hooked on recording (£150-400 per pair): Neumann KM137s, Audio-Technica AT4040s, or Rode NT1-A stereo kits. These step up in clarity and handling without breaking budgets. You'll use these for years.
Professional use (£400+): Neumann KM141s, Shure KSM141s, or DPA 4011s. Honestly, many professionals use the mid-range options instead. Diminishing returns become real at this price.
Your First Week: Action Steps
Here's exactly what to do:
- Borrow or buy a pair of budget condenser mics if you don't have them
- Acquire two boom stands (even cheap ones work fine)
- Set up the mics as described above in your recording space
- Do a test recording
- Listen and make one small adjustment if needed
- Trust your instincts—if it sounds good, it is good
- Once comfortable with basics, explore the deeper techniques
Overhead microphones aren't mysterious or difficult. They're genuinely helpful tools that sound better than you probably expect. Your first overhead recordings will likely surprise you with how good they sound. From there, you'll build comfort and technique naturally.
Ready to explore the technical details and advanced positioning strategies? Read the complete guide to overhead mics. That covers everything from polar patterns to room acoustics considerations for when you're ready to dive deeper.



Comments