
Microphone XLR Cable article
The Complete Guide to Microphone Xlr Cable
A microphone XLR cable is fundamental to professional audio. Discover why balanced design rejects interference and how to choose quality cables for live and studio use.
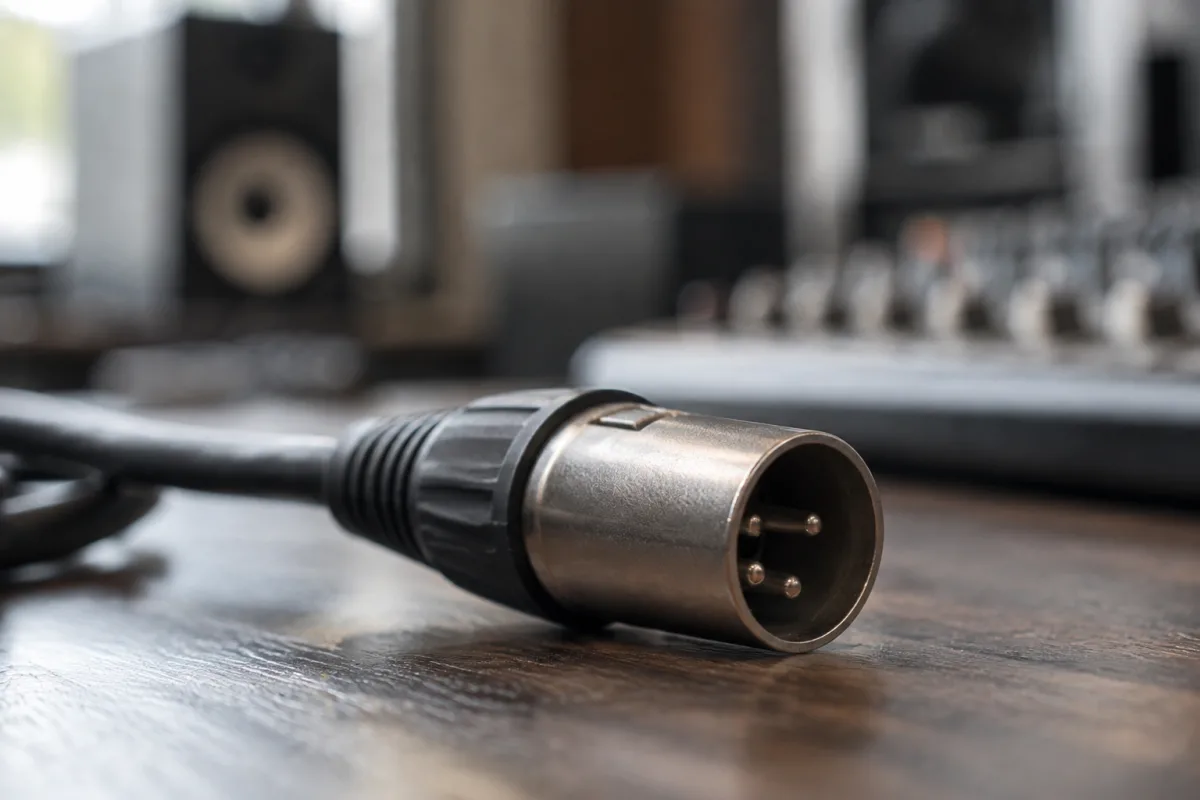
A microphone XLR cable is a fundamental component of professional audio setups, connecting microphones to mixing consoles, amplifiers and recording equipment. These balanced audio connectors have been the industry standard for decades because they reliably carry audio signals whilst rejecting electrical interference. Understanding what makes a quality microphone XLR cable – and why cheap alternatives often introduce hum and noise – helps you build recording and performance rigs that sound professional.
The term "XLR" refers to the cylindrical connector format: eXtensible Latch Rectangular. The three-pin or five-pin configuration carries balanced audio signals that are inherently resistant to electromagnetic interference. This quality makes XLR cables indispensable for any serious audio work.
Balanced Audio and Why It Matters
A microphone XLR cable carries balanced audio, which means the audio signal travels down two conductors instead of one. Both conductors carry identical information, but one is inverted (reversed in phase). At the receiving end, the equipment recombines these signals, cancelling out any interference picked up along the cable run. This is called common-mode rejection, and it's why balanced audio cables can run 50+ metres without picking up audible hum or noise.
Unbalanced cables (like RCA or mono 1/4-inch) use a single conductor, making them susceptible to interference, particularly over longer distances. The microphone XLR cable's balanced design is why it's become the universal standard in professional studios, live sound venues and broadcast facilities.
Microphone XLR Cable Construction
Quality microphone XLR cables consist of three key components: the inner conductor (typically 18-20 gauge stranded copper), the shield (braided or foil copper shielding that reduces interference), and the jacket (PVC or specialty material). Budget cables use thinner inner conductors, cheaper shielding and lower-quality jackets. These cost savings typically show up as hum, noise, or intermittent connectivity.
Pro-grade microphone XLR cables use heavier gauge conductors (lower resistance), superior shielding (tighter braid coverage or combination braid/foil), and durable jackets rated for repeated flexing. Connectors are gold-plated rather than nickel-plated, resisting corrosion and ensuring reliable connections across repeated connect/disconnect cycles.
Cable Length Considerations
Microphone XLR cables come in standard lengths: 3 metres, 5 metres, 10 metres and longer. Choose based on your specific needs – a studio setup might need 5 metres max; a live venue might need 20 metres from stage microphone to the mixing console. Longer cables don't automatically introduce noise (thanks to balanced design), but excessively long cables can lose some high-frequency content and introduce subtle capacitance effects.
It's better to have a cable slightly too long than too short – excess cable can be coiled and stored. Stretching a short cable risks damage and intermittent connections. Buy one quality microphone XLR cable of the right length rather than a cheap 3-pack with wrong lengths.
Common Microphone XLR Cable Problems
Hum (50Hz in the UK, 60Hz in North America) is typically caused by unbalanced cables picking up power line interference, or by ground loops where audio equipment is grounded through multiple paths. A quality, properly balanced microphone XLR cable eliminates hum. If hum persists, the solution usually involves breaking ground loops – using isolating transformer boxes or balanced cables.
Intermittent crackling or popping often indicates connector issues – oxidised connector pins, loose internal connections, or damaged contacts. Gently flexing the cable near connectors reveals intermittent problems. Replacement is cheaper than troubleshooting.
Connector Types and Pin Configuration
The standard microphone XLR cable uses 3-pin XLR connectors: pin 1 is ground/shield, pin 2 is hot (positive signal), and pin 3 is cold (negative signal). This 2+1 configuration is industry standard. Some consoles or equipment use 5-pin XLR (less common, for specific professional applications), but 3-pin is universal for microphones.
Ensure your microphone XLR cables match your equipment's connector format. Adapters exist (3-pin to 5-pin, XLR to 1/4-inch) but should be reserved for emergency situations – using native connectors avoids potential contact resistance and signal degradation.
Microphone XLR Cable Quality Grades
Budget cables (£2-5) work for occasional use but introduce noise risk and fail frequently. Mid-range cables (£10-20) offer reliable performance suitable for gigging bands and project studios. Professional cables (£25-50) feature premium construction, superior connectors and longevity appropriate for touring or daily studio use. Ultra-premium cables (£50+) offer marginal improvements in most contexts – diminishing returns in audio work.
For live performance or studio recording, invest in mid-range cables from reputable manufacturers. They're reliable, affordable and last years with normal care.
Storage and Care
Treat microphone XLR cables gently. Coil them loosely (no tight kinks), avoid extreme heat or cold, and keep them away from sharp objects. Store cables in a cable bag or case during transport. Don't stretch cables taut – this stresses internal conductors. Inspect cables monthly for jacket damage or bent connectors.
Quality microphone XLR cables are investments that last years if cared for properly. A budget cable fails after one tour; a quality cable might still work flawlessly a decade later.
A microphone XLR cable is one of the most important components in any audio setup – often overlooked, but essential for noise-free, reliable performance. Invest in quality cables, treat them well, and you'll enjoy superior audio with minimal troubleshooting.


Comments