
Microphone for Music Studio article
The Complete Guide to Microphone For Music Studio
Choosing the perfect microphone for studio recording requires understanding different microphone types and how they serve specific recording tasks — from vocals to drums to acoustic instruments.
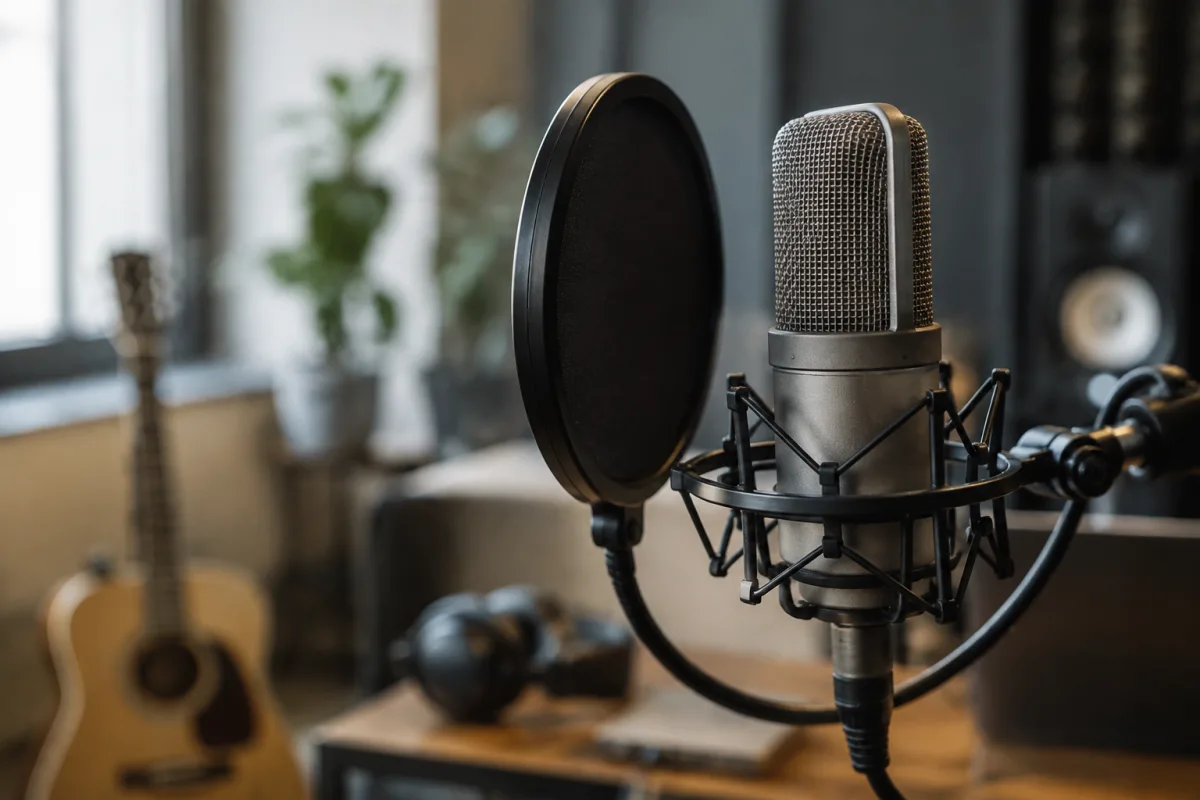
Choosing the right microphone for studio recording is fundamental to recording quality. Whether you're recording vocals, acoustic instruments, drums or amplified sources, the mic you select directly shapes the character and fidelity of your final mix. A studio microphone must balance sensitivity, durability, versatility and value — and understanding the different types available helps you build a kit suited to your specific recording needs.
Understanding Microphone Types
Studio microphones fall into several distinct categories, each with particular strengths for different recording tasks.
Condenser microphones are the industry standard for recording vocal performances, acoustic instruments and overhead drum recordings. They feature high sensitivity and an extended frequency response that captures detail and nuance. The term "condenser" refers to the capacitor at their heart, which requires phantom power from your audio interface or preamp.
Dynamic microphones excel at capturing loud, transient-rich sources like kick drums, snare drums and guitar amplifiers. They're robust, require no phantom power, and reject room noise effectively. Dynamic mics are ideal for controlling proximity effect and adding character to sources that need it.
Ribbon microphones deliver a warm, vintage character prized by engineers tracking vocals, brass and piano. They're delicate instruments that reward careful handling and offer a smooth, natural response that's hard to achieve electronically.
Key Specifications for Recording
When evaluating a microphone for music studio work, several technical specifications matter:
- Frequency response: A wide, flat response (typically 20 Hz–20 kHz) captures the full spectrum of musical sources
- Sensitivity: Measured in dBV/Pa, this tells you how much output the microphone generates from a given sound pressure level
- Polar pattern: Cardioid (rejects side and rear sound), omnidirectional (captures from all directions), figure-8 (accepts front and back)
- Impedance: Professional mics typically operate at 50 ohms, matching standard XLR cables and preamps
- Maximum SPL: Important for loud sources like drums — you need headroom to avoid distortion
Essential Studio Microphone Selection
A well-rounded studio recording setup starts with specific tools matched to purpose:
| Primary Use | Microphone Type | Why It Works |
|---|---|---|
| Lead vocals | Large-diaphragm condenser | Captures presence, proximity effect, and vocal character |
| Acoustic guitar/strings | Small-diaphragm condenser | Detailed, extended frequency response |
| Drums (kick, snare) | Dynamic (Shure SM7B, Audix D6) | Rejects bleed, handles high SPL |
| Drum overheads | Matched pair condensers | Stereo imaging, cymbal detail |
| Bass guitar | Dynamic or ribbon | Warm low end, controlled proximity |
| Room/ambient | Omnidirectional condenser | Captures natural reverb and space |
Preamps and Gain Structure
A quality studio microphone is only as effective as the preamp driving it. A quality microphone preamplifier adds negligible noise whilst offering proper impedance matching and gain staging. When building a studio, consider the preamp as part of the chain — a £600 microphone through a cheap preamp will underperform compared to a £200 microphone through an excellent preamp.
Phantom power is essential for condenser models. Standard phantom power is 48 volts, which your audio interface or external preamp supplies via the XLR connector. Always ensure your preamp has switchable phantom power so you can safely work with dynamic and ribbon instruments that don't require it.
Placement and Room Acoustics
Even the finest studio microphone will sound poor in an untreated room. Reflections, flutter echo and low-frequency buildups degrade recordings. Before investing heavily in mics, treat your studio with bass traps in corners, absorption panels on parallel walls, and diffusion to break up reflections.
Placement is equally crucial. A vocal recording session works best with the microphone positioned 15–30 cm from the source, with a pop filter to tame plosives. Drum microphones need precise positioning to capture individual elements clearly. Understanding how distance affects tone — closer positions emphasise proximity effect and reduce room ambience — helps you capture the character you want.
Budget Considerations
Quality studio microphones range from £200 to £3,000+ for professional-grade instruments. Excellent results come from models in the £300–£800 range from respected manufacturers like Neumann, Shure, Audio-Technica, Rode and AKG.
Consider your primary recording needs first. A vocalist should invest in a great large-diaphragm condenser. A drummer tracking multiple kits benefits from quality dynamic microphones and matched overhead pairs. Start with versatile tools that suit your most frequent tasks.
Conclusion
Selecting the right microphone for music studio work transforms your recordings. Understanding the different types — condenser, dynamic, ribbon — and matching them to your sources gives you the foundation for professional results. Quality microphones work best when paired with good room acoustics, quality preamps, and proper placement technique. Whether you're recording your first demo or building a professional facility, choosing mics that suit your musical style and budget ensures that every recording captures the performance authentically and beautifully.


Comments