


Condenser Microphone Mic comparison
Dynamic Microphone vs Condenser Mic: Which Should You Choose?
Condenser microphones capture detail and nuance that define professional recordings. Discover their design, advantages and why they're the studio standard for vocals and instruments.
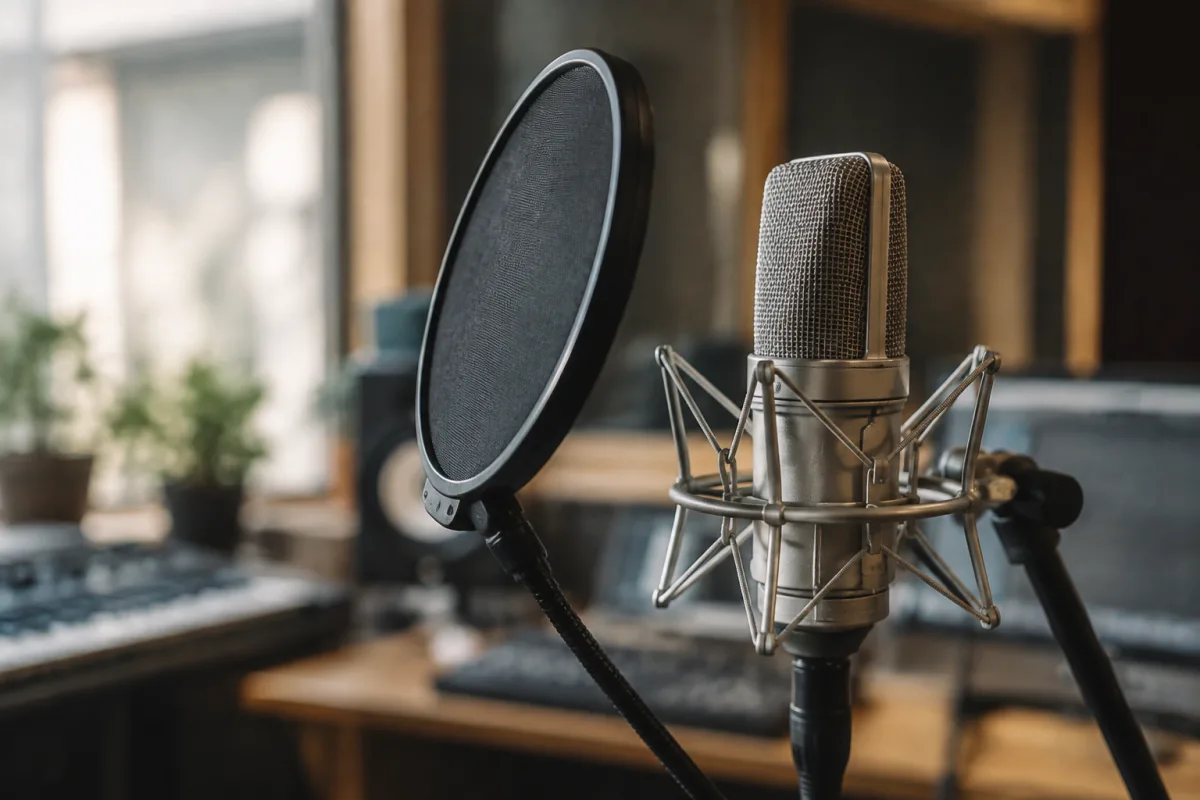
What Is a Condenser Microphone?
A condenser microphone is a precision instrument used primarily in recording studios for capturing detailed, nuanced sound. Unlike dynamic microphones, which use a moving coil, condensers use a thin diaphragm suspended near a backplate. This design makes them extraordinarily sensitive, capturing subtle details and delivering crisp, bright tone with exceptional clarity.
Condenser microphones have become the default choice for studio recording because of their sensitivity and frequency response. Virtually every professional recording studio uses condensers for vocals, acoustic instruments and overhead drum recording. They're the workhorse of modern music production.
How Condenser Microphones Work
A condenser microphone uses a capacitor—a diaphragm (usually made of thin material like Mylar or gold-sputtered plastic) suspended above a backplate. Sound waves vibrate the diaphragm, changing the capacitance. An electronic circuit detects these changes and converts them to an electrical signal.
This design requires phantom power—typically 48 volts supplied from the microphone preamp or audio interface. The power energises the capacitor, making the microphone operational. This is why condensers need more care than dynamic mics—they require proper equipment and cannot function without power.
The sensitivity comes from the diaphragm's low mass and the inherent electrical properties of the design. A condenser picks up sounds that dynamic mics miss—subtle breath noise, finger movement on strings, room ambience.
Advantages of Condenser Microphones
Exceptional sensitivity means condensers capture detail. A vocal recording through a condenser reveals the singer's breath and subtle tone variations. An acoustic guitar recording shows finger noise and the instrument's full frequency range. This detail is invaluable for studio recording.
Frequency response is typically flat and extended, capturing highs and lows without colouration. This accuracy makes condensers ideal for critical recording and mastering where absolute fidelity matters.
Wide polar patterns (usually cardioid or omnidirectional) give flexibility in microphone placement. Many condensers work well at a distance, picking up room ambience that adds character to recordings.
Disadvantages of Condenser Microphones
Sensitivity is a double-edged sword. It also means condensers pick up unwanted noise—air conditioning hum, computer fans, traffic outside. In untreated rooms, this becomes problematic. A dynamic microphone's rejection of background noise is often preferable in noisy environments.
Condensers require phantom power, which complicates setup. An audio interface or preamp must provide it. Take-anywhere flexibility that dynamic mics offer isn't possible without batteries or portable power.
Diaphragms are delicate. Rough handling, moisture or extreme temperature changes can damage them. Professional care is necessary—condensers need protective cases and careful transportation.
Condenser Microphones for Vocals
Many vocal recordings use large-diaphragm condensers—typically 1 inch or larger. The size produces warm, bass-heavy response that flatters vocals. Neumann U87, AKG C414 and Telefunken ELA M 251 are legendary condenser vocal mics.
The sensitivity reveals every nuance of technique—breath, vibrato, tone quality. This demands vocal technique but rewards good singers with professional sound. A singer with poor technique sounds obviously poor through a condenser; through a dynamic mic, flaws are disguised.
For home recording, affordable condensers (Audio-Technica AT2020, Rode NT1) deliver impressive results without breaking the budget. These are entry-level but genuinely capable microphones.
Condenser Microphones for Instruments
Acoustic instruments shine through condensers. Guitars, pianos, strings and woodwinds all benefit from the sensitivity and bright tone. Small-diaphragm condensers (typically half-inch or smaller) work beautifully as overhead microphones for drums or as instrument mics.
In a recording context, multiple condensers are often used—one on kick, one overhead, ones on individual sources. This multitrack approach allows precise balance and processing during mixing.
Live performance use is limited—condensers are too sensitive for typical stage conditions. But in studio and rehearsal, condensers are essential for acoustic instrument recording.
Condensers vs. Dynamics: Context Determines Choice
Dynamic microphones suit live sound and loud sources—they handle high sound pressure levels without clipping and reject background noise better. A condenser on a loud rock vocal in a venue would pick up crowd noise and drum bleed.
Condensers suit controlled studio environments with quiet backgrounds. They reveal detail and nuance that matters when you can control variables. A vocal recorded through a condenser in a treated studio sounds better than through a dynamic; a vocal recorded through a dynamic in a loud venue sounds better than through a condenser.
Many studios use both: condensers for detailed studio recording, dynamics for loud sources or situations where rejection matters. The choice depends entirely on context.
Choosing Your First Condenser Microphone
Budget determines options. Professional-grade condensers (Neumann, AKG) cost £2,000+. Studio-quality options cost £500–1,500. Entry-level condensers deliver impressive results for £100–300.
For home recording, an affordable large-diaphragm condenser (Audio-Technica AT2020, Rode NT1) paired with a decent preamp delivers professional-quality vocal recordings. Many home producers start here.
For live sound or high-volume recording, a dynamic microphone is sensible despite the stereotype. A Shure SM7B dynamic sounds better than a cheap condenser on a loud rock vocal in many contexts.
Care and Maintenance
Keep condensers protected in padded cases. Transport them carefully—vibrations during travel can damage the diaphragm. Store them in humidity-controlled environments. Never touch the diaphragm or capsule.
Check phantom power before plugging in—ensure your interface supplies 48V. Always turn off phantom power before disconnecting microphones to prevent pops that could damage the condenser.
Professional servicing is available if problems arise. A damaged condenser can often be repaired, but prevention through careful handling is far better than attempting repair.
Conclusion: Condenser Microphones Remain Studio Standard
Condenser microphones are the default choice for studio recording because they deliver the detail, sensitivity and clarity that professional recordings demand. Whether you're recording vocals, instruments or ambient sound, a quality condenser is invaluable for studio work. Start with an affordable entry-level unit and upgrade as your needs grow—your first condenser microphone will serve you well for years.






Comments