


500 Series Modules article
500 Series Modules for Beginners: A Complete Guide
Starting with 500 series modules doesn't require years of studio experience. This guide walks you through your first setup, what to buy, and common pitfalls to sidestep.
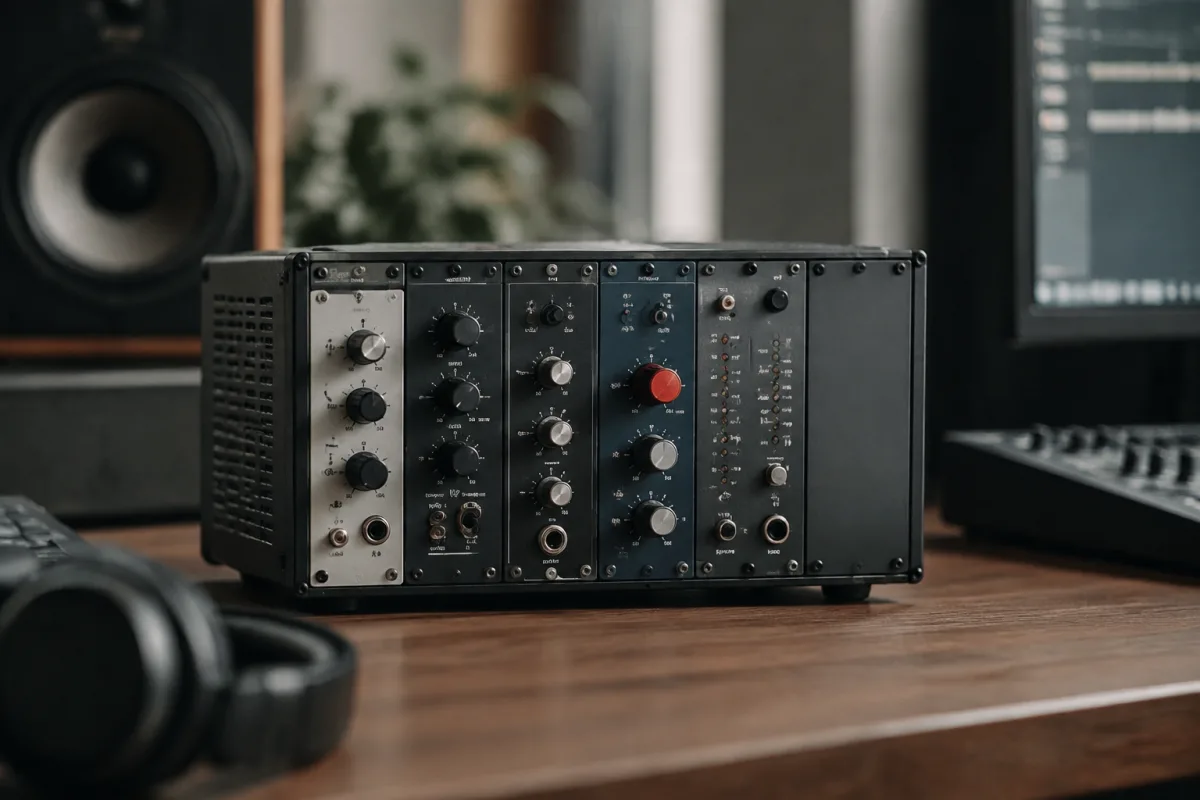
Getting started with 500 series modules can feel genuinely intimidating—you're looking at professional-grade rack gear, and it's easy to assume you need years of studio experience to use them sensibly. But here's the honest truth: if you can plug in a microphone, you can work with 500 series modules. They're not mysterious black boxes; they're just compact audio processors designed to sit in a standardised frame, and starting small is entirely the right approach. This guide walks you through exactly what you need to know before you buy your first module, common mistakes to sidestep, and how to build confidence as you expand your rack.
What Are 500 Series Modules, Really?
Think of 500 series modules as building blocks for sound shaping. A single module handles one job—maybe compression, EQ, or a microphone preamp. You slide these modules into a frame (the "lunchbox" or larger rack), connect them to your audio interface or console, and use them to process your recordings in real time or during mixing. The "500 series" name refers to a standardised size and power system, so modules from different manufacturers fit together seamlessly. No proprietary weirdness, no compatibility headaches.
What makes them special is that they sit between your microphone and your recording device. That proximity means less cable, less noise, and a direct path from source to processor—something large-format studios have used for decades, now available at human-friendly prices.
Start Small: One Module, One Frame
Your first instinct might be to assemble an entire rack—buy a frame, fill it with modules, and dive in. Resist that urge. Instead, start with a single module inside a compact frame (a four-slot or six-slot lunchbox costs £200–500). This teaches you how the system actually works without overwhelming you or draining your budget.
The best first module depends on what you do, but here are three genuinely beginner-friendly options:
- Microphone preamp: If you record vocals or acoustic instruments, a preamp lets you control gain cleanly without relying on your audio interface's built-in preamp. You'll hear a noticeable difference in clarity and headroom.
- Compressor: A compressor tames dynamic recordings—vocals that jump around in level, bass that varies take to take. It's not magic, but it's genuinely useful and surprisingly quick to learn.
- EQ: An equaliser lets you sculpt tone—brighten a dull vocal, warm up thin guitars, or carve out unwanted frequencies. It's fundamental enough that you'll use it constantly.
Pick based on what you record most. A vocal-heavy workflow? Start with a preamp. Live drums or bass? A compressor will change how you think about recording.
The Lunchbox Frame: Your Starting Point
A lunchbox is a compact 500 series frame—typically four to six slots—that sits on your desk. It draws power from a standard mains adapter and connects to your audio interface with quarter-inch or XLR cables. No expensive rack, no complex wiring. Some lunchboxes include a basic mixing section, letting you blend between modules or add output controls. Others are bare-bones pass-throughs. For a beginner, either works fine; just pick one with solid build quality and enough slots for expansion later (a four-slot minimum leaves room to grow).
Running audio through your lunchbox is straightforward: your microphone goes into your module's input, the module's output runs to your audio interface's input, and you're recording. No magic required.
Avoid These Common Beginner Mistakes
Here's where your learning curve flattens if you can sidestep a few pitfalls:
- Skipping the manual: Each module works slightly differently. Spend fifteen minutes with the PDF before you patch anything. You'll understand the gain structure and control ranges, which matters more than you'd think.
- Running too hot: Pushing signal too hard into your module creates distortion and clipping—ugly, not musical. Set your levels so the meter sits comfortably in the green, not at the edge of red.
- Buying modules that don't match your workflow: Don't grab a rare preamp because it's trendy if you mostly use DI'd instruments. Honesty about your actual recording setup matters. A boring but useful module beats a showpiece you don't use.
- Forgetting about impedance and levels: 500 series modules accept line-level signals (around –10 dBu to +4 dBu, depending on the module). Your audio interface outputs line level; most microphones output mic level (much quieter). You either need a preamp module to boost mic to line level, or you feed line-level sources straight in. Mixing these up creates frustration and silence.
- Assuming you need vintage gear: Modern 500 series modules from reputable manufacturers sound fantastic and cost a fraction of vintage equivalents. You don't need a 40-year-old Neve to get professional results. Respect to vintage, but new gear works brilliantly too.
Building Your First Session: A Practical Walkthrough
Let's say you've bought a lunchbox and a compressor module. Here's exactly what you do:
- Plug the lunchbox into mains power. Check that the power indicator lights up.
- Slide your compressor module into a slot until it clicks firmly into place. The connectors should seat properly.
- Take a microphone cable and run it into the module's input.
- Run a cable from the module's output to your audio interface's input.
- In your DAW, record-enable the track and set the input to that interface channel.
- Speak into the microphone. You should see the module's input meter move. If nothing happens, check that the lunchbox is switched on and the cables are seated properly.
- Adjust the module's input gain until the meter sits in a healthy zone (typically around –6 to 0 dB, depending on the module's design).
- Hit record and capture some audio. You should hear compression happening in real time—dynamic peaks being tamed. Adjust the compression ratio and threshold to taste.
That's it. You're now using professional studio gear. The learning curve from here is just exploring what different compression settings sound like on your source.
Power and Connectivity: The Unsexy But Essential Bit
500 series modules draw power from the lunchbox, which draws power from mains. You don't plug each module in individually. Just connect the lunchbox to a power outlet, and every module gets what it needs. For audio, use balanced XLR cables where possible (they reject noise better), or quarter-inch cables if your gear demands them. Keep cable runs reasonably short to minimise noise pickup.
If you later expand into a larger rack, the principle is identical—just with more modules and more cables. Nothing fundamentally changes.
Growing Beyond Your First Module
After a few weeks with your first module, you'll start to understand what else you need. Maybe you want more compression options. Maybe you realised you should have started with a preamp instead. That's fine—this is learning by doing. The beauty of the 500 series system is that you can add modules incrementally, learning as you go, without any commitment to a massive upfront purchase. A second module costs as much as a quality microphone. A third? You're still in the territory of affordable investment, not professional-budget madness.
For a deeper understanding of 500 series modules and how different types interact, see our complete guide to 500 series modules.
The Real Advantage of Starting Now
Professional studios have used 500 series modules for half a century because they work. The fact that you can now buy a decent single module and frame for less than a premium microphone means there's genuinely no reason to wait. You're not betting your career on expensive gear; you're adding a tool that, if it doesn't suit your workflow, costs no more than a few decent microphones to exit.
The intimidation is real, but it's purely psychological. Pick a module that solves an actual problem in your recording setup, plug it in, and use it. Within a few hours, you'll stop thinking about how it works and start thinking about what it does to your sound. That's the moment you've cracked it. Then you can start seriously exploring what else might fit into your rack.


Comments