


Touch Sensitive Keys article
Touch Sensitive Keys for Beginners: A Complete Guide
Touch-sensitive keys feel frustrating at first, but proper adjustment and practice transform them into tools for expressive playing. Learn how to work with them.
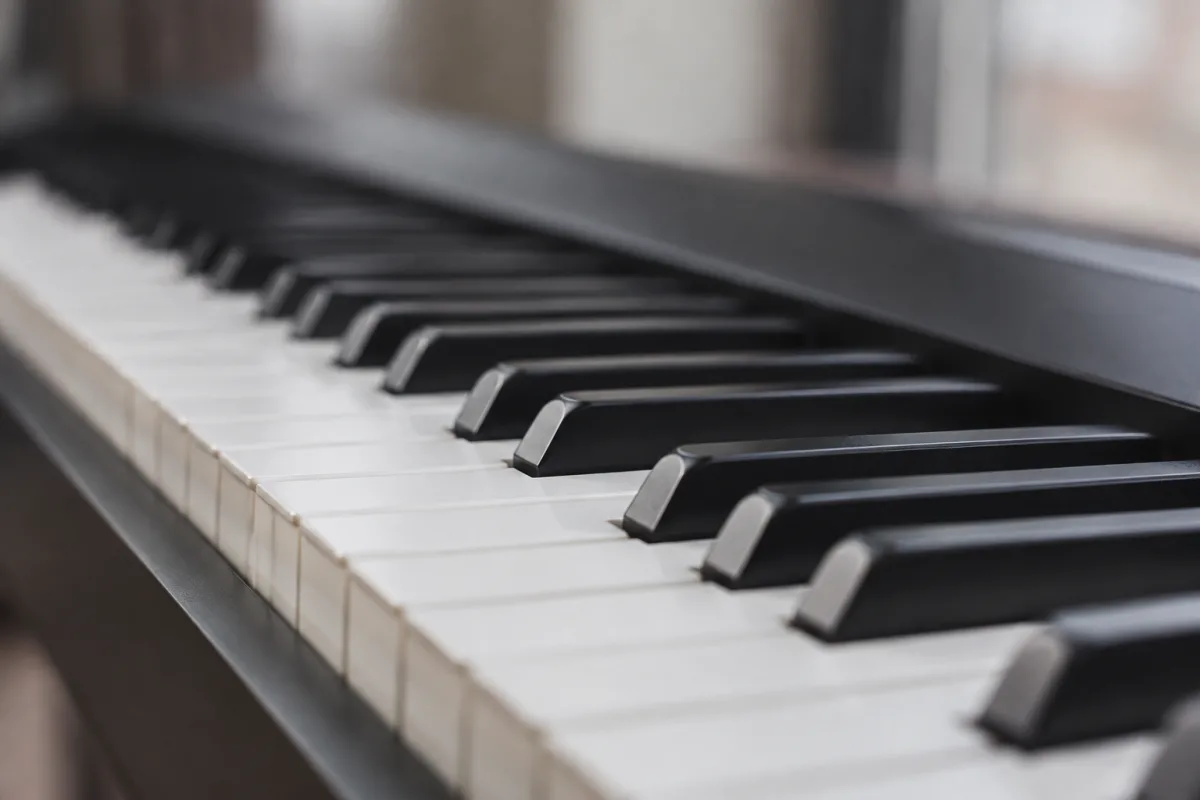
Touch-sensitive keys are one of the most important features modern keyboards offer—yet many beginners don't understand how they work or how to use them. If you're starting on a keyboard with touch-sensitive keys and the instrument feels unresponsive or overly sensitive, you're not alone. Learning to work with touch sensitivity rather than fighting it transforms your playing experience. This guide explains what these keys do, how to adjust them, and the beginner-friendly approach to mastering dynamic control.
What Are Touch-Sensitive Keys?
Touch-sensitive keys detect not just whether you pressed a key, but how hard and fast you pressed it. A gentle tap produces a quiet note; a harder strike produces a louder note. This mimics an acoustic piano, where the force of your finger controls volume. Without touch sensitivity, every key press produces the same volume regardless of how hard you strike—useful for electronic sounds but limiting for expressive playing.
When you press a touch-sensitive key, the keyboard measures the speed of your keystroke (called "velocity" in MIDI terms). A slow keystroke registers as quiet; a fast keystroke registers as loud. Most keyboards also let you adjust this sensitivity so you can tailor responsiveness to your playing style.
The keyboard's sound engine then uses velocity data to adjust volume, brightness, or other tonal characteristics depending on the instrument voice you've selected. A piano sound might get brighter and louder as you strike harder (mimicking real piano resonance). A bell sound might sustain longer with a harder strike. Different voices respond to velocity differently.
Why Beginners Struggle With Touch Sensitivity
Here's the most common complaint: "My keyboard either doesn't respond to soft playing, or every note blares regardless of how gently I touch the keys." Both problems point to velocity curve settings—the keyboard's interpretation of how hard you're pressing.
Many keyboards arrive with factory velocity settings optimised for professional players with trained hands. A professional pianist uses precise, controlled dynamics—light touches register as quiet, heavy touches as loud. But a beginner's hand develops inconsistency naturally. You'll accidentally strike notes harder than intended, or struggle to make soft notes register at all.
This isn't your fault or a sign you're playing wrong. It's a matter of adjusting the keyboard's sensitivity curve to match your developing technique. A keyboard that fights your dynamics is incredibly frustrating; a properly adjusted one feels responsive and encouraging.
Understanding Velocity Curves
Most touch-sensitive keyboards have velocity curve options—usually labelled "Fixed," "Linear," "Logarithmic," or with descriptive names like "Bright" or "Soft." These change how the keyboard interprets your keystroke force.
Fixed velocity. Every note plays at the same volume regardless of how hard you strike. This removes all dynamic control—useful for drum sounds or electronic tones where you want consistent attack, but useless for pianos or dynamic instruments.
Linear (or standard) velocity. The keyboard responds proportionally to your keystroke force. A gentle tap produces a quiet note; a hard strike produces a loud note. This feels most like an acoustic piano and is ideal for learning dynamic control.
Logarithmic (or soft) velocity. The keyboard is more sensitive to gentle touches. Soft playing produces noticeable volume differences; heavy playing doesn't add as much extra volume. This suits beginners because you get expressive feedback even with light, inconsistent touches.
Reverse or inverted velocity. A hard strike produces a quiet note; a soft touch produces a loud note. Rarely useful for learners but available on some keyboards.
Most beginners should start with Logarithmic or Soft curves. These reward light playing and provide maximum feedback for developing sensitivity, which is crucial when you're still learning to control hand dynamics.
Adjusting Velocity Sensitivity: Your First Week
Step one: locate your keyboard's velocity or touch settings menu. Check the manual or search online for your specific model—every keyboard brand organises these settings differently. Look for words like "velocity," "touch," "sensitivity," or "dynamics." This usually lives in a Settings or Menu section.
Step two: start with a Soft or Logarithmic velocity curve if your keyboard offers it. Play some gentle notes and then some hard notes. You should hear a noticeable volume difference even with light touches.
Step three: play a simple one-octave scale, trying to make each note the same volume despite varied hand force. You'll probably fail at this—some notes will jump out louder, others will be barely audible. That's fine. You're training your hand and ear simultaneously.
Step four: after a week of practice with this curve, adjust slightly toward more sensitivity if you feel comfortable. The goal is to find a sweet spot where your natural playing dynamics feel intuitive and responsive.
Learning to Control Dynamics
Dynamic control—the ability to vary volume intentionally—is one of the most musical skills you can develop on a keyboard. Unlike a guitar (where volume comes from pick force or volume knob), keyboard dynamics come entirely from your fingers.
Start by playing a single note held for several seconds. Now imagine shaping its volume like a wave: quiet—louder—quiet. Can you do this by varying your keystroke? Most beginners can't at first, but within a few weeks of intentional practice, this becomes natural.
Play simple melodies and imagine they're sung by a vocalist. Where would the vocalist breathe? Where would they emphasise certain words? Translate that phrasing into gentle and harder touches. A note at the end of a phrase might be quieter (diminuendo); the first note of a new phrase might be louder (emphasis).
This phrasing, entirely driven by dynamics, is what separates lifeless keyboard playing from expressive, musical playing. Touch-sensitive keys give you the tool; practice gives you the skill.
Common Beginner Mistakes With Touch Sensitivity
Mistake one: leaving the keyboard on factory settings and assuming you're playing badly. You might actually have excellent hand control; the keyboard's sensitivity curve just doesn't match your style. Adjust settings before blaming yourself.
Mistake two: cranking sensitivity to maximum. A hyper-sensitive keyboard means tiny variations in your touch produce wild volume swings. This makes consistent playing nearly impossible. Less sensitivity often sounds better than maximum.
Mistake three: never exploring velocity settings. Many beginners accept whatever curve their keyboard has and struggle for months. Spending 10 minutes trying different curves can eliminate months of frustration.
Mistake four: playing so hard that you're constantly maxing out the keyboard's velocity. This prevents any expressive control at the loud end. Develop light, controlled touches instead. Dynamics work best when you're using the full range—quiet to loud—not just pounding the keys.
Mistake five: thinking touch sensitivity is optional. It's fundamental to expressive keyboard playing. An acoustic piano would be unmusical without dynamics; a touch-sensitive keyboard in Fixed velocity mode is equally unmusical. Embrace the feature.
Layered Sounds and Velocity
Some keyboards let you assign different sounds to different velocity ranges. Soft touches might trigger a piano sound; medium touches trigger strings; hard touches trigger a horn sound. This advanced feature isn't for beginners, but knowing it exists helps you understand why velocity matters so much.
For your first months, ignore these features. Focus on a single sound and learn to control its dynamics. Master one tool before exploring multi-layered complexity.
Practice Exercises for Dynamic Control
Exercise one: the volume wave. Play a single note and sustain it for four seconds. Imagine its volume as a wave: start quiet, peak in the middle, fade to quiet. Do this 10 times per day for a week. You'll develop a feel for how keystroke force translates to volume.
Exercise two: the stairs. Play a scale (C–D–E–F–G–A–B–C), making each note progressively louder. Then play it descending, getting progressively quieter. This builds awareness of your hand force across the keyboard range.
Exercise three: the accent. Play a simple melody (Mary Had a Little Lamb or similar). Accent every third note (play it louder). This teaches intentional dynamic emphasis.
These exercises take 10–15 minutes daily and develop velocity control that'll serve you for years.
Checking Keyboard Quality: Touch-Sensitivity Indicators
If you're considering buying a keyboard, test its touch sensitivity before committing. Play a single note very gently, then very hard. You should hear a significant volume difference. Play soft notes and they should still be clearly audible (not disappear entirely). A good touch-sensitive keyboard should feel responsive and controlled across the entire force range.
Cheap keyboards sometimes have poor velocity implementation—either no range between soft and loud, or hyper-sensitivity that makes control difficult. This isn't a dealbreaker, but it means developing dynamics will be harder work. Consider a better keyboard if you're serious about learning.
For comprehensive guidance on touch-sensitive keyboard technology, different mechanisms, and how they fit into broader keyboard design, see our complete guide to touch-sensitive keys.
The Long-Term Payoff
A month of intentional work with touch sensitivity transforms your playing from robotic to musical. Your hand develops muscle memory for dynamics, and playing feels increasingly expressive. By month three, you'll have forgotten what stiff, inexpressive playing felt like. This investment pays dividends across every keyboard instrument you'll ever play.


Comments