


String Tuner article
String Tuner for Beginners: A Complete Guide
A string tuner is your best friend when learning any string instrument. Here's how to use one effectively and choose the right model.
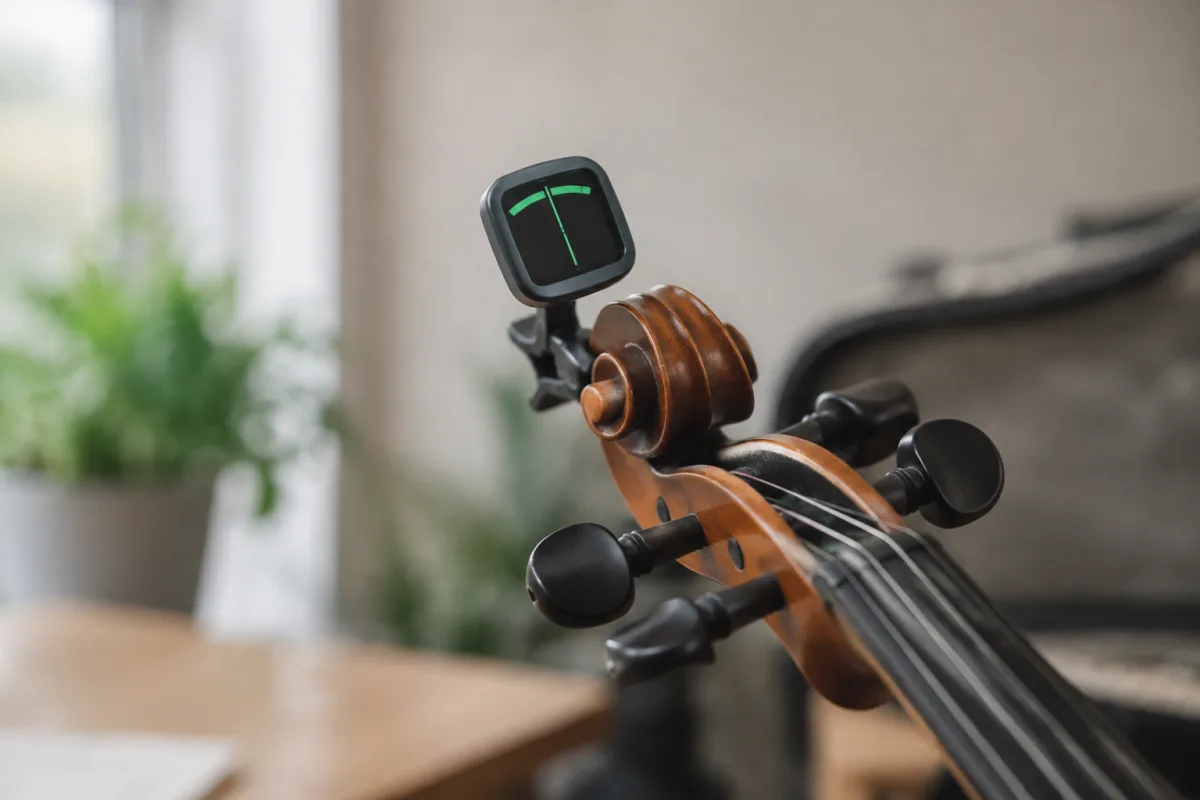
A string tuner might seem like a mysterious device when you're first learning stringed instruments, but it's actually one of your best friends in the early stages of development. Whether you're picking up violin, guitar, or any string instrument, learning to use a string tuner confidently transforms frustration into progress. This beginner's guide demystifies string tuners and helps you use them effectively to stay in tune during practice.
What a String Tuner Does
A string tuner is a small device that listens to the pitch your instrument produces and tells you whether that pitch is sharp (too high), flat (too low), or perfectly in tune. Some string tuners display this feedback via a needle meter; others use lights or digital readouts. The simplest string tuners just tell you "in tune" or "out of tune." Regardless of design, every string tuner solves the same problem: teaching you what correct pitch feels and sounds like.
Using a string tuner as a beginner removes the guesswork. You develop muscle memory faster because you immediately know whether you've turned the peg correctly, and you hear the difference between sharp and flat consistently.
Types of String Tuners Beginners Will Encounter
- Clip-on string tuner: Attaches to your instrument's headstock using a clip. Common and affordable (£10–£30). Responds to vibrations from your instrument, so it works without needing perfect silence.
- Microphone-based string tuner: Listens through a built-in microphone. Works well in quiet rooms but struggles in noisy environments. Usually found in smartphone apps or standalone devices.
- Pedal-style string tuner: Common in studios and for electric guitars. Sits on the floor, often has a bright display. More expensive (£50+) but extremely accurate.
- Built-in tuner: Many modern guitars and other instruments have tuners built-in. Convenient but limited compared to dedicated string tuners.
- Smartphone app string tuner: Free or low-cost, works if your phone's microphone is good enough. Less reliable than dedicated hardware but adequate for casual practice.
How to Use a String Tuner Correctly
Getting the most from a string tuner requires proper technique:
- Choose a reasonably quiet environment: Background noise confuses microphone-based string tuners. Clip-on tuners are more resilient, but quieter is always better.
- Hold your instrument naturally: Don't squeeze. A string tuner reads pitch through vibration, and tension in your hands dampens vibration.
- Pluck or bow one string at a time: On a string tuner display, you'll see the note name and how far from correct pitch you are. Adjust the peg slowly while watching the tuner.
- Tune to your instrument's standard: Most string tuners default to A=440Hz (concert pitch). If your ensemble uses a different standard, adjust your string tuner or tune after everyone is playing.
- Tune all strings regularly: String tension changes gradually, so checking tuning before every practice session keeps you from developing bad habits while unconsciously compensating for a flat string.
Common Beginner Mistakes with String Tuners
New players make these typical errors:
- Trusting the string tuner in noisy environments: Microphone-based string tuners (including smartphone apps) pick up background noise. Use a clip-on tuner or find a quieter space if possible.
- Over-tightening strings: Beginners often crank pegs too hard, trying to hit "exactly in tune." Strings live within a small window; small adjustments matter. Turn gently.
- Forgetting to use a string tuner consistently: A string tuner is most valuable for developing your ear. Use it every practice session to train your sense of pitch.
- Assuming "in tune on the tuner" means "in tune for ensemble playing": A string tuner measures absolute pitch, but orchestras and ensembles sometimes tune slightly differently. Listen to other players and adjust by ear once basics are solid.
- Neglecting the tuner when frustrated: When playing gets frustrating, beginners often abandon the string tuner. Actually, this is when tuning matters most—frustration often stems from slightly flat or sharp strings.
- Using a faulty string tuner: If your string tuner behaves erratically, it might be broken. Test it on an instrument you know is in tune, or try a different string tuner to verify.
Developing Your Ear Alongside the String Tuner
The ultimate goal is playing in tune by ear—without a string tuner. But that skill develops over months and years. A string tuner accelerates this process by training your ears consistently. Use a string tuner for every practice session, but also occasionally listen to yourself without it. The combination of immediate feedback and ear training builds intuition fastest.
Over time, you'll feel when your strings are slightly off. That physical sensation is your developing sense of pitch. A string tuner trains your ears to recognise pitch differences; your hands learn to make the right adjustments.
Moving Beyond the Basic String Tuner
Once you're comfortable with a basic string tuner, more advanced tools (like smartphone apps with visual tuning curves or tuners with wider accuracy ranges) become useful. But the best string tuner for a beginner is the one you'll actually use—something simple, affordable, and reliable.
For deeper exploration of string tuner technology, different tuning systems, and how intonation works across various string instruments, check the complete guide to string tuners. Until then, invest in a basic clip-on string tuner (£15–£25), use it every practice session, and let it guide you toward accurate, confident playing.


Comments