


DAW Studio One article
Daw Studio One for Beginners: A Complete Guide
New to Studio One? This beginner's guide walks you through recording your first audio, arranging tracks, and building confidence with an intuitive DAW.
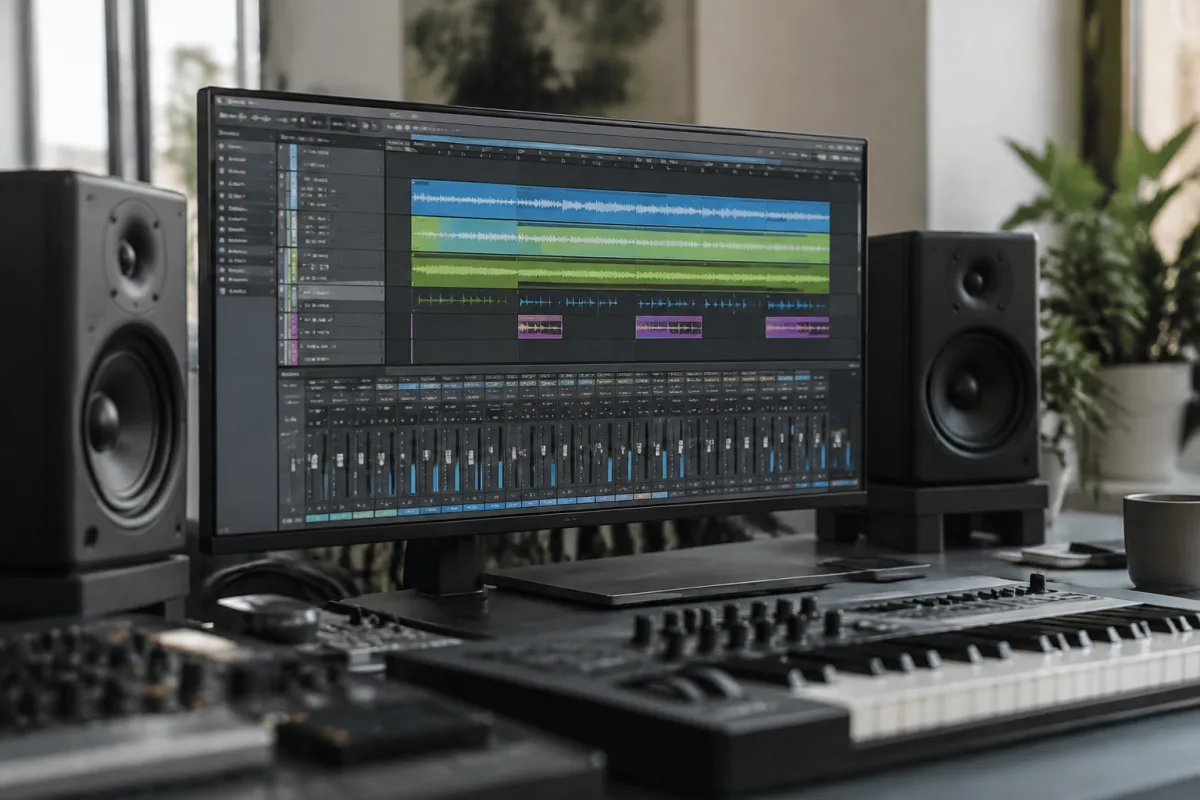
Opening Studio One for the first time can feel overwhelming. The interface stretches across your screen with countless buttons, menus, and panels. Where do you even start? What are all these buttons for? This guide walks you through your first steps with Studio One DAW, focusing on the essentials and building your confidence. By the end, you'll understand how to record audio, arrange ideas, and begin creating music.
Why Studio One for Beginners?
Studio One (made by PreSonus) is one of the most beginner-friendly DAWs available. Its interface is logical, intuitive, and doesn't hide essential features behind obscure menus. Many DAWs feel designed for experienced producers; Studio One feels designed for musicians learning production. Features you need constantly are visible and accessible. This thoughtful design means you'll spend less time fighting the software and more time making music.
The Main Window: Orientation and Layout
When you open Studio One, you'll see several distinct areas. Understanding each one prevents confusion:
- Transport controls (top): Play, stop, record, rewind buttons. Essential for basic operations. You'll use these constantly.
- Arrange window (centre-left): A timeline showing your tracks stacked vertically. This is where you build your song.
- Track list (left edge): Shows each track with its name, muting, and basic controls. Minimalist and clean.
- Inspector (right side): Shows details about the selected track or clip. Collapsible to give you more screen space.
- Meters and outputs (top-right): Shows signal levels and lets you control playback volume.
You don't need to memorise this layout immediately. The interface reveals information as you need it. Don't overthink—start by simply exploring.
Your First Steps: Creating a Session and Recording
Let's make something simple.
Step 1: Create a new song. File > New. Studio One asks basic questions: sample rate (44.1 kHz is fine for learning), bit depth (24-bit is standard), tempo (120 BPM is a good default). Accept defaults and create.
Step 2: Create an audio track. Click the big "+" button or go to Track > Add Track > Audio. You now have a track ready to record.
Step 3: Set your input. Click the track's input selector (where it says "No input" or a device name). Choose your microphone or instrument input.
Step 4: Arm for recording. Click the red circle on the track—it lights up, meaning "ready to record." Now Studio One listens to that input.
Step 5: Press record. Click the red record button in the transport. Sing, play, or speak. Watch the meters bounce—that's signal arriving at Studio One.
Step 6: Stop and listen. Press the spacebar to stop. A clip appears on your track showing the audio you just recorded. Press spacebar again to play it back.
Congratulations—you've recorded audio into Studio One. That's genuinely 80% of the battle.
Building Your First Arrangement
Once you've recorded a few tracks (or created them from loops), arranging is straightforward:
Add more tracks for different elements. Vocals on one, drums on another, bass on another. Each track is a separate element you can control independently.
Move clips around. Click a clip and drag it left or right. This positions it at different points in the song. Drag clips up to different tracks if you need to reposition them.
Adjust volume per track. The vertical fader on each track (usually showing "0.0 dB") controls that track's volume. Drag it up to make louder, down to make quieter.
Listen to everything together. Press spacebar to play your arrangement. Hear how all the elements sit together?
Common Beginner Mistakes
Even with Studio One's intuitive design, beginners stumble on predictable issues.
Mistake 1: Recording on the wrong input. You set up a microphone, press record, but no sound arrives. Nine times out of ten, you've selected the wrong input on the track. Double-check that the track's input matches your physical device.
Mistake 2: Forgetting to arm the track. The red circle on the track must be lit for recording. It's easy to forget—you'll press record, nothing happens, and wonder why. Check that red circle.
Mistake 3: Using maximum volume from the start. New producers often record and mix at loud volumes, then wonder why their song sounds harsh. Work at comfortable listening levels (around 85 dB). Your ears will thank you, and your mixes will translate better.
Mistake 4: Ignoring the Inspector panel. The right panel seems optional but contains essential details about your tracks and clips. Don't hide it forever—learn what it offers.
Mistake 5: Getting lost in effects before recording fundamentals. The Instruments and Effects menus are tempting, but master basic recording and arrangement first. Effects come later once you understand the foundation.
Navigating the Interface Without Fear
Studio One's menus are logical. If you need something, try these places first:
Track menu: Adding and modifying tracks. Straightforward.
Arrange menu: Song-level operations like tempo, time signature, markers.
View menu: Showing or hiding panels and windows. Useful for customizing your workspace.
Help menu: Context-sensitive help. Don't hesitate to click it—learning is the goal.
Essential Keyboard Shortcuts for Efficiency
These shortcuts become second nature quickly and dramatically speed up your workflow:
- Spacebar: Play/stop (the most essential shortcut)
- R: Arm/disarm the selected track for recording
- S: Solo the selected track (hear only that track)
- M: Mute the selected track (silence it)
- Delete: Delete the selected clip or track
- Ctrl+Z (or Cmd+Z on Mac): Undo your last action
Building Confidence Through Exploration
Studio One is stable and forgiving. Experimenting won't break anything permanently. Try clicking buttons, dragging sliders, and poking around menus. If you get lost, Undo (Ctrl+Z) reverts your change. This experimentation is how learning happens—don't fear exploring.
Your First Song Checklist
Track your progress through these beginner milestones:
- Create a new song and orient yourself to the interface
- Record audio on one track (vocals, guitar, or any instrument)
- Create a second track and record something different
- Adjust volume levels on each track independently
- Play all tracks together and listen to the balance
- Add a third element (another instrument, loop, or drum track)
- Save your first song and celebrate the milestone
Explore Complete Knowledge
This guide covers essentials for your first day with Studio One. For comprehensive information about advanced editing, mixing techniques, and production workflows, see the complete guide to Studio One DAW.
Your Production Journey Begins
Studio One welcomes beginners with an interface that makes sense and rewards curiosity. You've got this. Record your first idea today, add layers tomorrow, and before you know it, you'll have made music that started as nothing but an idea. That's what Studio One enables—transforming your musical imagination into reality. The learning curve is gentle, the rewards are immediate, and the only limit is your creativity.


Comments