


Autotune Mic Buying guide
Autotune Mic: A Complete Buyer's Guide
Pairing autotune with the wrong microphone produces obvious, artificial-sounding pitch correction. This buyer's guide explains microphone specifications crucial for autotune work, compares price brackets, and reveals common mistakes that undermine vocal recording quality.
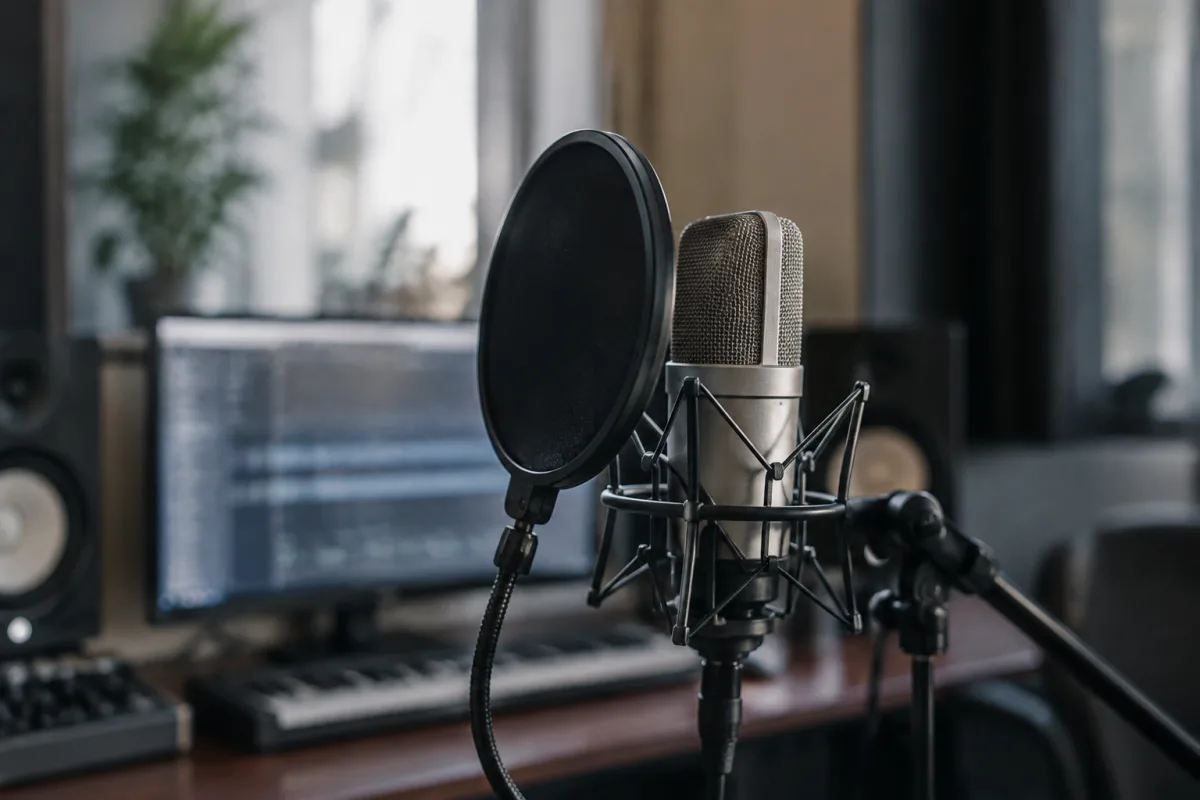
Selecting an autotune mic demands more than simply pairing a budget condenser with pitch-correction software. Modern vocal recording requires balancing microphone sensitivity, frequency response, built-in processing capabilities, and integration with your existing autotune workflow. This guide cuts through the marketing hype and helps you invest in microphone hardware that genuinely supports professional-grade pitch correction and clean vocal capture.
Why Microphone Choice Matters for Autotune
Autotune works best when fed clean, articulate vocal input. A poor microphone introduces proximity distortion, sibilance spikes, or muddy low-end frequencies that make pitch detection sluggish and corrective processing more obvious. Conversely, a quality autotune mic captures vocal subtlety and presence, allowing autotune algorithms to work transparently—catching pitching errors without flattening natural inflection.
The microphone is your first link in the signal chain. No amount of software plugin tweaking can recover what the microphone fails to capture. Understanding microphone specifications and performance characteristics prevents buyer's remorse and ensures your autotune implementation sounds polished rather than robotic.
Key Microphone Specifications
- Condenser vs. Dynamic: Condenser microphones offer superior presence and presence peaks that enhance vocal intelligibility, essential for accurate autotune tracking. Dynamics are durable and feedback-resistant, better suited for live performance or untreated rooms. For studio autotune work, condensers typically outperform.
- Frequency Response: Look for a presence peak in the 2–5 kHz range to capture vocal clarity without harshness. Avoid microphones with excessive proximity effect (low-frequency boost when placed close) as this complicates pitch detection in the fundamental frequencies.
- Polar Pattern: Cardioid patterns isolate vocals and reject room noise, crucial when recording at home. Omnidirectional patterns capture more ambience and are rarely ideal for autotune work unless you're recording in treated acoustic spaces.
- Self-Noise Floor: Measured in dB-A, lower self-noise means cleaner recordings. Under 18 dB-A is excellent; 20–25 dB-A is acceptable for home studios; above 25 dB-A introduces audible hiss requiring aggressive noise gate processing.
- Maximum SPL (Sound Pressure Level): Not critical for most vocal recording, but matters if you're capturing screaming, growling, or extremely energetic performances. 130 dB SPL or higher prevents distortion clipping.
Microphone Types: Studio vs. Live
Studio condensers deliver pristine signal quality ideal for studio recording environments with treated acoustics. They're sensitive to breath noise, room reflections, and electrical hum—factors you control in a proper studio. Live microphones (including stage condensers) prioritise feedback rejection and durability at the cost of some tonal refinement.
For autotune recording, studio-grade condensers are superior choices. You'll hear every vocal nuance, and autotune algorithms respond more cleanly to rich input. If you lack acoustic treatment, invest in foam isolation shields and bass traps alongside your microphone purchase to maximise input quality.
Price Brackets and Realistic Expectations
| Budget Tier | Price Range | Typical Use Case | Limitations |
|---|---|---|---|
| Entry-Level Budget | £50–150 | Hobbyists, YouTube content creators | Noticeable self-noise, thin presence, bright/fatiguing character |
| Serious Amateur | £150–400 | Home recording enthusiasts, small studios | Good clarity, manageable self-noise; may lack premium build quality |
| Professional Studio | £400–1,000+ | Recording studios, professional producers, vocalists | None significant; excellent clarity and reliability; premium pricing |
Autotune-Specific Microphone Features
Certain microphone characteristics specifically enhance autotune workflow:
- Presence Peak Design: Microphones engineered with a presence peak (typically 3–4 kHz) make vocal fundamentals more pronounced for autotune tracking. This presence also sits well in mixes when autotune is applied subtly.
- Shock Mount Compatibility: Professional shock mounts isolate microphone vibration from studio floor rumble and mechanical noise. Most quality mics ship with mounts; cheap microphones often omit them entirely. Budget an additional £30–50 for a quality shock mount.
- Pop Filter Effectiveness: Plosives (p, b, t sounds) cause autotune to stutter or trigger false pitch shifts. Quality pop filters significantly reduce this. Test filters before purchase if possible, as cheap models degrade tone noticeably.
- Pad and High-Pass Filter Options: Some microphones include a -10 dB pad switch and built-in high-pass filter, useful for preventing clipping on loud singers and removing room rumble below 80 Hz.
Common Buying Mistakes
Avoid these pitfalls:
- Prioritising Hype Over Specs: Brand prestige doesn't equal ideal autotune performance. Read technical reviews examining frequency response charts and self-noise measurements, not just vague praise.
- Ignoring Room Acoustics: A premium microphone in an untreated bedroom captures room reflections just as clearly as a budget model. Plan to spend 20–30% of your total vocal recording budget on acoustic treatment, not solely on the microphone.
- Underestimating Preamp Quality: An excellent microphone requires a preamp with low noise and transparent gain. Cheap USB interfaces or onboard soundcard preamps bottleneck expensive microphones. Budget accordingly for interface quality.
- Neglecting Cable and Accessories: Budget XLR cables and generic pop filters introduce subtle degradation. Quality cables and genuine filters preserve microphone fidelity. Add £50–100 to your total for proper accessories.
- Buying Without Testing: Whenever possible, audition microphones before committing. Rent quality microphones for a weekend session, compare them against your shortlist, and purchase based on direct experience rather than spec sheets alone.
Integration with Your Autotune Workflow
Ensure your chosen autotune mic integrates smoothly with your recording setup. Verify USB compatibility if using a USB interface, confirm XLR connector types, and test latency performance with your DAW and autotune plugin chain. Low-latency recording (under 20 ms round-trip) is essential for confident vocal takes; laggy monitoring discourages natural phrasing.
Making Your Decision
Start by defining your budget and room constraints. Home recordists benefit most from the professional studio tier (£400–600 sweet spot) where clarity becomes noticeably superior without premium pricing. Working with autotune demands vocal input that's articulate, present, and free of self-noise—this isn't an area to compromise excessively.
For detailed context on how autotune microphone selection fits into broader vocal production philosophy, explore the complete guide to autotune mic. With the right microphone paired to your recording environment and skill, autotune processing becomes nearly invisible—correcting pitch problems without betraying the fact that you've applied correction.



Comments