


Guitar String Action Gauge article
Guitar String Action Gauge for Beginners: A Complete Guide
A beginner's guide to measuring guitar string action correctly. Understand why action matters, what gauges to buy, and how to diagnose playability issues.
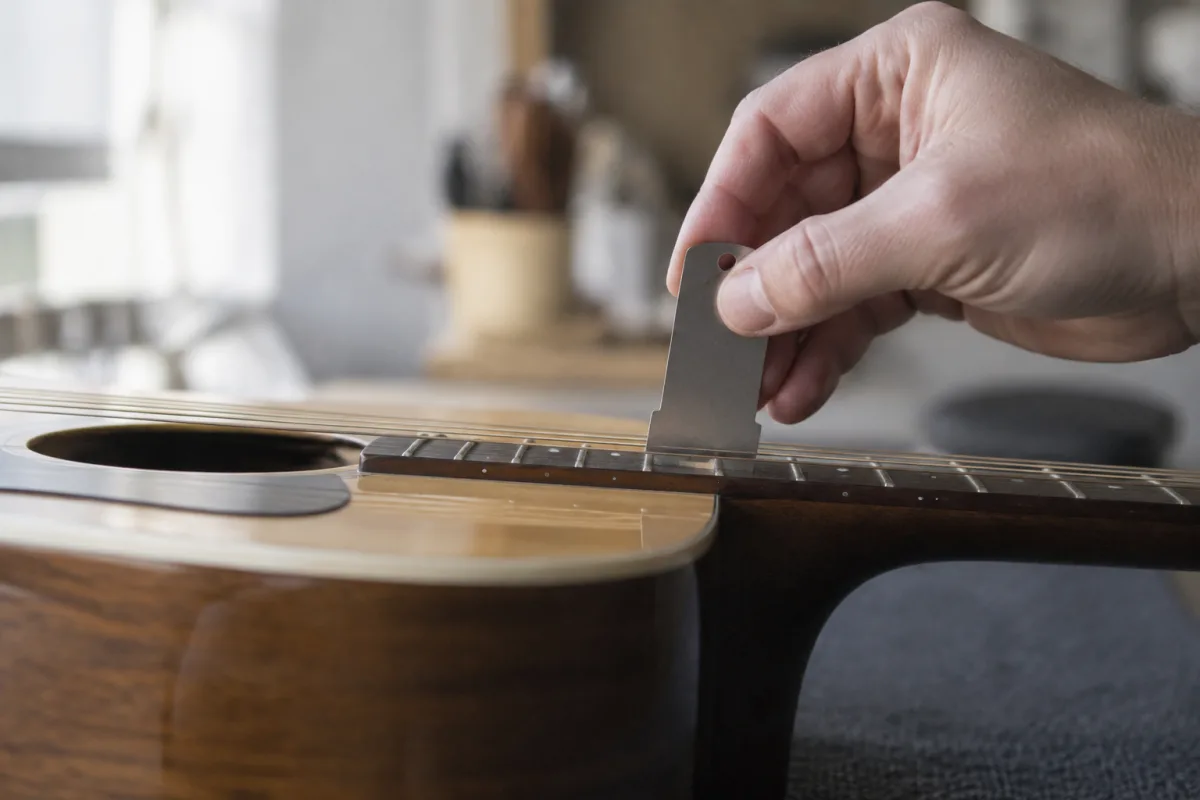
If you've picked up a guitar and found it either exhausting to play or fizzing with unwanted buzzes, the culprit is almost certainly string action—the height of your strings above the fretboard. Fixing action requires precision, and that's where a guitar string action gauge becomes your best friend. For beginners, a simple measurement tool makes the difference between struggling through a setup and actually enjoying playing your instrument. This guide walks you through what an action gauge is, why it matters, and how to use one confidently.
What a Guitar String Action Gauge Actually Is
A guitar string action gauge is a small ruler, typically marked in millimetres or fractions of an inch, that measures the vertical distance between your strings and the fretboard at specific points. Think of it as a depth gauge rather than a traditional ruler—it's designed to account for the curvature of the fretboard and give you accurate, repeatable measurements. Some gauges are simple metal rulers; others are rulers with notches or steps that help you measure at standard positions like the first fret, twelfth fret, or at the nut.
The simplicity is deceptive. That small tool gives you objective data rather than relying on feel alone, which is exactly what beginners need when they're still developing their touch.
Why Your String Action Matters (and Why It's Your Problem)
String action affects three crucial aspects of your playing experience: how easy the guitar is to play, how good it sounds, and whether you're developing proper technique.
Too high: Your fingers wear out quickly, bar chords become painful, and you struggle to press down hard enough without tiring. Many beginners interpret this as weakness rather than recognising a setup issue—so they quit practising because "their fingers aren't strong enough." Wrong diagnosis means wrong solution.
Too low: The strings buzz against the frets when struck, creating rattles that muddy your tone and make recordings sound cheap. You can't get a clean note because the physical contact between string and frets creates noise. Beginners often assume this is either normal wear or a defective instrument.
Just right: Chords feel natural, single notes ring clearly, and your hands don't fatigue excessively. This is the goal, and a action gauge helps you find it.
The Ideal Action Heights (for Your Reference)
| Measurement Location | Ideal Range (mm) | Notes |
|---|---|---|
| At the first fret (bass side) | 0.5–0.75 | Minimal clearance; if too low, you'll get buzz on lower frets |
| At the twelfth fret (bass side) | 1.5–2.0 | The standard measurement point; most comfortable for playability |
| At the twelfth fret (treble side) | 1.3–1.75 | Usually slightly lower than bass side; symmetrical action feels balanced |
| At the nut | Varies by string | More complex; often left to professionals initially |
Types of Guitar String Action Gauges (and Which One to Buy)
Simple Metal Ruler: Flat ruler marked in mm, usually 6–12 inches long. Cost: £3–5. These work perfectly fine for beginners and teach you the fundamentals. The main limitation is that your hand blocks the view slightly, making readings harder than with notched designs.
Notched Action Gauge: Metal ruler with small notches or raised edges at common measurement points (0.5mm, 1mm, 1.5mm, 2mm, etc.). Cost: £8–15. Much easier to read because the notch sits precisely against the fret and string. Recommended for most beginners—the small investment pays dividends in accuracy.
Digital Gauge or Stainless Steel Precision Tool: Electronic gauges or high-precision rulers marketed to professionals. Cost: £20–50+. Overkill for beginners unless you plan to become a luthier or do extensive setups yourself. Save this purchase for when you're more experienced.
String Ruler Combination Tools: Some gauges include multiple functions—ruler, string straightness checker, radius gauge. Cost: £10–25. Useful once you're comfortable measuring, but potentially confusing for first-time users. Start simple.
How to Use Your Action Gauge (Beginner's Steps)
Measuring action properly takes practice, but the process is straightforward:
- Prepare your guitar: Place it on a flat surface or guitar stand so the neck is horizontal and relaxed (not flexed by your hands). Plug a capo lightly on the first fret—this removes the headstock angle and gives you a straight reference line.
- Select your measurement point: Most beginners start at the twelfth fret, the traditional reference point. Later, you can measure other positions, but twelfth fret is the golden standard.
- Hold your gauge vertical: Place the edge of your ruler or action gauge on the fretboard, perpendicular to the strings. The gauge should be vertical; tilt it and your reading becomes unreliable.
- Measure each string: Slide the gauge along the fretboard to each string and note the gap between the string and the top of the fret. If using a notched gauge, the notch will align with the correct measurement; if using a simple ruler, you'll estimate between mm marks.
- Record your measurements: Write down each string's measurement at the same point (e.g., 12th fret). Don't try to memorise; accuracy requires documentation.
- Compare to ideal ranges: Most beginners aim for 1.5–2.0mm at the twelfth fret on the bass side as a comfortable starting point. If your guitar measures significantly higher or lower, a professional adjustment may be needed.
Common Mistakes Beginners Make With Action Gauges
- Holding the gauge at an angle: Even a slight tilt changes your reading by 0.5mm or more. Vertical only.
- Measuring without a capo on the first fret: The capo removes the neck relief (slight upward bow), allowing you to measure the true string height. Measuring with the capo off gives skewed results.
- Expecting action to be identical on both sides: Treble strings typically sit 0.2–0.3mm lower than bass strings. This is normal and desired.
- Over-trusting a single measurement: Always measure multiple strings and multiple points. Patterns matter more than single readings.
- Buying a cheap gauge and blaming the tool: Even a £3 ruler works if you're careful. The gauge isn't the problem; learning proper technique takes repetition.
- Assuming action adjustment is DIY-friendly: Once you know your action height, adjusting it often requires professional skill (saddle filing, bridge shaping, truss-rod tweaks). Measuring is beginner-friendly; fixing is not always.
When Action Is the Real Problem (and When It Isn't)
String action is often blamed for difficulties that actually stem from technique, hand position, or amp settings. Understanding the difference saves frustration:
Action is likely the problem if: Chords feel strained or painful within minutes, even with correct finger placement; single notes buzz across multiple frets; your fingers slip off the strings despite pressing hard; seasoned players feel comfortable with your guitar but you struggle.
Action is probably not the problem if: Your open chords sound fine but bar chords hurt (finger strength/positioning issue); only certain strings buzz (technique or tuning issue); the guitar sounded good for the first month and suddenly doesn't (could be humidity, neck shift, or fret wear).
When to Call a Professional vs. Staying DIY
Measuring your action with a gauge is a skill worth learning. Adjusting it is often worth outsourcing. If your measurements show action outside the ideal ranges and you want to fix it, find a local guitar tech or luthier. The cost is usually £30–100 depending on what's needed, and the result is a playable instrument instead of frustration.
Your action gauge helps you diagnose the problem; a professional implements the solution efficiently.
Building Your Measurement Habit
Once you own a guitar string action gauge, make measuring a monthly habit. String tension, humidity, and normal playing gradually change your action. Catching drift early means small adjustments rather than major work. Over time, you'll develop feel that matches measurements—your intuition and your gauge will agree, and you'll become the person other beginners ask for advice.
For comprehensive information on action, setups, and the full technical landscape, consult our complete guide to guitar string action gauges. This guide covers everything from advanced measurement techniques to choosing professional tools. For now, armed with your action gauge and these fundamentals, you can diagnose whether your playability issues are setup-related or technique-related—and that diagnosis is half the battle.
Your Next Step
Buy an inexpensive notched action gauge (£8–15), measure your guitar at the twelfth fret on each string, and record those measurements. If they're in the 1.5–2.0mm range on the bass side, celebrate—your setup is beginner-friendly and you can focus on technique. If they're significantly higher or lower, you've identified exactly what needs professional attention. That clarity is priceless.



Comments