


Microphone Stands Live article
Microphone Stands Live for Beginners: A Complete Guide
Your first live performance doesn't need to include microphone-stand anxiety. This beginner-friendly guide covers setup, positioning, and confidence-building for nervous performers.
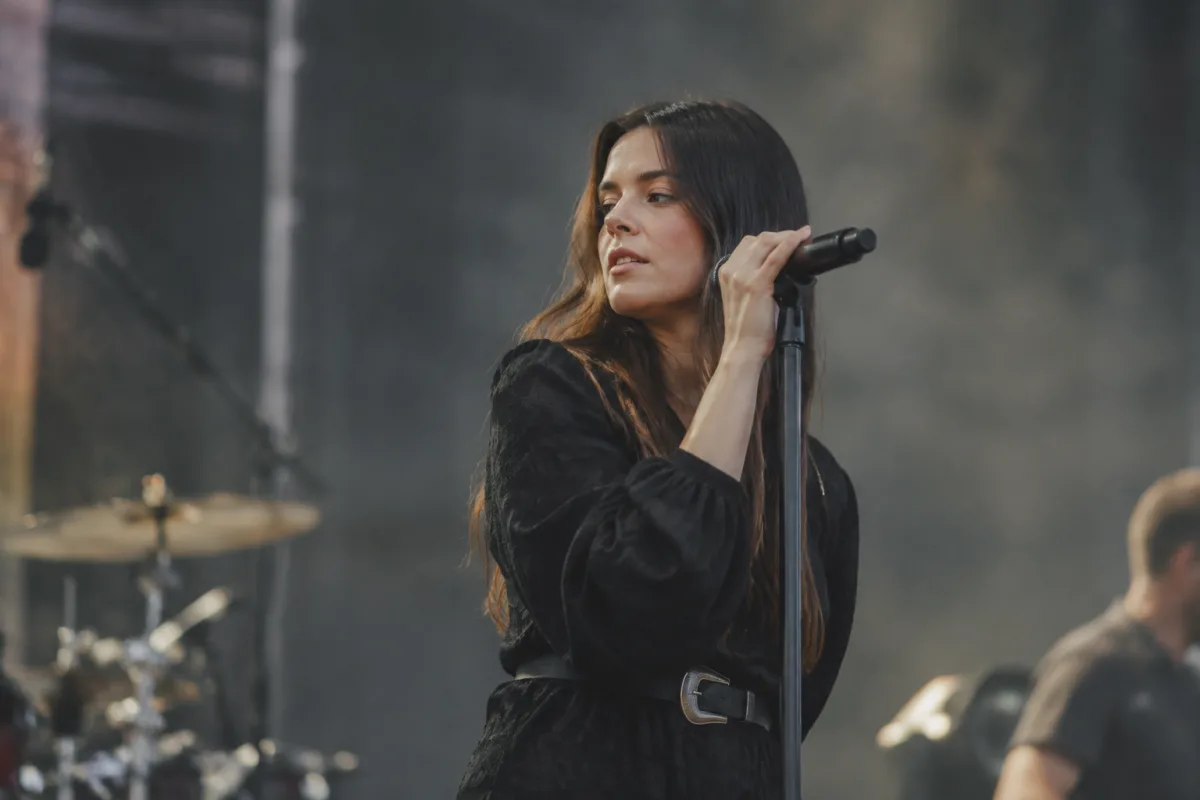
Standing on stage with a microphone for the first time can feel daunting. If you're nervous about your first live performance, take a breath—setting up a microphone stand correctly is far simpler than it looks. This guide walks you through everything you need to know to feel confident, prepared, and ready to perform. Whether you're singing at a local open mic, presenting at a community event, or performing with a band, understanding your microphone stand will let you focus on your performance, not your gear.
First Steps: What You Actually Need
You don't need expensive or fancy equipment to get started. A basic live microphone stand consists of three components: a weighted base (usually circular and about 10 inches across), a vertical pole, and a microphone clip that holds your microphone. That's genuinely it. Most venues provide a basic stand and microphone, so arriving early to your first gig gives you time to familiarise yourself without pressure. If you're bringing your own, a standard boom stand (the kind with an adjustable arm extending from the pole) costs £20–50 and works reliably for most situations.
Setting Up: The Simple Version
When you arrive at the venue, here's the reassuring part: microphone stands are nearly impossible to damage or set up wrong in a way that matters. First, locate the base and fully open the tripod legs—they should lock into place. If the legs feel loose, tighten the small screw at the base of each leg slightly; don't force it. The pole slides vertically into the top of the base. Extend the pole to roughly mouth height when you're standing relaxed—slightly below eye level is ideal, not pointing down at your chest or up at the ceiling.
The microphone clip (usually a spring-loaded holder) attaches to the pole. Your microphone sits in the clip facing you. If it's facing away or sideways, simply unclip it and rotate it. The clip will have a small tightening mechanism—twist it gently to ensure the microphone doesn't slip during your performance.
Microphone Placement for Singers and Speakers
For singing, position the microphone 4–6 inches from your mouth, angled slightly upward at roughly 45 degrees. This distance captures your voice without plosives (harsh "P" and "B" sounds) or excessive breathing noise. If the sound engineer asks you to move closer or further, do so without hesitation—they're helping you sound better, not criticising your technique.
For speaking (speeches, presentations, open-mic storytelling), 6–8 inches from your mouth works well. You'll have more room to move your head naturally without losing sound. The microphone should point directly at your mouth, not off to the side—mouth-to-microphone distance matters far more than microphone angle.
Stability and Avoiding Feedback
A weighted microphone stand base should feel stable even if you accidentally brush against the pole during your performance. If it wobbles, the base legs might not be fully open or the venue's floor is uneven. Ask the sound engineer for assistance; they can add weight to the base or adjust the angle slightly. Never lean heavily on the microphone stand—it's a support tool, not a crutch, and putting your weight on it looks uncertain.
Feedback (that piercing squeal) frightens beginners but is completely normal and easily managed. The sound engineer controls feedback via the mixing console; your job is simply to avoid tapping the microphone or knocking the stand during setup and performance. If feedback occurs mid-performance, step back slightly—increasing your distance from the microphone reduces feedback instantly. The engineer will also adjust levels.
Pre-Performance Checks: What Nervous Performers Worry About
Arrive early and do a sound check. Walk to the microphone stand and speak or sing into it at normal performance volume. Listen to how you sound through the venue's speakers. Adjust the microphone height if you feel uncomfortable. Test the stand's stability by tapping the pole gently—it should barely move. Ask the sound engineer to confirm they can hear you clearly. These five minutes of preparation eliminate almost all first-performance anxiety about your microphone stand.
Common Beginner Mistakes to Avoid
Don't clutch the microphone stand pole itself while performing—hold the microphone and let the stand support it. Gripping the pole transmits vibrations into the audio system and makes you look stiff and uncomfortable. Similarly, don't tap or play with the stand during your performance; every touch transmits noise into the microphone. Your hands should hold the microphone (if it's handheld) or stay relaxed at your sides (if using the stand).
Another common mistake is positioning the microphone too close to your mouth. This causes plosive distortion on P and B sounds and makes breathing audible. Six inches is genuinely the magic distance for singing; trust it. Finally, don't be afraid to ask the sound engineer or venue staff for help adjusting the stand height or position before you perform—they've helped hundreds of nervous performers and are genuinely happy to assist.
Boom Stands vs. Straight Stands
Boom stands (with an extending arm) offer more flexibility—the arm lets you position the microphone off to the side or at unusual angles. Straight stands (pole only) are simpler and more stable. For your first performance, a straight stand is far easier to understand and use. You position yourself in front of it and perform. Once you're comfortable on stage, exploring boom stands becomes easier. Don't overcomplicate your first gig; use whatever the venue provides.
After Your Performance
When you're finished, gently disconnect the microphone from the clip (don't yank it), then collapse the tripod legs by releasing the locking mechanism at the base of each leg. The pole slides down into the base. Coil any cables neatly if you're transporting the stand. Basic maintenance—don't leave stands in dampness or extreme heat—keeps them reliable for years.
Building Confidence for Multiple Performances
Your nervousness about microphone stands will completely disappear after one or two performances. Most performers barely think about their stand once they've used it once. You'll develop natural habits—the right distance, the right angle, how to grip the microphone comfortably—without consciously thinking about them. Every experienced performer on stage once felt exactly as nervous as you do now. The microphone stand is one of the easiest parts of live performance to master; you've absolutely got this.
Getting More Comfortable
If you're genuinely anxious about your first performance, practice with a microphone stand at home. Even a cheap stand (£20) lets you rehearse with the real equipment you'll use on stage. Familiarity breeds confidence. Stand at the distance you'll use on stage, practice your material, and notice how your voice sounds at that distance. This rehearsal time is genuine performance preparation and eliminates almost all stage fright related to technical setup.
Moving Forward
You're ready. Microphone stands are simple, reliable, and designed to be forgiving for beginners. Arrive early, do a quick sound check, position the microphone at a comfortable distance, and focus on your performance. For deeper context on live microphone stand options and techniques, explore our complete guide to live microphone stands, which covers equipment choices and advanced positioning strategies as your confidence grows.


Comments