


Stereo DI Box article
Stereo Di Box for Beginners: A Complete Guide
A stereo DI box converts your keyboard or electronic instrument signal for live PA systems. This guide explains what it does and how to use it from day one.
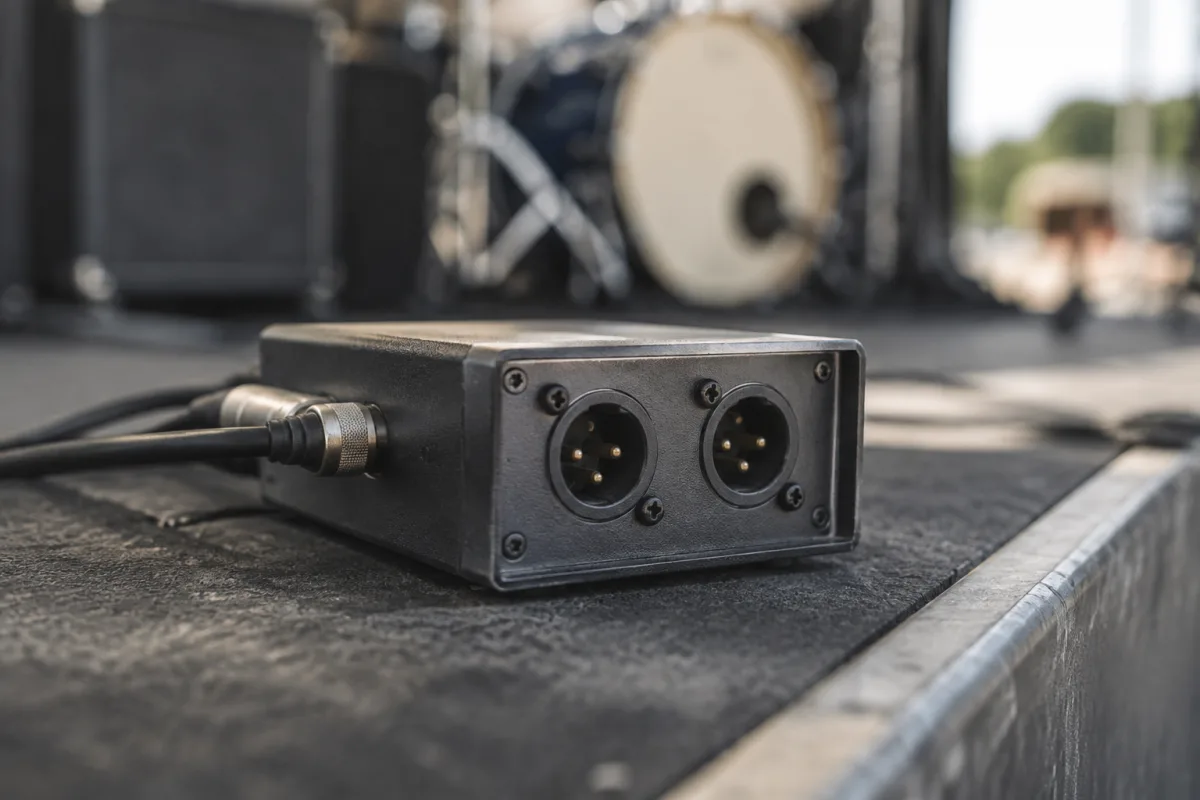
If you play keyboards, acoustic guitar, or any electronic instrument through a live PA system, you've probably encountered sound quality issues or excessive cable runs. A stereo DI box solves both problems elegantly. This guide explains what the device does, why beginners need one, and how to use it without overthinking the technical details.
What Does It Actually Do?
A DI box — "DI" stands for "direct input" — is a small device that sits between your instrument and the mixing desk. Its job is simple: it takes the weak, high-impedance signal from your keyboard or guitar and converts it into a strong, low-impedance signal that the mixer can handle cleanly over long cables without noise or signal loss. The "stereo" designation means it handles two channels (left and right) simultaneously, which is essential for keyboards, electronic drums, or backing tracks with dual outputs.
In plain terms, think of it as a translator. Your keyboard outputs a delicate audio signal designed for headphones or small amplifiers. The PA system needs something louder and more robust. This little box makes that conversion happen invisibly, allowing your tone to stay clean and your volume independent of the house system.
When Do You Actually Need One?
Not every gig demands this device, but several common scenarios do. If you're playing a keyboard through a live PA, it keeps your tone clean and lets you control your own volume independently from the house system. If you're running a backing track or click via stereo outputs, it lets you split the signal to both the monitor mix and the front-of-house without daisy-chaining cables. If your venue is large and the cable run from stage to the mixer exceeds 10 metres, this tool becomes genuinely important — long, unbalanced cables pick up electromagnetic interference and degrade sound quality.
A beginner's rule of thumb: if you have a stereo electronic source and a long cable run to the mixer, use one. If you're in a small room with short cables and a dedicated amplifier for your keyboard, you may not need one. Many touring musicians carry one anyway because it solves multiple problems at once.
The Basics: Input and Output
Most DI boxes share a common layout. On one side, you'll see stereo input connectors — usually two quarter-inch jacks labelled "Left" and "Right", or sometimes a stereo mini-jack if it's compact. Some higher-end models include RCA connectors as well.
On the other side are the balanced outputs, almost always XLR connectors. You'll get two XLR outs (one for left, one for right), though compact units might combine both channels into a single XLR pair. The XLR cables run to your mixing desk, and because XLR is a balanced format, it rejects noise and allows long cable runs without signal degradation.
There are also usually ground lift switches (one per channel) and sometimes a polarity reverse switch. Don't worry about these yet — they're tools for fixing phase problems or hum in complex setups, but most beginner scenarios don't require them.
Basic Setup: The Three-Step Workflow
Setting up the device is straightforward. First, connect your keyboard (or other stereo source) to the input side using quarter-inch cables. Plug the left output of your keyboard into the "Left" input, and the right into "Right". Use quality instrument cables, not cheap patch cables — a poor connection introduces noise and defeats the whole purpose.
Second, run balanced XLR cables from the outputs to two channels on your mixing desk. It's common to assign both channels to a stereo pair or to route them to a subgroup so you control your overall level from one fader.
Third, set the input level on your mixer. Bring the keyboard volume up to a comfortable level in your headphone mix or monitor wedge, then test the main output. You should hear your keyboard clearly with no distortion or noise. If there's hum or buzz, check your cable connections and ground lift (but usually, the ground lift switch solves it).
Power: Passive vs. Active
Some DI boxes are passive — they require no external power. Others are active — they run on phantom power supplied by the mixer, or on batteries. For beginners, this distinction rarely matters in practice. Passive models are cheaper and simpler. Active units can provide a slight impedance match improvement, but the difference is academic for most gigs.
If you're buying your first one, start with a passive model. They're affordable, dead-reliable, and work in virtually any scenario. As you gain experience, you can explore active variants if a specific technical issue comes up.
Common Beginner Mistakes to Avoid
Many first-time users make the mistake of connecting an unbalanced cable (like a standard instrument jack) to the mixer instead of using the device. This defeats the whole point — you lose the noise rejection and long-cable capability that make it valuable. Always use the XLR outs, not direct connections to the mixer.
Another common error is using cheap or damaged cables. The unit is only as good as the weakest cable in the chain. Invest in quality instrument cables for the inputs and balanced XLR cables for the outputs. Damaged cables introduce noise, intermittent dropouts, and frustration on stage.
Don't assume you need complicated settings. Ground lift and polarity reverse exist for edge cases. If your sound is clean and hum-free with those switches in their default position, leave them alone. Most venues run clean electrical systems and well-maintained mixer grounds, so you'll rarely need to touch these controls.
In a Live Setting
On stage, the device typically sits on the deck next to your keyboard or instrument, or clips onto a mic stand. It's small and unobtrusive. Once it's plugged in and balanced, you can usually forget about it — it just works. The only time you'll interact with it during a performance is if you need to switch the ground lift or (rarely) adjust a cable connection.
In a band context, this simple tool is one of the few pieces of gear that makes both your sound engineer and your bandmates happy. The engineer gets a clean, professional signal with no noise. Your drummer and bassist hear a locked, stable click or backing track. You gain independent volume control and freedom to adjust your keyboard tone without affecting the house mix.
Moving Forward: Integration and Expansion
As you become more comfortable with live sound, you'll discover that this device is just one tool in a larger setup. Many keyboard players combine it with a small mixer or effects unit for more control. Some pair it with a dedicated keyboard amplifier for monitoring. These upgrades are optional — the basic unit handles the core job admirably.
Cross-link: For a complete technical breakdown of specifications, features and advanced configurations, read our complete guide to stereo DI boxes.
Why It Matters
It's easy to overlook this device when you're focused on bigger gear — amplifiers, mixers, stage lighting. But this small tool is one of the most cost-effective upgrades a beginner can make. It transforms how your instrument sounds through a PA system, enables longer cable runs, and eliminates noise problems that would otherwise frustrate you and your sound engineer. Once you've used one, you'll never want to play without it again.


Comments