


24 Channel Mixer article
24 Channel Mixer for Beginners: A Complete Guide
Starting with a 24 channel mixer doesn't have to feel overwhelming. This beginner guide walks you through your first steps, explains the essential controls, and shows you how to avoid common mistakes.
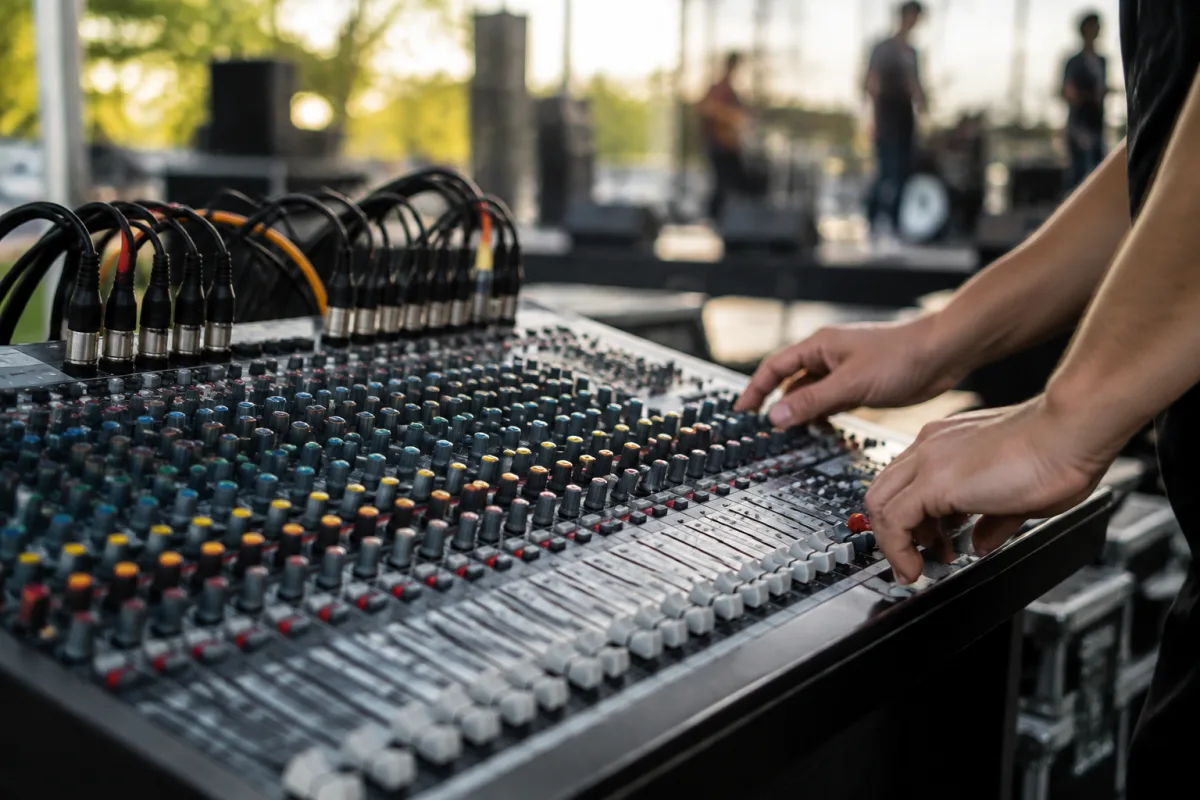
Starting your journey in live sound can feel overwhelming, especially when you're facing a 24 channel mixer for the first time. Those rows of faders, knobs, and buttons might look intimidating, but don't worry—a 24 channel mixer is actually one of the most versatile and user-friendly options to begin learning with. This guide will walk you through your first steps, show you what actually matters, and help you avoid the common stumbling blocks that catch beginners out.
Why Start with a 24 Channel Mixer?
A 24 channel mixer offers the perfect balance for beginners entering live sound. It's not so massive that you'll get lost in unnecessary features, yet it's large enough to handle real-world applications like small venues, local bands, corporate events, and podcasting setups. The beauty of a 24 channel mixer is that you don't need to use every channel—many beginners work comfortably with just 8 or 10 channels whilst learning, leaving the rest for growth.
Understanding the Basic Layout
Before you patch in your first microphone, take a moment to familiarise yourself with what you're actually looking at. Every channel on your 24 channel mixer follows the same basic signal flow, which is the biggest thing that will make this less scary. From left to right on each channel strip, you'll typically find your gain knob (the most important one), equaliser controls, auxiliary sends, faders, and meters. The beauty is that once you understand one channel, you understand them all.
Your First Setup: A Practical Approach
Here's the honest truth—most beginners don't need to set up all 24 channels on day one. Start simple. Connect a microphone to channel 1, a second microphone to channel 2, and perhaps a mono line input for backing tracks on channel 3. This stripped-back approach lets you focus on fundamentals rather than getting paralysed by choice. Your 24 channel mixer will happily sit there with half its channels unused whilst you build confidence.
The Essential Controls You Actually Need to Know
When you're starting out, focusing on the essentials will accelerate your learning dramatically. Here are the critical controls and what they do:
- Gain (Input Level): This is your first line of defence. Set it properly and everything else becomes easier. Aim for the meter on your input to peak around -6dB to give yourself headroom.
- Fader: Once you've set gain, the fader controls your volume. Keep it intuitive—pull it up to make something louder, push it down to make it quieter.
- Pan: This controls whether sound comes from the left or right speaker. For beginners, often you'll just leave everything in the centre.
- High-Pass Filter: A lifesaver for beginners. Enable it on vocal mics to remove rumble and handling noise. You'll immediately hear cleaner sound.
- Master Fader: Located separately (usually on the right side of your 24 channel mixer), this controls everything at once. Start with it at unity (the marked 0dB line).
Gain Staging: Your Secret Weapon
Here's where many beginners struggle—they set gain wrong and spend the rest of the day fighting levels. When you connect a source to your 24 channel mixer, set the gain first, before touching anything else. Turn the fader all the way down, then slowly bring the gain up until your input meter shows a healthy level (usually peaking around -6 to -3dB). Only then should you adjust the fader. This one habit will improve your sound more than anything else you learn early on.
Common Beginner Mistakes to Avoid
Learning from others' experience can save you hours of frustration. These are the pitfalls that catch nearly every newcomer to live sound mixing:
- Cranking the gain too high: Results in distortion, feedback, and a day spent chasing problems. Always start with gain set low.
- Forgetting to mute unused channels: A quiet channel still picks up ambient noise and can cause subtle phase issues. Make it a habit to mute channels you're not using.
- Not checking your outputs: Your 24 channel mixer sends signal somewhere—make sure your speakers or recording interface are actually connected and turned on.
- Ignoring the manual: Yes, really. Your mixer's manual will show you the signal flow and explain features specific to your model. Spend 15 minutes with it.
- Adjusting too many things at once: When something sounds wrong, change one thing at a time and listen. This is how you actually learn.
Building Your Confidence Step by Step
Your first week with a 24 channel mixer should focus on getting comfortable, not on mastering every feature. Start by setting up two channels with microphones and practising gain staging repeatedly until it feels automatic. Once that's solid, add a third channel. Then learn to use the high-pass filter effectively. After a week or two of this gentle progression, you'll be amazed at how natural the workflow feels.
When You're Ready to Explore More
Once the basics feel second nature, your 24 channel mixer opens up more possibilities. Auxiliary sends let you create monitor mixes, equalisers help you shape the tone of each input, and compression gives you control over dynamics. But here's the key—these advanced features are there when you need them, not when you're starting out. The confidence you build with a beginner's mindset will make everything else easier to learn later.
Essential Accessories for Beginners
A 24 channel mixer doesn't exist in isolation. To get started properly, you'll need a few basics. Quality microphone cables are absolutely essential—cheap ones cause more problems than you'd imagine. An XLR microphone is your starting point (a simple dynamic mic is fine). Monitor speakers or headphones let you hear what you're doing. And a microphone stand keeps your hands free to adjust the mixer. These items matter far more than expensive outboard gear at your stage.
For a deeper dive into the complete topic, our ultimate guide to 24 channel mixers covers the full spectrum of features and advanced techniques.
Your Next Steps
A 24 channel mixer is genuinely beginner-friendly when you approach it with the right mindset. Start simple, master the fundamentals, and celebrate small victories. That first time you mix a session and someone tells you the sound was clear and easy to hear? That's the moment it clicks. You've got this—every expert you admire started exactly where you are now, feeling slightly nervous about all those channels. Take it one step at a time, and you'll find that mixing is genuinely rewarding. The 24 channel mixer awaits.


Comments