


Amplifier for Busking article
Amplifier For Busking for Beginners: A Complete Guide
Nervous about busking with an amplifier? This beginner's guide covers what gear you need, first steps and common pitfalls to avoid so you can perform confidently.
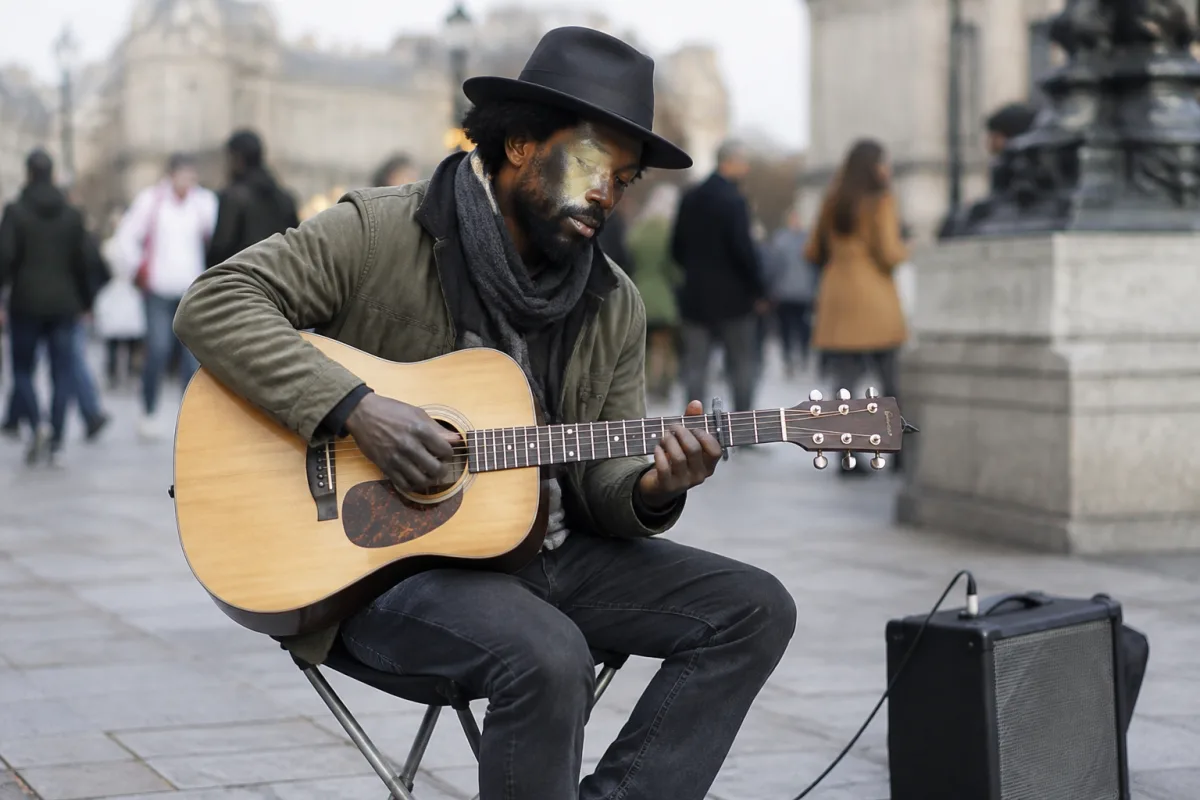
The idea of busking—playing music on a street corner for passersby—feels daunting when you are starting out, especially if amplification is new to you. Many beginner street musicians assume they need expensive, complex equipment or worry about power sources, noise complaints or technical failure. The reality is simpler: a modest amplifier (£150–400), basic gear discipline and a few practical insights get you performing confidently within hours. This guide is for the nervous beginner who wants to busk but has no idea where to start with amplification.
Why Amplify at All?
If you are playing an acoustic instrument alone on a street, your natural volume reaches people within 10–20 metres. Add a modest amplifier and you double or triple your reach—more ears hear you, more people stop, and your earnings typically improve. Amplification also gives you flexibility: you can play quieter songs and still be heard, adjust volume to context (busy street vs. quiet plaza), and control your tone in ways unamplified playing cannot offer. For busking, amplification is less about showing off and more about pragmatism.
Essential First Gear
A Small Combo Amplifier
Start with a battery-powered or mains-powered combo amp rated 10–30 watts. This wattage is surprisingly adequate for street busking. A 10-watt amp filling a pedestrian plaza is more than sufficient; a 30-watt amp gives you headroom in noisier environments. Battery-powered amps are your best friend: they eliminate power cable hunting and let you play anywhere. Popular options include Marshall MS-50, Fender Acoustasonic or Vox Pathfinder models—all under £400, all capable of busking seriously.
A Quality Microphone and Stand
If you are singing as well as playing (very common for busking), invest in a decent dynamic microphone (£30–80) and a sturdy microphone stand (£15–30). Avoid cheap karaoke-style mics; they squeal with feedback and frustrate your audience. A quality stage mic like a Shure SM58 is standard for good reason: it handles real-world conditions and sounds professional. Pair it with a boom stand or tripod that does not topple in wind.
Cables and Connectors
Instrument cables (guitar to amp) and XLR microphone cables need to be good quality. Cheap cables introduce noise, crackling and failures at critical moments. Budget £15–25 for a quality instrument cable and £15–30 for quality XLR mic cables. Carry spares; a failed cable ends your busking session immediately.
A Simple Mixer (Optional but Useful)
If you are amplifying both an instrument and a vocal mic, a small mixer (£50–150) gives you independent control over instrument and vocal levels. This is optional if you are playing an instrument only, but invaluable if you sing. A simple 4-channel mixer sits comfortably in a small backpack and offers real-time level control.
The Simplest First Steps
Step One: Set Up Safely
Find a location with power nearby (a café willing to lend an outlet) or use a battery-powered amp. Position your amp where it points toward your audience, not toward a wall behind you. Ensure all cables are taped down or out of foot traffic—a tripping hazard is a disaster. Test every connection before playing: plug your instrument into the amp, turn the amp volume to minimum, power on and slowly increase volume whilst playing a note.
Step Two: Start Quiet and Expand
Your first busking session should be quiet and short. Play at a volume that sounds good to you standing in front of the amp. Hear how it sounds 10 metres away—ask a friend to stand back and tell you the level. Adjust accordingly. Most buskers underestimate how far modest amplification travels; you usually need less volume than you think. Starting quiet avoids noise complaints and lets you focus on playing, not troubleshooting.
Step Three: Manage Feedback and Noise
If you hear howling or whistling from your amp, you have feedback—the mic or instrument is picking up the amp's output and re-amplifying it infinitely. Fix it by: (1) moving the microphone away from the amp speaker, (2) pointing the amp speaker away from the mic, (3) lowering the volume, or (4) muting the mic when not singing. These are normal busking challenges; they resolve in seconds once you understand them.
Common Beginner Mistakes to Sidestep
Mistake One: Buying an Amp Too Large for Busking
A 100-watt amp is a liability on the street. It draws enormous power, weighs too much to carry, fills entire city blocks with sound and draws noise complaints within minutes. Your first busking amp should be 10–30 watts maximum. Start small and add power only if you discover genuine need after months of busking.
Mistake Two: Using a Cheap Microphone
A pound-shop microphone squeals with feedback, picks up wind noise terribly and sounds thin and cheap. Invest £50–80 in a proper stage microphone. The difference in sound quality and reliability is stunning and worth every penny.
Mistake Three: Ignoring Local Regulations
Before busking in any location, check whether permits are required or noise curfews are in effect. Some cities require a busking licence; others restrict amplified music to certain hours or zones. A few minutes researching local rules prevents police visits and bans. Be a considerate performer—play within established guidelines and you build goodwill.
Mistake Four: Failing to Secure Your Cables and Stand
Wind can topple a microphone stand or your amp. Tape or weight down cables so passersby do not trip. Use a boom stand with good stability or a weighted tripod mic stand. A collapsed setup mid-song is embarrassing and costly.
Mistake Five: Expecting Success on Day One
Busking is a skill. Your first few sessions may feel awkward—handling amplification, managing feedback, adjusting to the acoustic environment, and playing whilst entertaining pedestrians are all new. Accept that your first week is a learning curve. By session five or ten, setup and teardown are automatic and you can focus entirely on playing well.
Tips for Better Busking Sound
Position yourself where your amp and voice reach your audience directly, not through reflections off buildings. In a plaza surrounded by hard surfaces, sound will bounce unpredictably; position yourself in the centre of open space if possible. Use your amp's tone controls to brighten or warm your sound—bright usually cuts through street noise better. Take breaks; continuous playing for two hours is physically and aurally exhausting for both you and your audience.
Cross-Link
For a comprehensive overview of amplifiers, their types and all options available for busking and live performance, see the complete guide to amplifiers for busking.
The Bottom Line for Beginner Buskers
Start with a 10–30 watt battery-powered combo amp, a good stage microphone and quality cables. Set up safely, start quiet and adjust from there. Learn to manage feedback and understand that busking is a skill that improves with practice. Respect local regulations and treat the street as your venue—with care and attention to your audience's experience. Within weeks, amplified busking will feel natural and rewarding.



Comments