
Music Mic article
The Complete Guide to Music Mic
A quality music mic is essential for recording. Discover microphone types, how they colour sound, and how to match the right mic to your recording application.
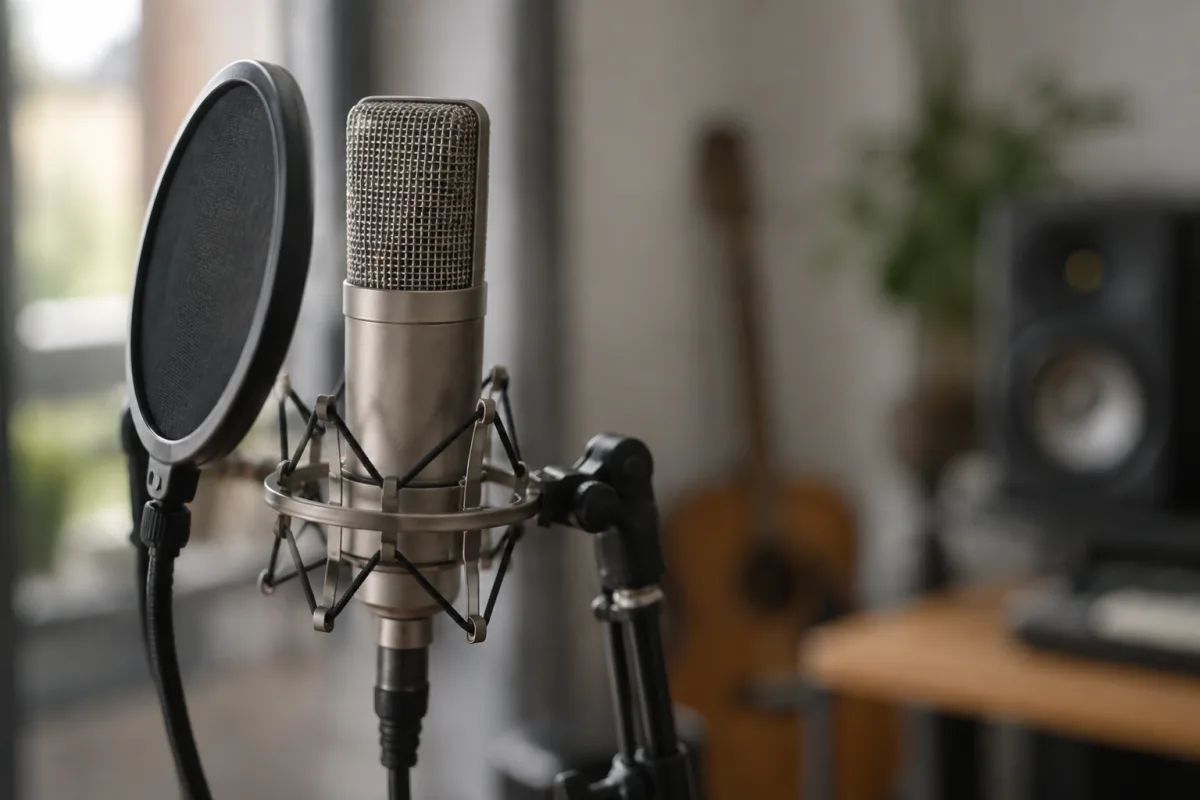
Understanding Microphones for Recording Music
A music mic is far more than a tool for capturing sound—it's the interface between the acoustic or amplified world and the electrical realm of recording and amplification. Every note, every nuance, every breath of tone that makes your performance special passes through your microphone before reaching listeners. Choose wisely, and the microphone becomes invisible—you hear your music exactly as intended. Choose poorly, and the microphone imposes its character, often to disappointing effect.
Recording music successfully demands understanding what different microphone types do and why certain models work better for specific applications. A vocal microphone optimised for presence and warmth would sound thin and characterless on a bass amplifier. A ribbon microphone perfect for capturing vintage warmth might struggle with the attack and transients of modern electric drums. The best approach is understanding your options, then matching the tool to the task.
Microphone Types and Their Characteristics
Large-diaphragm condensers are the go-to choice for recording vocals, acoustic guitars, and other instruments where warmth and detail matter. The large diaphragm captures the full tonal palette. The condenser technology is sensitive, responsive, and adds a flattering presence peak that makes most voices and instruments sound their best. Studios invest in these because they deliver professional results across diverse applications.
Small-diaphragm condensers excel at capturing fast transients—the initial attack of drums, the bright character of strings, the snap of finger picks on acoustic guitar. They're perfect for overhead miking (capturing an entire kit), as drum room microphones, or any situation where you need precision without colouration. These microphones have earned their place in professional facilities worldwide.
Dynamic microphones, particularly cardioid patterns, are workhorses for live sound and aggressive recording applications. Drummer's tomtoms, bass amplifiers, loud rock vocals—any scenario demanding high SPL handling and feedback rejection benefits from a quality dynamic microphone. They're rugged, reliable, and forgiving of less-than-perfect technique.
Ribbon microphones deliver warmth and character unlike any other type. Classic ribbon microphones, whether vintage models or modern recreations, add a vintage magic that many engineers chase endlessly. They're forgiving on harsh sources, capturing detail without aggressiveness. The tradeoff: they're fragile, require careful handling, and demand proper preamps to shine.
Frequency Response and Tonal Character
Every microphone has a frequency response—how it reproduces bass, midrange, and treble. A presence peak in the 2-5 kHz region boosts clarity and definition, helpful for vocals and instruments that need to cut through a mix. A proximity bass boost—extra low-end at close miking distances—can colour the tone but also adds richness.
Understanding frequency response helps you choose the right microphone for your source. A microphone with a presence peak works beautifully on lead vocals but might be too aggressive on acoustic guitar. A microphone with extended low-end works brilliantly on bass but muddies vocal recordings. Matching microphone character to source character is the art form underlying technical choices.
Polar Pattern and Isolation
The polar pattern—how a microphone responds to sound from different angles—dramatically affects how it isolates your source. A cardioid pattern rejects sound from the sides and rear, preventing microphone bleed in multi-miked recordings. A figure-8 pattern rejects sides and front, useful for separation. An omnidirectional pattern captures everything equally, practical when you want ambient room tone.
For recording in less-than-ideal spaces, a tight cardioid pattern becomes essential. In your home studio without isolation booths, cardioid rejection of room reflections lets you focus on capturing the source cleanly. Professional facilities with treated rooms can relax on isolation, using looser patterns for musicality.
Preamp Requirements and Gain Structure
A microphone's output is tiny—typically 5-50 millivolts depending on the microphone type and source loudness. A preamplifier must boost this signal to line level, roughly 1 volt, without adding noise. A quality preamp maintains transparency, adding negligible noise and colouration. A poor preamp introduces hiss, distortion, or muddy tonality.
Some microphones—particularly condensers—require phantom power, typically 48 volts supplied by your preamp or mixer. Ribbon microphones are generally passive and don't require phantom power, though active ribbon designs sometimes include it. Check your microphone specifications to ensure your preamp supplies whatever power your chosen microphone requires.
Proximity and Microphone Technique
How close you place your microphone to the source dramatically affects the sound captured. Close miking (2-12 cm) emphasises proximity effect and isolates the source. Distance miking (1-2 metres) captures room tone and natural acoustics. Matching microphone distance to your source and space makes the difference between professional recordings and amateur attempts.
Proper technique includes microphone placement that captures the right part of your source. For vocals, position the microphone roughly at mouth level, angled slightly off-axis to reduce plosive impact. For guitar amplifiers, position the microphone close to the speaker cone at roughly the centre. For acoustic guitars, experimental positioning near the 12th fret or bridge region usually yields best results.
Isolation and Monitoring
Recording music successfully requires monitoring through headphones without the microphone capturing that headphone audio. A proper recording chain includes headphone outputs that bypass the microphone, or uses a separate monitor mixer. This prevents feedback loops and ensures your vocalist hears themselves clearly without that monitor audio bleeding into the recording.
Shock mounts and pop filters, whilst accessories, deserve mention here. A shock mount isolates the microphone from vibration, preventing floor noise and rumble. A pop filter diffuses plosive consonants (P and B sounds), protecting your recording from low-frequency bursts that are nearly impossible to fix in post-production.
Matching Microphone to Application
Recording vocals typically demands a large-diaphragm condenser with presence and warmth. Recording acoustic guitar might call for a small-diaphragm condenser for detail, or a large-diaphragm if you prefer warmth and thickening. Recording bass amplifiers often uses a dynamic microphone for SPL handling and character. Recording cymbals and overheads calls for small condensers or ribbon microphones.
The most flexible approach for a home studio is owning multiple microphones—a quality large-diaphragm condenser for vocals and general purpose work, a small-diaphragm condenser for detail-oriented sources, and perhaps a dynamic microphone for bass and drums. This modest collection covers the vast majority of recording scenarios with minimal compromise.
Investing in quality microphones pays dividends across years of recording. A good microphone doesn't go out of style; it doesn't become obsolete through technological change. The microphones used on classic recordings fifty years ago still sound brilliant today. Choose wisely, treat your equipment with respect, and your microphone will become an invisible, trusted partner in your musical expression.


Comments