


Gretsch Bass article
Gretsch Bass for Beginners: A Complete Guide
Your first week with a Gretsch bass should be about comfort and exploration, not perfection. Here's everything you need to know to start playing with confidence.
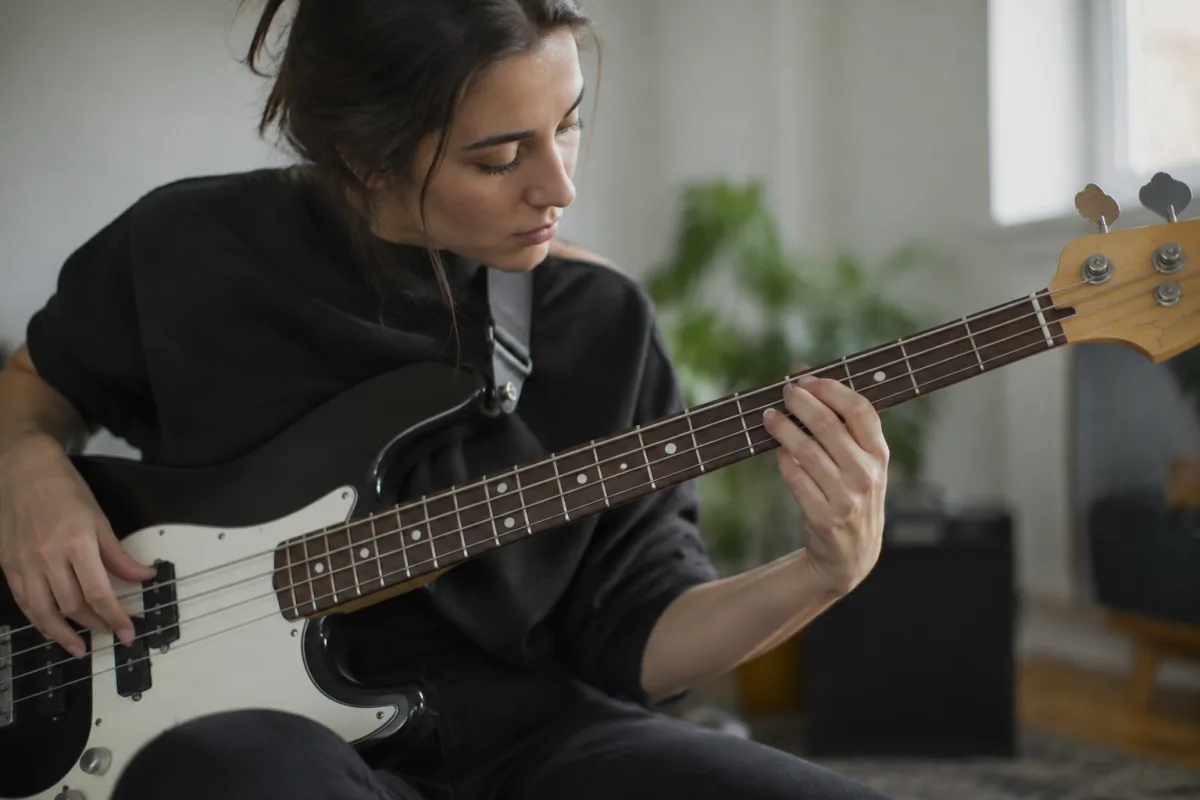
Starting bass guitar can feel overwhelming—there's so much gear to learn about, and everyone seems to have strong opinions about tone and technique. But if you're drawn to Gretsch bass guitars, you've already picked one of the friendliest entry points into bass playing. Gretsch basses are known for being forgiving, fun to play, and built to survive a learner's first gigs without complaint. This guide is for you if you've just picked up a Gretsch bass or you're thinking about it—no jargon, just practical first steps that'll get you playing confidently.
Why Gretsch Bass Is a Smart Beginner Choice
Gretsch has been making musical instruments since 1883, and they've built a reputation on instruments that are reliable and playable without costing a fortune. A Gretsch bass sits in that sweet spot: not a budget brand that falls apart, not a premium brand that empties your wallet. As a beginner, that matters. You want an instrument that's solid enough to survive your learning curve, forgiving enough that your early technique mistakes don't amplify through a terrible bass, and fun enough that you'll actually want to practise.
Gretsch basses tend to have slightly warmer, rounder tones than some competitors—which actually works in a beginner's favour. A warmer tone is more forgiving than a bright, cutting tone; it covers up some of the rough edges in your playing while you're building muscle memory and confidence.
Getting to Know Your Gretsch Bass
Your first task isn't to master it—it's simply to get familiar with the layout and the feel. Here's what you're looking at:
The Body
A Gretsch bass body is typically made from solid wood (often mahogany or similar) with a satin or gloss finish. Run your hand over it. Notice how it feels substantial? That weight and solidity are what you're paying for. The body connects to a bolt-on neck (on most Gretsch models), which means you could theoretically swap it out later, but as a beginner, you don't need to think about that yet.
The Neck
The neck is where the magic happens. Your fingers will spend most of their time here, so get comfortable with it. A Gretsch bass neck is usually fairly slim and comfortable—designed for players with smaller hands but also perfectly playable for anyone. Gently bend the neck and feel how it flexes slightly. That flexibility is normal and helps your bass vibrate and resonate better. Don't panic if the neck isn't perfectly straight—a tiny bit of relief (very slight curve) is actually correct.
The Tuning Pegs
These sit at the headstock and let you tune your bass. Gretsch tuning pegs are usually smooth and stable, which means they won't slip out of tune as you're playing (a common complaint with cheaper basses). Turning them should feel smooth but with a slight resistance—they should stay put once you've set them.
The Pickups and Controls
Your Gretsch bass probably has two pickups (magnetic coils that convert string vibration into electrical signal) and a few knobs: volume, tone, and maybe a selector switch. As a beginner, you don't need to dive deep into pickup theory. Just know that the volume controls how loud your bass is, and the tone knob lets you brighten or darken the sound. The selector switches between pickups or mixes them—it changes your tone character. Experiment and trust your ears.
Your First Week: The Essentials
Step 1: Tune Your Bass Correctly
Use a tuner (a clip-on tuner from any music shop costs £10–20). Standard bass tuning is E–A–D–G from the thickest string to the thinnest. Tune each string until the tuner says "in tune," then move to the next. Don't expect it to stay perfectly in tune for more than a few hours at first—new strings and a new instrument shift slightly. Tune again before you play.
Step 2: Learn Proper Positioning
Sit down with your Gretsch bass resting on your left thigh (or right, if you're left-handed) so the neck slopes gently upward. Your left hand should be able to reach the frets without contorting. Your right hand (or left, if left-handed) rests over the pickups and strings, ready to pluck. Spend five minutes adjusting until it feels natural. Comfort is more important than "correct"—every great bassist has slightly different positioning.
Step 3: Find Your First Notes
Start with the open strings: pluck each string once, from thickest to thinnest. Listen to how they sound. They're your home base. Then press down the first fret on the thickest string (E) and pluck it. That's F. First fret on the next string (A) is B. Spend time simply exploring these first frets across all strings. You're not learning a song yet—just getting your fingers used to the feel of the fingerboard.
Step 4: Build Finger Strength (Gradually)
Pressing down on bass frets requires strength in your left hand fingers (if you're right-handed). This strength builds over weeks, not days. Start with 10–15 minutes of playing per day. Your fingers will feel sore—that's normal. Ice your fingertips if they hurt badly, and try again tomorrow. By week three, the soreness usually fades and finger strength improves noticeably.
Common Beginner Mistakes and How to Avoid Them
Mistake 1: Pressing down too hard. Your Gretsch bass doesn't need brute force. A gentle, consistent pressure from your finger will make a note ring out cleanly. Pressing hard creates tension in your hand, kills your endurance, and makes your bass sound dull. Less pressure, more control.
Mistake 2: Ignoring the thumbrest. Most bass guitars have a thumbrest (a small ledge below the pickups) where your right-hand thumb sits while you pluck. This anchor point steadies your hand and improves accuracy. Use it.
Mistake 3: Not changing strings regularly. Your Gretsch bass strings will eventually sound dull and lifeless, usually after 3–6 months of regular playing. When they do, new strings cost £20–40 and transform how your bass sounds and feels. Ask someone experienced to show you how to change them the first time, or look up a YouTube tutorial for your specific bass model.
Mistake 4: Playing without an amp long-term. You can learn the basics without an amp, but you'll improve faster with one. Hearing your mistakes clearly and feeling the response of an amplified bass reinforces good technique. A budget combo amp (30–50 watts) costs around £100–200 and is worth every penny.
Mistake 5: Assuming your Gretsch bass is "wrong" if it feels different from your friend's bass. Every bass feels slightly different. Your Gretsch bass is fine; you're just getting used to it. Give yourself a few weeks before deciding something's wrong.
Maintenance: Keeping Your Gretsch Bass Happy
Your Gretsch bass doesn't need much fussing, but a little care goes a long way. Keep it in a gig bag or case when you're not playing (protects it from knocks and dust). Wipe down the neck and body with a soft, dry cloth after playing (sweat and humidity can damage the finish). Every few months, check the nut and tuning pegs—a tiny drop of lemon oil on the tuning pegs keeps them smooth. That's it. Your bass will serve you well for years with this minimal care.
Next Steps: From Confident Beginner to Real Player
Once you've spent a few weeks getting comfortable with your Gretsch bass, you're ready to learn actual songs. Start simple: find bass tabs (written notation for bass) for songs you love and work through them slowly. A metronome (a tool that keeps time) will help you develop rhythm accuracy. After a month or two, you'll be playing recognisable songs, which is genuinely motivating.
If you want to go deeper into technique, setup, tone shaping, and gear pairing with your Gretsch bass, the complete guide to Gretsch bass covers all that technical territory. But for now, focus on enjoyment and consistency. A Gretsch bass is built for players who want to focus on music rather than fiddling with gear—so play it, enjoy it, and trust that you've made a genuinely good choice.


Comments