


Rackmount Synth article
Rackmount Synth for Beginners: A Complete Guide
Start your synthesis journey with rackmount equipment. Setup guide, beginner basics, common mistakes, and why rackmount synths are ideal entry points.
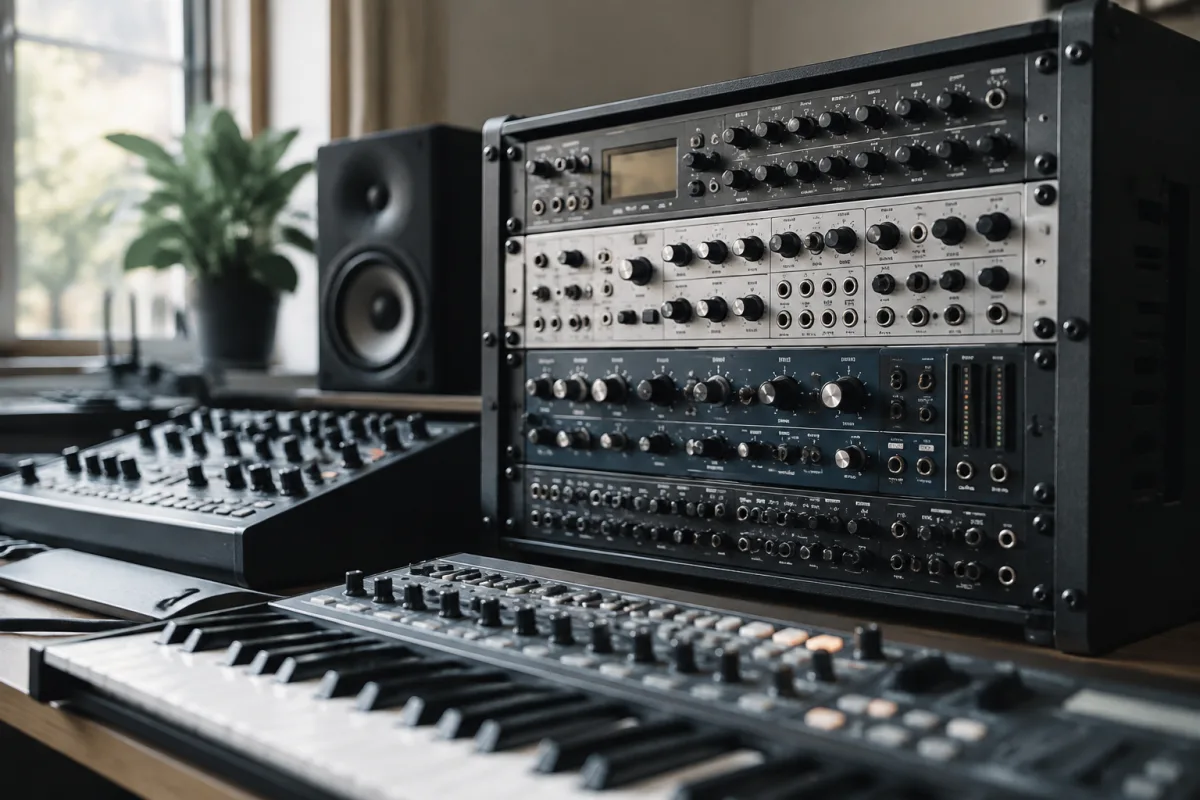
The term "rackmount synth" might sound intimidating. Images of professional studios with equipment stacked vertically might cross your mind. But here's the truth: rackmount synthesisers are often simpler than they appear. If you're a beginner curious about synthesis but overwhelmed by keyboard interfaces, rackmount synths offer a refreshing alternative. This guide demystifies rackmount synthesis and shows you why it's an excellent entry point into sound design and music production.
What a Rackmount Synth Actually Is
A rackmount synth is a synthesiser in a standardised equipment case—typically 3U or 4U high, designed to stack with other audio equipment. Instead of a keyboard attached, the synth operates through either a built-in interface panel, MIDI control from an external keyboard or sequencer, or both.
This separation is actually advantageous for beginners. You're not wrestling with a massive keyboard that demands performance skill. You can focus purely on sound design and synthesis. If you want to play notes, you connect a MIDI controller (which can be an affordable 37-key keyboard or even your computer). The rackmount synth handles sound creation; the controller handles playing.
Think of it this way: a regular synth combines piano playing skills with sound design. A rackmount synth lets you separate these. Learn sound design first, add playing skills later. Or never—plenty of producers create stunning music by sequencing rackmount synths rather than playing them live.
Why Beginners Love Rackmount Synthesis
Several factors make this format ideal for first-time synthesists:
Focused learning: No keyboard distraction. You learn synthesis logic through the synth's controls, not through keyboard performance anxiety. This clarity accelerates understanding.
Studio integration: Rackmount synths fit naturally into home recording setups. They stack neatly, manage space efficiently, and connect intuitively to audio interfaces and sequencers.
Affordability: Classic rackmount synths (Roland D-110, Ensoniq Mirage, Waldorf Staccato) cost less than equivalent keyboard-equipped counterparts. You're paying for the synth engine, not the keyboard.
Deeper focus on sound: Without a keyboard, you're not tempted to bash out random patterns. Instead, you methodically program sounds, adjust parameters, and truly listen. This focused listening habit becomes invaluable.
Gateway to production: Learning rackmount synthesis teaches you sequencer logic, MIDI control, and studio signal flow. These skills transfer directly to professional production.
Understanding Your Rackmount Synth
Despite appearances, rackmount synths have logic identical to keyboard synths. The core components remain:
Oscillators: Generate raw sound waves. Multiple oscillators create layered, complex tones.
Filters: Shape the oscillators' brightness. Turning the cutoff darkens tone; opening the cutoff brightens it.
Envelope: Controls how sound evolves. Attack (fade-in), Decay (transition), Sustain (held level), Release (fade-out). These four parameters shape every sound's character.
LFO (Low Frequency Oscillator): Adds movement through modulation. Vibrato, wobble, and expression happen here.
Arpeggiator and sequencer: Many rackmount synths include built-in pattern sequencers, letting you create rhythmic content without external equipment.
For deeper technical comparison, check our complete guide to rackmount synthesis.
Essential Setup For Beginners
Don't panic about complexity. Start simple:
Connect audio output to speakers or an audio interface. You need to hear what you're creating. Rackmount synths output audio just like any keyboard—standard RCA or XLR connectors. Plug into active studio monitors or an audio interface connected to monitors.
Connect MIDI input if you want to play it.: Use an inexpensive 37-key MIDI controller (£60-£150), or even your computer keyboard through software. The controller simply triggers notes on the rackmount synth.
That's it. Power, audio out, MIDI in (optional). You're ready to make sounds.
Your First Week: Simple Progression
Avoid feeling overwhelmed. Follow this gentle path:
Day one: Connect the synth, select a preset, and listen to it while adjusting the main cutoff knob. Hear how it darkens and brightens. That's synthesis in action.
Days two-three: Explore presets. Don't tweak yet—just understand the range. Good synthesis sounds exist on this synth; you're learning what's possible.
Days four-five: Select a preset. Slowly adjust every visible knob while sound plays (or use the sequencer if included). Notice differences. Return the knob to original. Build understanding of cause-and-effect.
Days six-seven: Start with a blank patch. Adjust oscillators, apply a filter, design an envelope. Create something new. It doesn't need to sound professional—you're building understanding.
Common Beginner Mistakes to Sidestep
- Assuming silence means failure: Rackmount synths don't make sound if the envelope sustain is zero or the output is muted. Lots of beginners create sounds silently and think the synth is broken. Check output level and envelope sustain first.
- Connecting to the wrong audio outputs: Some rackmount synths have multiple outputs. Ensure you're listening to the main output. Check your audio interface or mixer input as well.
- Ignoring the sequencer/arpeggiator: Built-in sequencers on rackmount synths are powerful learning tools. Many beginners never explore them because they seem complex. They're not—they're incredibly intuitive once you try.
- Treating MIDI as optional: A rackmount synth and MIDI controller together cost less than many keyboard synths. The separation lets you focus on sound. Embrace the workflow rather than fighting it.
- Forgetting to save sounds: You create beautiful patches, then lose them by powering down. Always save. Most rackmount synths have simple save procedures—use them religiously.
Progression Beyond Week One
After mastering basic understanding, challenge yourself:
Recreate sounds you admire. Hear a synth patch in music and try duplicating it on your rackmount synth. This develops ear training and synthesis understanding simultaneously.
Explore the sequencer. Program rhythmic patterns. Layer them. Create compositions directly on the synth without external sequencers.
Experiment with modulation. Route the LFO to different parameters. Use envelope to modulate filters. Transform static sounds into evolving, expressive tones.
Integrate with recording. Record your synth through an audio interface into a DAW. Sequence from a MIDI controller into the rackmount synth, which triggers sounds in the DAW. Build complete arrangements.
Common Misconceptions About Rackmount Synths
"They're only for professionals." Rackmount synths are actually more beginner-friendly than large keyboards. Less distraction, more focus.
"I need to understand MIDI deeply." MIDI basics take five minutes to understand. Advanced MIDI takes years to master. Start with simple note triggering and progress gradually.
"They produce cold, digital sounds only." Rackmount synths make warm, organic sounds as easily as digital ones. Sound character is user choice, not hardware limitation.
"I need expensive MIDI controllers." Basic MIDI controllers cost £60-£100. Some rackmount synths even include built-in sequencers, requiring no external controller at all.
Why Rackmount Synthesis Matters
Learning on a rackmount synth teaches you pure synthesis without keyboard performance pressure. You develop deep understanding of how sound design works. These principles transfer directly to every synthesiser you'll ever encounter—hardware or software.
More importantly, rackmount synthesis feels different. Without a keyboard demanding to be played, you listen more carefully. You tweak more thoughtfully. You approach sound creation as design rather than performance. This foundational thinking benefits all future music-making.
Your First Rackmount Journey
Turn it on. Select a preset. Adjust a knob. Listen carefully. Repeat. Within weeks, you'll understand synthesis principles that took others months to grasp. Within months, you'll create sounds with character and intention. Rackmount synthesis isn't intimidating once you understand it's just sound design without keyboard distraction.
Embrace the workflow, trust the process, and enjoy discovering how sound actually works.


Comments