


Daisy Chain Cable article
Everything You Need to Know About Daisy Chain Hdmi Cables
A daisy chain cable powers multiple effects pedals from one supply. Understand how they work, when to use them, and how to build a reliable pedalboard setup.
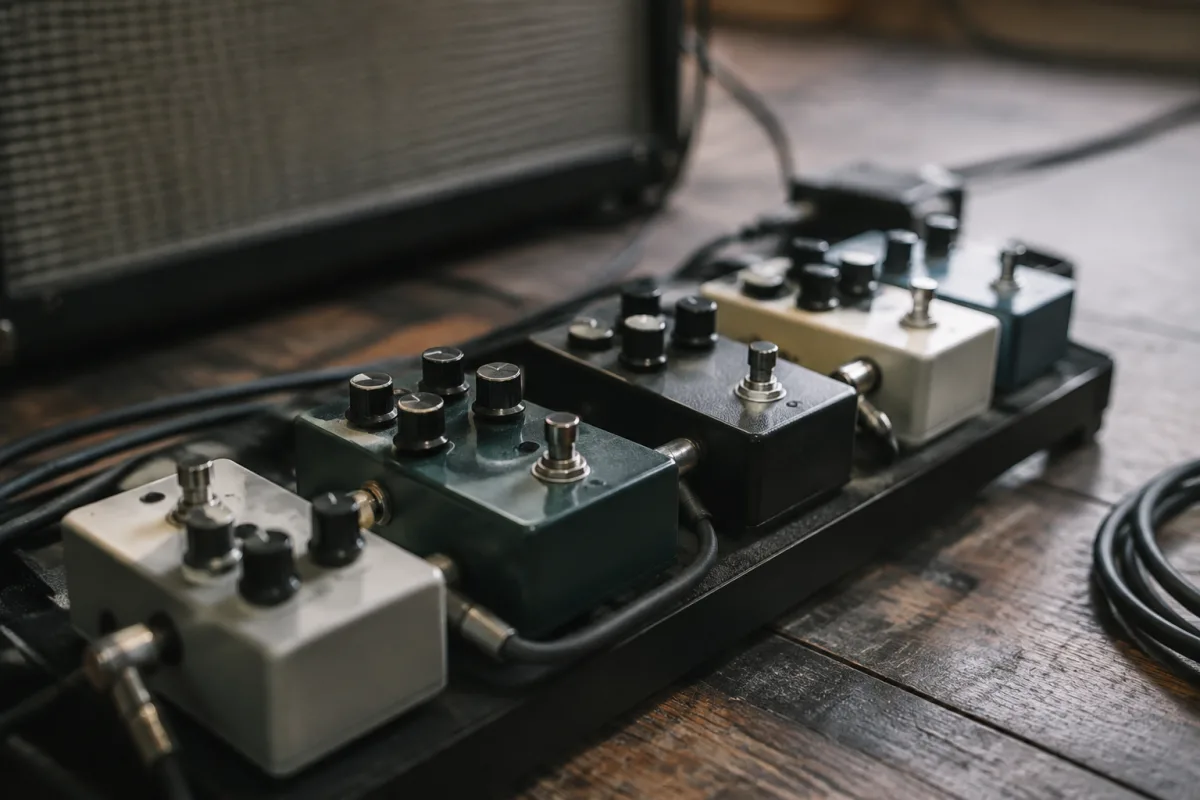
If you're building a pedalboard with multiple effects, you've probably wondered how to power them all without a tangle of cables everywhere. A daisy chain cable is your answer—one simple solution that powers several pedals from a single power supply. It's not complicated, but understanding how to use this properly makes a genuine difference to your rig's reliability and sound quality.
What Is a Daisy Chain Cable?
A daisy chain cable is a single power lead with multiple connectors branching off it. One end connects to your power supply; the other end has several plug connectors—usually between two and six—that feed power to your individual effects pedals. Instead of running separate cables from your supply to each pedal, this cable lets you connect multiple pedals with one efficient cable run.
The concept is elegantly simple: your power supply delivers the voltage, and this cable distributes it across the branches. Most pedalboards with modest power requirements benefit enormously from this setup because it reduces clutter, improves cable management, and costs far less than running individual cables everywhere.
How Does This Cable Work?
Power flows from your supply unit through the main cable into a junction point where multiple outputs branch off. Each branch connects to a separate pedal via its own connector—usually a 2.1mm barrel jack, though some come with 2.5mm or other formats depending on your pedal requirements. The supply voltage splits between the connected pedals, each drawing only the current it needs.
The beauty of this design is efficiency. Without this cable, you'd need individual power runs to each pedal, creating unnecessary cable runs and potential failure points. With it, everything connects through one main conductor, simplifying your rig and making troubleshooting far easier if something goes wrong.
Advantages of This Setup
Clean cable management tops the list. A well-organized pedalboard with this solution looks professional and works reliably. You're not wrestling with multiple power cables competing for space.
Cost efficiency matters too. A quality cable costs between £8 and £25, whereas buying individual five-metre power runs for each pedal quickly becomes expensive. For a three or four pedal setup, this represents genuine savings.
Reliability improves as well. Fewer connection points mean fewer things that can corrode, loosen, or fail. Each connector is a potential problem point, but you have far fewer than running multiple cables separately.
Flexibility is another advantage. Most cables come with four to six outputs, giving you room to add pedals later without rewiring everything. And because power distributes evenly, adding another modest-current pedal down the line isn't complicated.
When NOT to Use This Solution
Here's the critical caveat: not every pedal works well with this arrangement. High-current pedals—particularly digital delays, reverbs, ambient effects, and certain overdrives—can cause problems. These pedals draw significant current, and sharing power can introduce noise, digital interference, or power-supply sag that degrades sound quality.
Some noise-sensitive effects genuinely sound worse through shared power distribution. You might hear increased hum, digital noise, or a thinning of tone. This isn't a defect in the cable; it's simply that some effects designs perform better with dedicated power connections. High-end reverbs and delays especially demand cleaner, more stable supplies than shared distribution typically provides when multiple pedals are drawing simultaneously.
As a practical rule: this works beautifully for modest-current pedals like distortions, fuzzes, and simple overdrives. For your premium delays, reverbs, and complex digital effects, consider dedicated cables or a supply with isolated outputs. Many players solve this elegantly by using this system for their "front end" drive pedals and separate cables or an isolated supply for their "back end" time-based effects.
Choosing the Right Cable
Connector type matters first. Most pedalboards use 2.1mm barrel jacks as standard. Confirm your pedals match this format before buying. Some boutique pedals use different connectors, so measure if you're unsure.
The number of outputs is your next consideration. Count your pedals and add one for future expansion. A four-output cable suits a small board; six or eight outputs give you breathing room on a larger setup.
Cable quality directly affects reliability. Cheap options sometimes have dodgy connectors that corrode or lose contact. Invest in a cable from a recognised brand—companies like Pedal Power, Boss, and Electro-Harmonix make quality products. A £20 cable lasting five years costs less per gig than a £5 cable that fails after two months.
Polarity is critical and non-negotiable. Most guitar effect pedals use negative tip polarity (the inner contact of the barrel jack is negative, the outer sleeve is positive). Most cables come with this standard polarity. But verify: connecting wrong polarity instantly destroys your pedals. Check both your supply and your cable markings—look for a minus symbol inside the barrel connector icon.
Setting It Up Correctly
First, identify your power supply's output polarity. Most supplies clearly label the connector with either a plus/minus symbol or a diagram. If unmarked, check the manual.
Connect your cable to the power supply's main output. Plug each pedal into one of its branches. An LED indicator on many supplies confirms power delivery; if the LED stays off, check your connections and polarity immediately.
Power on carefully. When connecting multiple pedals for the first time, switch on slowly. If you hear any crackling or if all lights go out, switch off immediately. You've likely connected something backwards.
Test each pedal individually as you add it to your setup. This way, if a problem emerges, you know exactly which pedal is causing it. Some pedals might work fine through this setup; others might hum or introduce noise. Trial and adjustment is part of the process with a new board.
Common Problems and Solutions
Excessive hum or buzz typically means a grounding issue. Ensure your power supply is properly grounded, and check that all connectors are clean and fully seated. Sometimes simply reseating the cable at the supply end stops unwanted noise immediately.
Intermittent cut-outs suggest loose connections. A connector that isn't fully inserted will cause pedal dropout. Push firmly on each connection point and wiggle gently to ensure everything is seated properly.
Dimly lit or non-responsive pedals often indicate power sag. If several high-current pedals are drawing simultaneously through shared power, the voltage can drop below what some pedals need. Upgrade to a power supply with higher total current capacity, or split your pedals between multiple supplies.
Conclusion
This cable solution is genuinely practical for any guitarist building a pedalboard. It simplifies cable management, reduces cost, and works reliably for pedals suited to shared power distribution. Understand the limitations—particularly around high-current digital effects—and build your board thoughtfully. Use a quality cable with correct polarity, keep your connections clean and secure, and your pedalboard rig will serve you well for years. It's a small detail that pays dividends in reliability and professional appearance.





Comments