


Audio Interfaces for Mac article
Audio Interfaces For Mac for Beginners: A Complete Guide
Setting up your first home recording space can feel daunting, but an audio interface for Mac is much simpler than it sounds. This guide walks you through everything you need to get started.
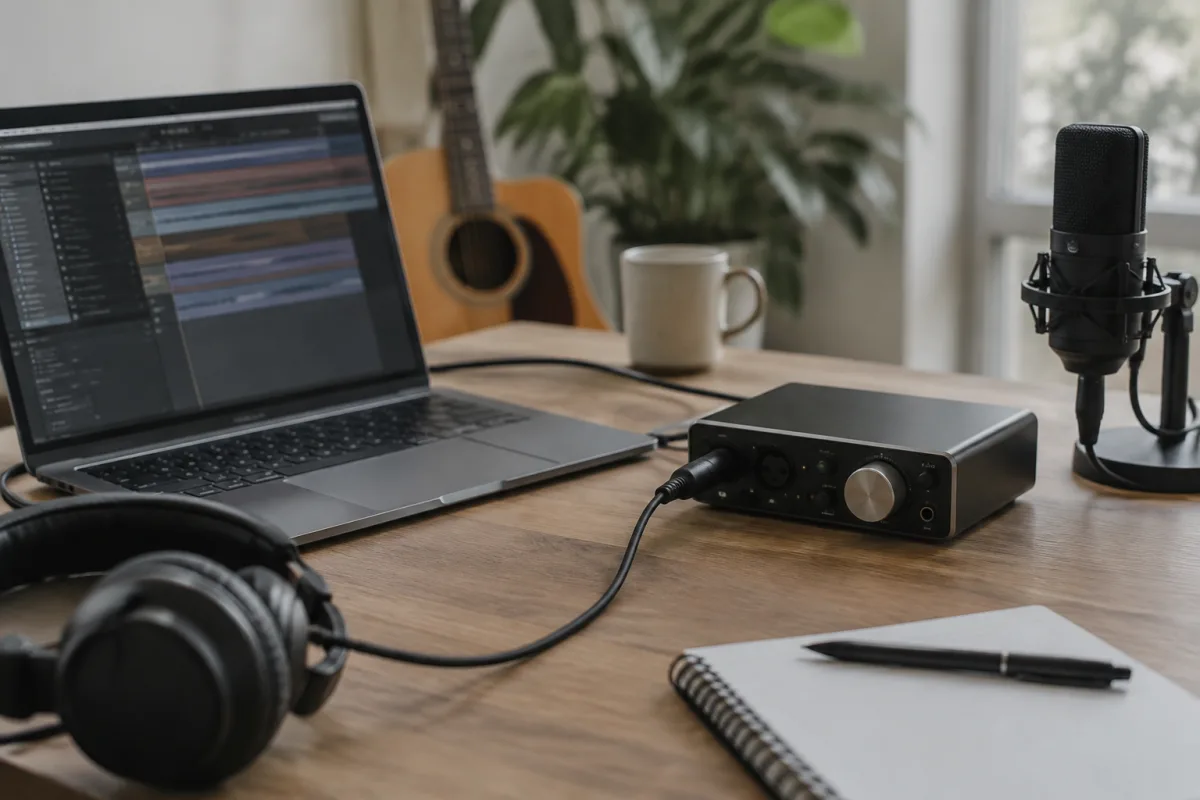
Setting up your first home recording space can feel daunting, especially if you're new to recording music on a Mac. But here's the good news: an audio interface for Mac is much simpler than it sounds, and getting started doesn't require breaking the bank or becoming a tech expert. This guide walks you through everything you need to know to make your first recordings with confidence.
Why You Need an Audio Interface for Mac
Your Mac's built-in microphone might work for video calls, but it's not suitable for recording music. To capture professional-quality audio from your guitar, microphone, or keyboard, you need an audio interface for Mac. Think of it as a translator between your analogue instruments and your computer. It converts the sound waves from your guitar or voice into digital data your Mac can understand, and it does so at high quality.
Beyond just plugging in, an audio interface for Mac gives you physical controls—knobs to adjust input levels, jacks for headphones and speakers—all designed with musicians in mind. It's worth the investment because it fundamentally changes what your recordings sound like.
Understanding Audio Interfaces: The Basics
Before getting technical, it helps to know what an audio interface actually does. Inside an audio interface for Mac, there are converters that turn analogue signals (your guitar sound) into digital data (1s and 0s your Mac understands). The quality of these converters matters; cheap interfaces introduce noise or distortion, while good ones preserve your tone beautifully.
The interface also provides "gain staging"—the ability to adjust input levels before the signal hits your Mac. This is essential. If you plug a guitar directly into your Mac's USB port (which you cannot do anyway), you'd have no control. An audio interface for Mac lets you fine-tune the input level so your recording is neither too quiet nor clipping (distorting from being too loud).
What to Look for in Your First Audio Interface for Mac
As a beginner, you don't need the most expensive or feature-heavy audio interface for Mac. Instead, focus on these essentials:
| Feature | Why It Matters | Beginner Recommendation |
|---|---|---|
| Number of inputs | How many instruments/mics you can record simultaneously | 2 inputs is plenty. You can record one guitar and one microphone at the same time. |
| Audio quality (bit depth & sample rate) | Determines the clarity and fidelity of your recordings | 24-bit / 48 kHz minimum. This is standard for music. Most interfaces offer this. |
| Latency | The delay between playing and hearing yourself back | Under 20 ms is acceptable; below 10 ms is ideal. Mac interfaces often have higher latency than Windows ones—look for USB-C over USB 2.0. |
| Phantom power | Powers condenser microphones if you decide to upgrade later | Not essential now, but nice to have for future flexibility. |
| Preamp quality | How cleanly it amplifies weak signals like vocals or acoustic guitars | Avoid the cheapest options. Mid-range interfaces have good preamps. You'll hear the difference immediately. |
Popular beginner-friendly audio interfaces for Mac include the Focusrite Scarlett series, PreSonus AudioBox, and Behringer U-Phoria models. These offer solid build quality, clear sound and straightforward Mac compatibility.
Setting Up Your Audio Interface for Mac: Step by Step
Once you've chosen your audio interface for Mac, setup is simple. Here's what to do:
- Install the drivers: Download the latest drivers from the manufacturer's website. For Mac, visit the support page for your specific model. Run the installer and restart your Mac. Drivers are essential; your audio interface for Mac won't work properly without them.
- Connect the interface: Plug the USB or USB-C cable into a free port on your Mac. Most modern audio interfaces draw power through USB, so you don't need a separate power supply. The interface should light up when connected.
- Plug in your instrument: Connect your guitar, microphone or keyboard to one of the inputs using standard 1/4" jacks (for guitar) or XLR cables (for microphones).
- Set up your Mac: Go to System Preferences → Sound. Under the Input tab, select your audio interface for Mac. Under Output, also select it. This tells your Mac to use the interface for all audio.
- Open your DAW: Open your recording software (Logic Pro, GarageBand, Audacity—any will work). In the DAW's preferences, select your audio interface for Mac as the input and output device.
- Test levels: Play your guitar or sing into your microphone while watching the input meter in your DAW. The level should hover around -12 to -6 dB during normal playing, leaving headroom to avoid clipping. Adjust the gain knob on your audio interface for Mac until you reach this range.
- Put on headphones: Connect headphones to the headphone output on your audio interface for Mac. Set the monitor volume to a comfortable level. You should hear yourself playing in real time (or nearly so).
That's it. You're ready to record.
Common Beginner Mistakes with Audio Interfaces for Mac
After helping countless first-timers, I've noticed patterns. Here are the mistakes to avoid:
- Not installing drivers: Some beginners assume plug-and-play means no setup. Your audio interface for Mac absolutely needs drivers. Without them, your Mac won't recognise it properly, or the audio quality will be poor.
- Forgetting to select the interface in Mac preferences: Even with drivers installed, your Mac might still default to the built-in microphone and speakers. Always check System Preferences and change the input/output to your audio interface for Mac.
- Setting input levels too high: Clipping—when the signal is too loud and distorts—is permanent in a digital recording. It's better to record at -12 dB and leave room. You can always turn it up later in your DAW.
- Ignoring latency: If there's a noticeable delay between playing and hearing yourself, disable monitoring in your DAW and monitor directly through the interface's headphone output instead. This bypasses the latency issue.
- Using cheap, frayed or incorrect cables: A bad cable introduces hum or noise. Invest in quality cables—XLR for microphones, 1/4" for instruments. They last for years.
- Not checking the manual: Every audio interface for Mac has quirks. Some need specific settings in macOS. A quick read of the setup guide saves frustration.
First Steps with Your Audio Interface for Mac
Once you've set everything up, your next move is to record a simple take—a few bars of your guitar or a short vocal phrase. Don't overthink it. Get comfortable with hitting the record button, playing, and hitting stop. Listen back and hear how your instrument sounds when captured digitally. You might be surprised at how clear it is compared to your phone recording.
Spend a week just recording and listening. This familiarises you with the interface, the software and your own playing. It's not about perfection yet; it's about getting comfortable.
If you want to explore more advanced features—layering multiple takes, adding effects, mixing—check out our complete guide to audio interfaces for Mac, which covers everything from microphone selection to mixing basics.
FAQ
Q: Do I need an audio interface for Mac if I'm just starting out?
A: Yes. Recording directly into your Mac's built-in microphone or microphone input will sound thin and noisy. An audio interface for Mac is the single biggest upgrade you can make to your recording quality.
Q: Can I use an audio interface for Mac that was designed for Windows?
A: Some are cross-platform, but not all. Always check the manufacturer's specifications. Mac and Windows drivers are different, and not every Windows interface has Mac drivers.
Q: What latency is acceptable when recording with an audio interface for Mac?
A: Under 20 ms is acceptable; under 10 ms is ideal and usually only possible with newer USB-C interfaces. If latency bothers you, monitor directly through the interface instead of through your DAW.
Q: Do I need phantom power on my first audio interface for Mac?
A: Not immediately. Phantom power is for condenser microphones. If you're starting with a dynamic microphone (like a Shure SM58) or a guitar, you don't need it. But it's nice to have for future flexibility.
Q: What's the difference between USB and USB-C audio interfaces for Mac?
A: USB-C is faster and typically offers lower latency. If your Mac is new (2015 or newer), USB-C will work better. Older Macs may need a USB-A to USB-C adapter, which can degrade performance slightly.
Q: Can I record with my audio interface for Mac while using other software?
A: Yes, but audio can conflict if two programs try to use the interface at once. Close background apps like Spotify or FaceTime before recording to avoid glitches.


Comments