


Acoustic Guitar Microphone Buying guide
Acoustic Guitar Microphone: A Complete Buyer's Guide
A practical guide to choosing an acoustic guitar microphone, covering microphone types, key specifications, positioning and how to match the right model to your needs.
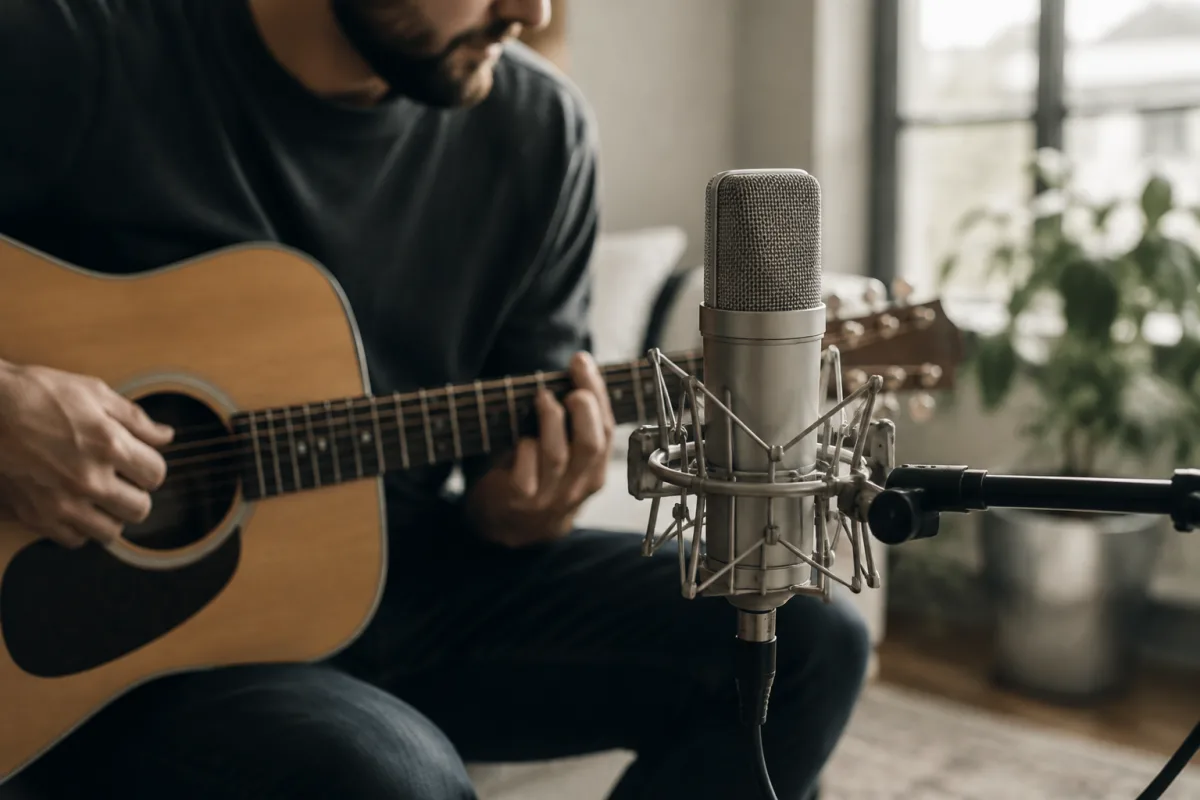
An acoustic guitar microphone captures the instrument's natural tone more faithfully than amplification through a pickup. Whether you're recording in a studio, performing live, or streaming at home, choosing the right microphone makes the difference between a thin, tinny sound and rich, full-bodied recording. This guide covers microphone types, key specifications, price points, and how to select one suited to your budget and setup.
Why Microphone Over Pickup?
A pickup mounted inside an acoustic guitar converts string vibration into electrical signal, which works but often sounds unnatural or compressed. A microphone positioned near the soundhole instead captures the entire instrument's resonance, including body vibration, air movement, and natural decay. The result is warmer, more dimensional tone—why studios always prefer microphone recording over piezo pickups.
Main Microphone Types for Acoustic Guitars
Three types dominate:
Condenser Microphones
These are the studio standard. Condensers feature high sensitivity, extended frequency response, and the clarity needed for recording. They require phantom power (48v) from a mixer or audio interface, and they're more delicate than dynamics. For studio and serious home recording, condensers are the go-to choice.
Dynamic Microphones
More rugged than condensers, dynamics don't need phantom power and handle high sound pressure levels well. They're ideal for live performance, though their frequency response is narrower and less detailed than condensers. Sound suffers slightly indoors, but portability makes them popular for gigging musicians.
Ribbon Microphones
Ribbon mics deliver warm, natural tone with smooth high-end roll-off—beloved by vintage recording enthusiasts. They're expensive (£400–2,000+), fragile, and require careful handling. Only worth buying if you need authentic vintage character and can afford the investment.
Key Specifications
Frequency Response
Acoustic guitars span roughly 80 Hz to 8 kHz (fundamentals to brightness). A microphone rated 50 Hz–16 kHz covers the full range. Look for relatively flat response across this band; dips or peaks in the presence region (3–5 kHz) colour the tone.
Polar Pattern
Cardioid (heart-shaped) patterns pick up sound from the front while rejecting sound from the sides and rear—ideal for recording a single guitar. Omnidirectional patterns pick up equally from all directions, useful for capturing room ambience but problematic in untreated spaces. Cardioid is the universal choice for guitar recording.
Sensitivity and Noise Floor
Sensitivity (measured in dB-V/Pa) determines how much amplification is needed; higher sensitivity means quieter preamps are acceptable. Noise floor (dB-A) indicates background hiss. For acoustics, a noise floor below −130 dB-A is clean; above −120 dB-A is noticeable in quiet recordings.
Phantom Power Requirement
Condensers require it; dynamics don't. Check your audio interface or mixer—most modern interfaces supply 48v, but some older equipment doesn't. A phantom power adapter (£10–30) solves this.
Price and Value by Tier
| Price (GBP) | Best For | Typical Features |
|---|---|---|
| Budget (£50–150) | Home recording, casual use | Basic condenser or dynamic; acceptable frequency response; moderate noise floor |
| Mid-Range (£150–500) | Home studio, serious hobbyists | Good frequency response; cardioid condenser; low noise; suitable for polished recordings |
| Professional (£500–2,000) | Studios, working musicians | Premium preamp, flat response, low noise floor; hand-selected components |
| Vintage/Premium (£2,000+) | High-end studios, collectors | Ribbon microphones, boutique condensers; exceptional warmth; investment instruments |
The jump from budget to mid-range is substantial; a £200 condenser sounds dramatically better than a £50 model. Professional tier offers incremental gains in clarity and noise performance. Vintage ribbons are more about character than technical superiority.
Positioning and Placement
Mic technique matters as much as equipment. Position the microphone 6–12 inches from the guitar, aiming at the area between the soundhole and 12th fret for balanced tone. Too close to the soundhole emphasises bass; too close to the neck emphasises treble. Angling slightly downward at the body adds warmth. Experiment—mic placement shapes tone dramatically.
Common Mistakes
- Buying the cheapest option. Budget models sound thin and hissy. Invest at least £100–150.
- Placing the mic too close. Proximity distorts tone. Back up to 8–10 inches for natural sound.
- Overlooking room acoustic. A untreated bedroom sounds hollow; even small soft furnishings help. Don't blame the mic.
- Assuming more pickup leads to better tone. It doesn't; position and room matter more than specs.
- Ignoring cable quality. A cheap cable adds hum; invest in shielded XLR at least 15 metres for live performance.
Where to Buy
Music retailers, pro-audio shops, and online stores stock options. Compare specs and listen to samples when possible. Live sound rental shops often loan equipment for a small fee—try before buying. Used condenser microphones often offer excellent value; Neumann, AKG, and Audio-Technica classics hold up well over decades.
For a deeper dive into recording technique and mic choice, see the complete guide to microphone recording.
Your Choice
Start with a mid-range cardioid condenser (£150–300) and quality XLR cable. Spend time experimenting with placement and room treatment before upgrading. A £200 microphone used well beats an expensive mic misplaced or treated poorly. The best tool is the one you'll actually use and learn to position correctly.



Comments