


Standalone Sampler article
Standalone Sampler for Beginners: A Complete Guide
Standalone samplers offer beginner-friendly music creation without software complexity. Discover your first steps, essential skills, and encouragement for nervous newcomers.
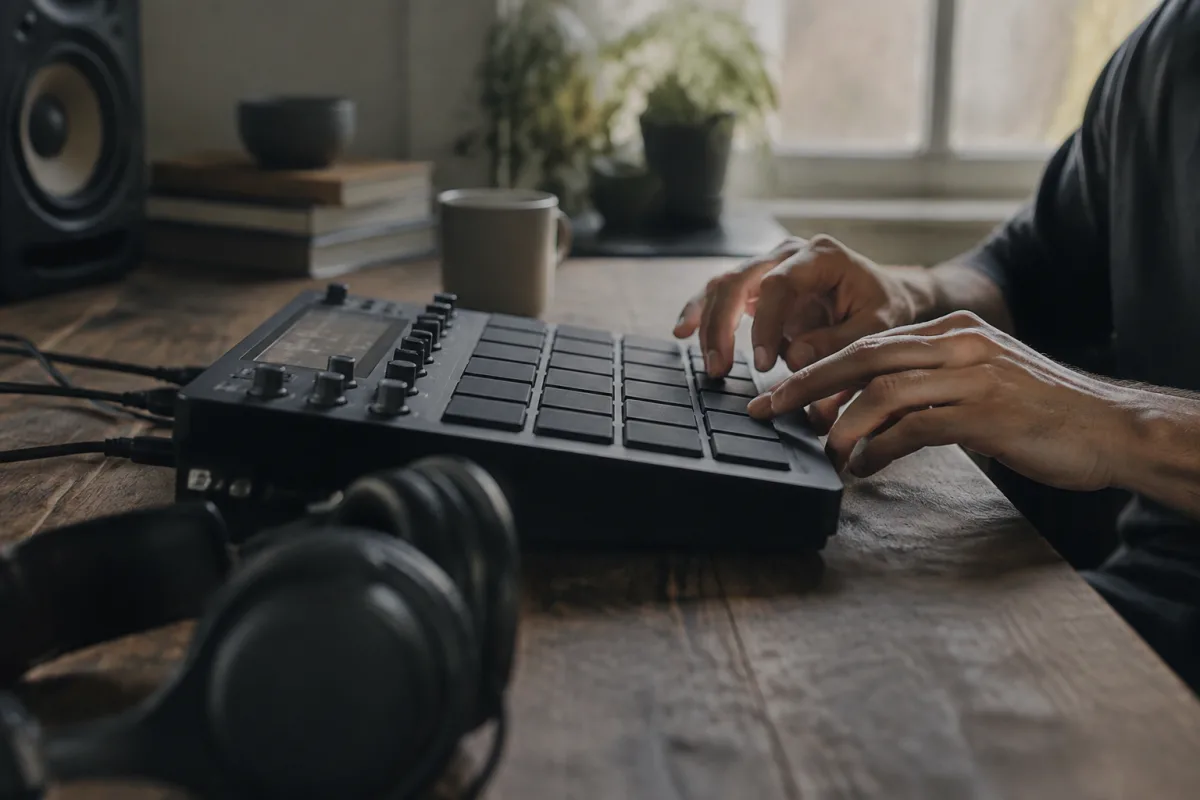
A standalone sampler opens remarkable creative possibilities for electronic musicians, DJs, and beat-makers. Unlike software samplers requiring computers, a standalone sampler operates independently – you load samples via USB, record live audio, and create music without technical complications. For beginners nervous about overwhelming complexity, standalone samplers represent refreshingly straightforward tools offering immediate creative results. This guide walks you through understanding what standalone samplers do, discovering your first steps, and building confidence as you explore sample-based music creation.
What Standalone Samplers Actually Do
A standalone sampler records audio or loads pre-recorded samples, then lets you manipulate them musically. You can trigger samples via pads (like drum pads), play them across keyboard ranges, apply effects, and create complete compositions. The beauty of a standalone sampler for beginners is that this entire process happens on one physical device – no computer, no software, no confusion about compatibility.
Think of a standalone sampler as a simplified recording studio contained in a single box. Press record, capture live audio (your voice, acoustic instrument, field recording), and immediately start playing with it. This directness appeals particularly to nervous beginners – you see immediate results from your actions, building confidence rapidly.
The Easiest First Steps with Your Standalone Sampler
Begin by reading your standalone sampler's getting-started guide – not the full manual, just the first few pages covering basic operation. Most guides walk you through powering on, creating a new project, and recording your first sample. These fundamentals take less than fifteen minutes and immediately reveal whether you're comfortable with the device.
Next, record something simple – your voice speaking, a brief instrumental passage, environmental sounds. Nothing needs artistic merit; this experimentation builds familiarity with record/playback functionality. Hearing your own audio played back through the standalone sampler is delightfully encouraging and removes mystery from the recording process.
After recording, explore triggering your sample using the pad interface. Most standalone samplers include four, eight, or sixteen pads you press to trigger samples. Experiment with different pad arrangements, playing rhythmic patterns, and layering multiple samples. This playful exploration builds intuitive understanding far better than formal instruction.
Common Beginner Mistakes and How to Avoid Them
Many nervous first-time standalone sampler users attempt reading the complete manual before touching the device. This creates intimidation and delays the enjoyable hands-on experience that builds genuine understanding. Ignore this impulse – learn by doing, referring to documentation only when confused about specific tasks.
Another frequent mistake involves recording excessively long samples in your standalone sampler. Beginners often capture minutes of audio, then struggle managing the files. Record focused, bite-sized samples – two to ten seconds initially. Shorter samples prove easier to manipulate, arrange, and layer into compositions.
Some beginners expect their first standalone sampler recordings to sound professionally polished. This disappointment undermines confidence unnecessarily. Initial recordings sound raw, unpolished, and imperfect – this is entirely normal and expected. Each practice session develops ear training, timing skills, and production intuition.
Overlooking backup procedures frustrates many beginners. Create separate projects for different ideas rather than cramming everything into a single file. Familiar backup habits prevent losing hours of creative work to accidental deletion or device issues.
Essential Skills for Beginners
Understanding sample trimming improves usability significantly. Most standalone samplers include editing functions removing unwanted silence at the beginning or end of samples. Whilst not required initially, learning this skill accelerates workflow within your first week.
Layering multiple samples teaches fundamental composition skills. Record several short samples, then trigger them simultaneously using different pads. This simple technique produces immediately impressive results whilst teaching how complex textures build from simple elements.
Pitch-shifting samples introduces musical possibilities. Most standalone samplers allow raising or lowering sample pitch without altering playback speed. Experimenting with this feature reveals how transposing identical material creates melodic and harmonic movement.
Building Confidence Through Consistent Practice
Dedicate fifteen minutes daily to your standalone sampler without performance pressure. Record samples, trigger them rhythmically, apply effects, and experiment without worrying about creating finished compositions. This consistent play-based exploration develops intuitive control and creative confidence faster than occasional intensive sessions.
Share rough recordings with supportive friends or online communities. Non-judgmental feedback from experienced producers accelerates learning. Recognise that all professional musicians started exactly where you are – producing imperfect early work is a universal experience, not personal failure.
Expanding Your Standalone Sampler Skills Gradually
After two weeks of experimentation, explore effects available in your standalone sampler. Reverb, delay, and distortion transform samples dramatically. Apply effects conservatively initially – heavy processing often disguises rather than enhances material quality.
As confidence grows, investigate your standalone sampler's sequencing capabilities. Many devices include step sequencers letting you program rhythmic patterns. This addition enables creating structured compositions rather than purely improvisational performance.
Encouraging Yourself on Your Standalone Sampler Journey
Purchasing your first standalone sampler marks a significant creative commitment. You're investing in a tool enabling direct expression without computer complications or software learning curves. This choice demonstrates confidence in your creative instincts and willingness to explore new artistic territories.
Remind yourself that every professional musician using standalone samplers was once exactly where you are – nervous, uncertain, holding a new device without clear understanding. They all developed competence through patient experimentation and consistent practice. You will too.
For comprehensive guidance about standalone samplers and their creative applications, review our complete guide to standalone samplers, which explores the broader landscape of devices and advanced production techniques.
Finally, embrace imperfection enthusiastically. Your first standalone sampler recordings will sound amateur – celebrate this reality as evidence of authentic creative exploration. Each practice session refines your skills incrementally. Before you realise how much you've improved, your work will sound noticeably more confident and refined. Welcome to the rewarding journey of sample-based music creation.



Comments